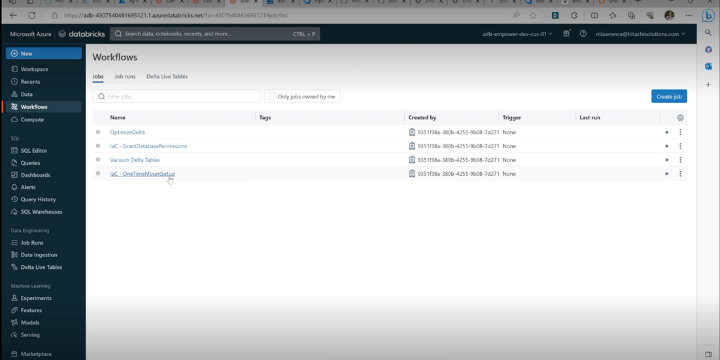
Onboarding and Manual Deployment
1. Meeting with Customer and Walkthrough of Onboarding and Prerequisites Document
https://docs.empoweranalytics.io/empower/docs
2. Provide Customer with Excel Spreadsheet (Provided by Kevin)
- When the spreadsheet is returned, create JSON config files based on it
3. Verify the Completion of Walkthrough
4. Acquire the List of Involved DEs from Delivery Lead
- Customer needs to invite DEs to their tenant for Azure portal access
- Manually, SRE grants DEs contributor access to each resource group
5. Create Customer Configuration Files (JSON)
These steps are done in the development branch in VS Code.
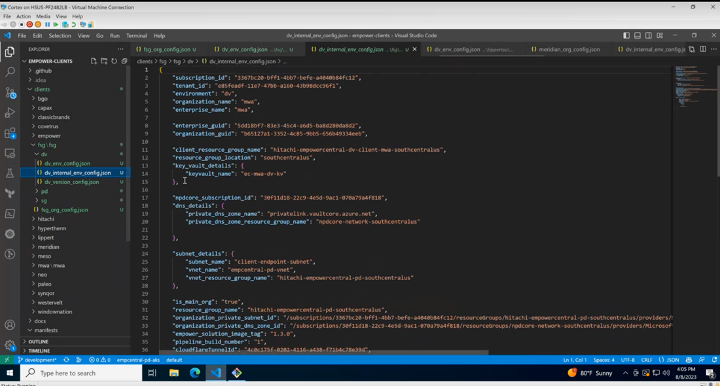
A. Create a new folder<in enterprise-level folder> for the new client (Empower Client Repo)
Note: Multiple folders are created if there are multiple organizations. For example, Lippert has two organizations: Lippert US and Lippert EU.
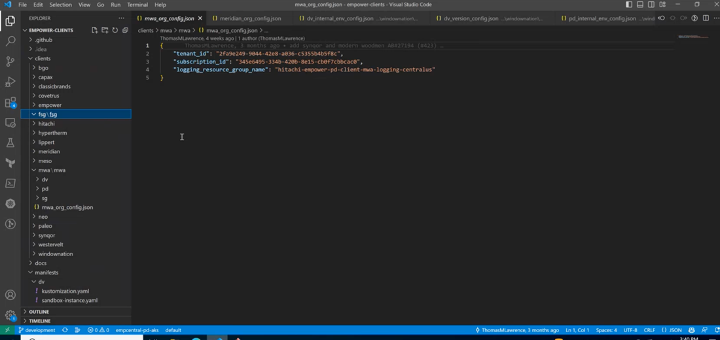
B. Copy configuration file from an existing client and paste it into the new client folder to start replacing values for the new client.
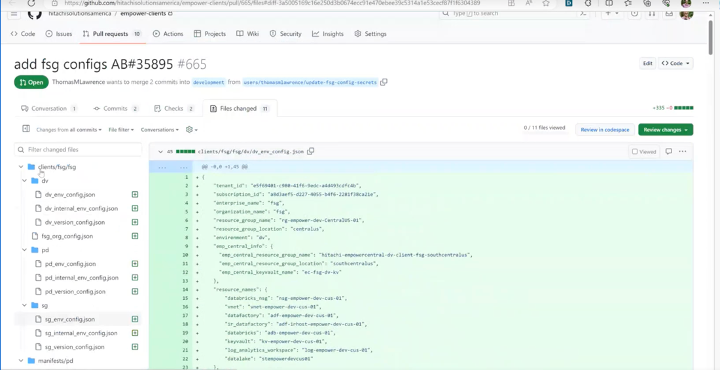
{customerabbreviation}_org_config.json- Holds any deployment which happens at the organization level. This file is going to hold the pieces of information this deployment needs. For example, in DV:
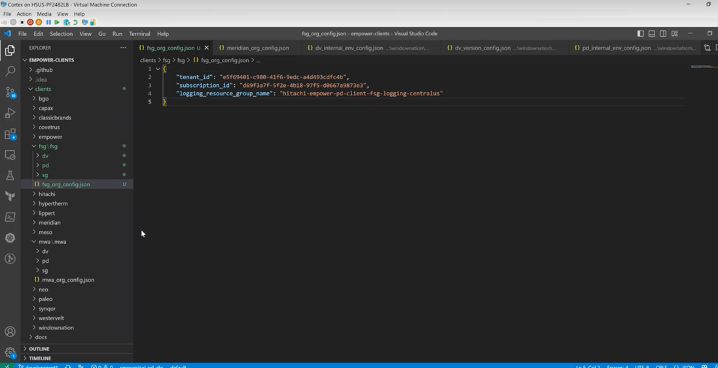
- Tenant_id - Tenant id of the customer
- Subscription_id - Subscription id of the prod subscription in the customer tenant
- Logging resource_group_name - Logging resource group name
{env}_env_config.json- Holds all the configurations needed to deploy something externally (client tenant).
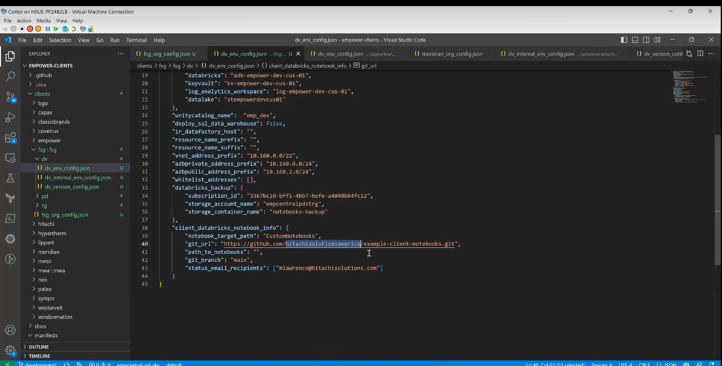
- Tenant_id - Tenant id of the customer
- Subscription_id - non-Prod subscription id of the prod subscription in the customer tenant
- Enterprise_name - Logging resource group
- Organization_name - Company name/abbreviation (will be shown in the URL); will be the same as the enterprise name.
- Resource_group_name - External resource group name
- Resource_group_location - Azure region for the client
- Environment - Internal environment (for Hitachi i.e., dv, sg, pd)
- Emp_central_info:
    - Emp_central_resource_group_name - Internal central resource group name; replace client name/abbreviation.
    - Emp_central_resource_group_location - Internal central resource group location; always southcentral
    - Emp_central_keyvault_name - Internal keyvault name; replace client name/abbreviation in the name.

- Resource_names - Below follows the client naming convention:
    - Databricks_nsg
    - Vnet
    - Datafactory
    - Ir_datafactory
    - Databricks
    - Keyvault
    - Log_analytics_workspace
    - Datalake

- Unitycatalog_name
- Deploy_sql_data_warehouse - Should always be FALSE since they are expensive; would be deprecated once we move to Terraform.
- Deploy_logging_solution - At the organization level, in the production subscription, we are going to deploy a logging resource group; almost all customers want it.
- Deploy_resource_group_tags - For most of the clients, tagging logic will automatically apply to client resource groups; this should be removed since we do not want it to internally interfere with tags.


Note: For all the above, the default is "TRUE" so it can be removed if "FALSE".

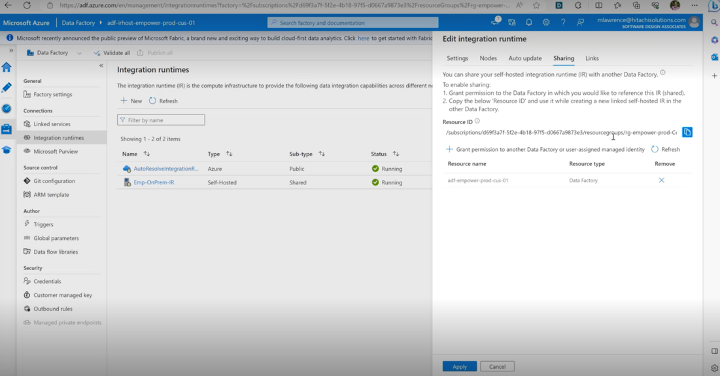
- Ir_datafactory_host - Resource id of the integration runtime (set to resource id (get from screenshot below) and not "self" for dv and sg)
- Resource_name_prefix - Can be left empty for new clients; based on old configuration for resource names; will be removed after Terraform (exceptions where these values are not empty are old 4 customers which are BGO, Hypertherm, Lippert, and Westervelt)
- Resource_name_suffix - Can be left empty for new clients; based on old configuration for resource names; will be removed after Terraform (exceptions where these values are not empty are old 4 customers which are BGO, Hypertherm, Lippert, and Westervelt)
- Vnet_address_prefix - /22
- Adbprivate_address_prefix - /24
- Adbpublic_address_prefix- /24
- Whitelist_addresses - To whitelist addresses on the firewall
- Databricks_backup - Same values for all below since all are internal:
    - Subscription_id
    - Storage_account_name
    - Storage_containername

- Client_databricks_notebook_info - Same values for all below for most customers:
    - notebook_target_path
    - git_url
    - path_to_notebooks
    - git_branch
    - status_email_recipients
3.{env}_internal_env_config.json – Holds all the configurations needed to deploy something internally (Hitachi) for a particular client.
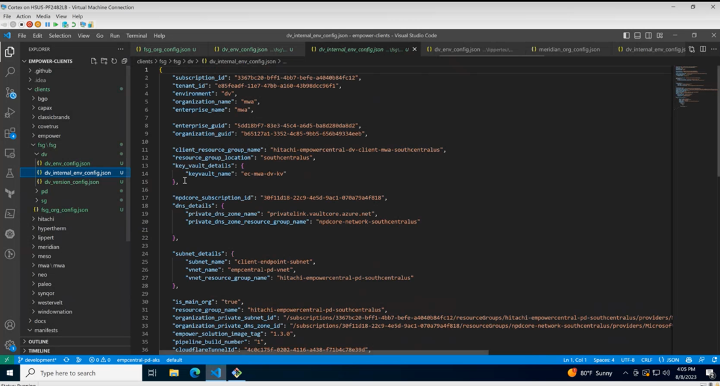
- Tenant_id - Internal tenant id
- Subscription_id - Internal subscription id
- Environment
- Organization_name
- Enterprise_name

/To move away from organization name and enterprise name to GUIDS/

- Enterprise_guid - This needs to be generated and must be the same for all three environments.
- Organization_guid - This needs to be generated and must be the same for all three environments.

- Client_resource_group_name - Central resource group where the client-specific central resource group is located.
- Resource_group_location - Always "southcentralus"
- Key_vault_details - Passed in Terraform and stores a lot of values; internal keyvault
    - key_valut_name

- Npd_core_subscription_id - Network NPD core subscription; these are standard values.
- Dns_details - DNS details passed into Terraform.
    - private_dns_zone_name - standard value
    - private_dns_zone_resource_group_name

- Subnet_details - Subnet that holds private end points; these are standard values.
    - Subnet_name
    - Vnet_name
    - Vnet_resource_group_name

- Is_main_org - TRUE if there is only one organization.
- Resource_group_name - Standard values
- Organization_private_subnet_id - Standard values
- Organization_private_dns_zone_id - Standard values
- Empower_solution_image_tag - Deprecated
- Pipeline_build_number
- Cloudflaretunnelid - Wrapper round our private network, all calls come through Cloudflare via tunnels which have GUIDs; standard value
- authUrl - Keycloak off the URL.

- Emp_central_info - Holds central, Kubernetes cluster, Central Key vault, and Central SQL Server:
    - aks_cluster_name
    - Keyvault_name
    - sql_server

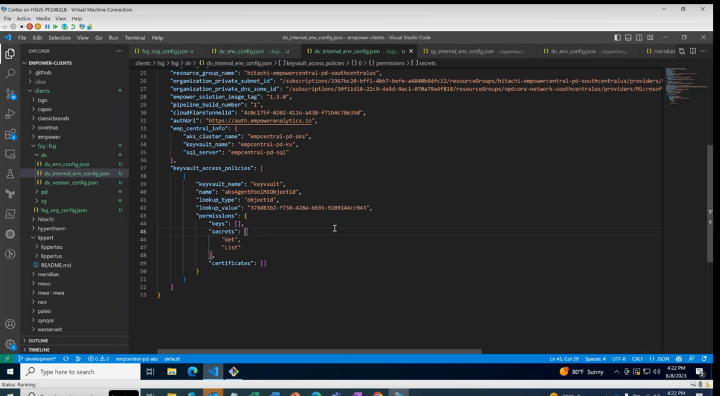
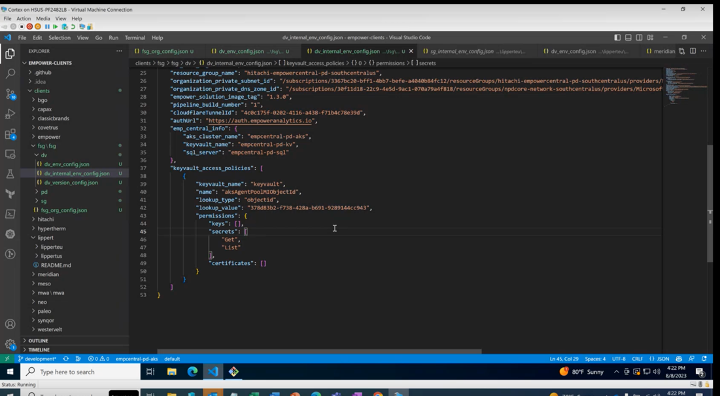
- Keyvault_access_policies - List of access policies that can be applied to whatever key ball is being deployed, and in this case, it's the internal key vault:
    - keyvault_name
    - name
    - lookup_type
    - lookup_value
    - permissions
        - keys
        - secrets
            - "get"
            - "list"
        - certificates
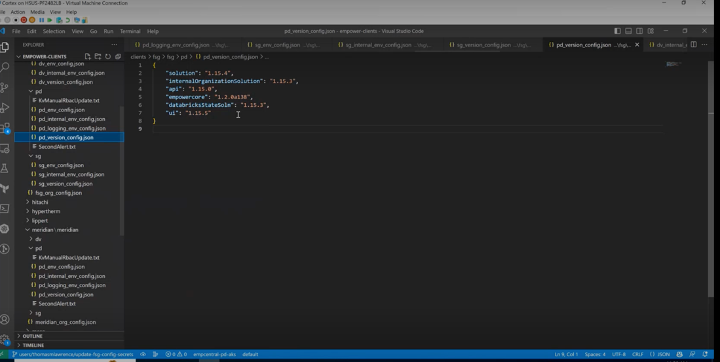
4.{env}_version_config.json - Holds information for deployment pipelines to know which version of empower should be deployed
- Solution - Handles external infrastructure deployment and the data factory version which are locked together.
- Internal_organization_solution - Handles internal infrastructure deployment, Azure infrastructure.
- Api - API version
- Empowercore - Library written by data engineers.
- databricksStatesSoln - Databricks state solution is the version of the data bricks, notebooks to use.
- Ui - UI version
Repeat step 5 for other environments:
For PD:
Below will change:-
- Vnet_address_prefix
- Adbprivate_address_prefix
- Adbpublic_address_prefix
-Ir_datafactory_host
For non-prod, this is the resource ID of the integration runtime, but for prod, it's just “self”.
Note: The empowered tenant doesn't handle the actual setup of the KUBE clusters, but it handles what's running on Kubernetes, like all the applications and such that are running on Kubernetes. This file holds customer config dealing with things like services, UI, etc., like API stuff that's running in Kubernetes.
Below step happens automatically:
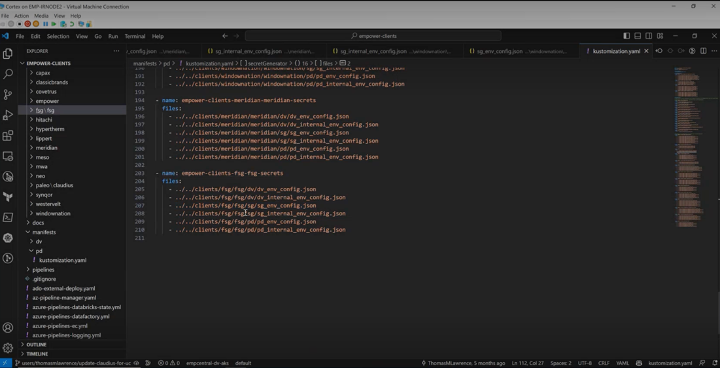
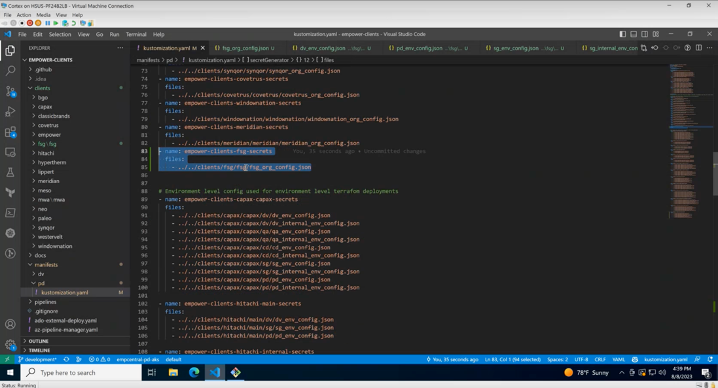
- Kustomization.yaml: Packaging these files into a Kubernetes secret, so that the end config and internal end config go as keys in the secret. This is repeated here because that's the enterprise and organization name.
Environment Level Secret:
Organization Level Secret:
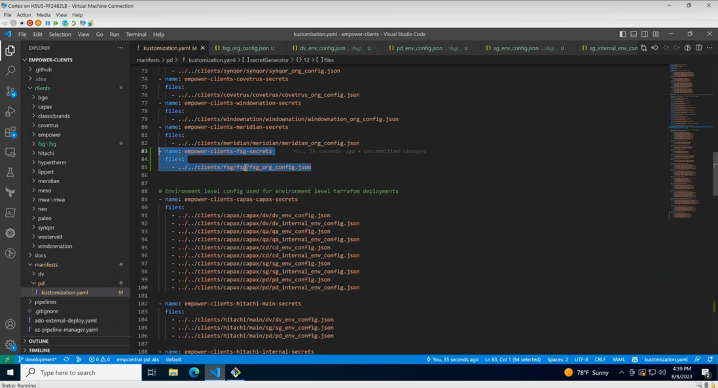
Push and PR:
6. Create Customer Configuration Files (YAML)
Move to Empower Tenant Repo and create a folder for the new client.
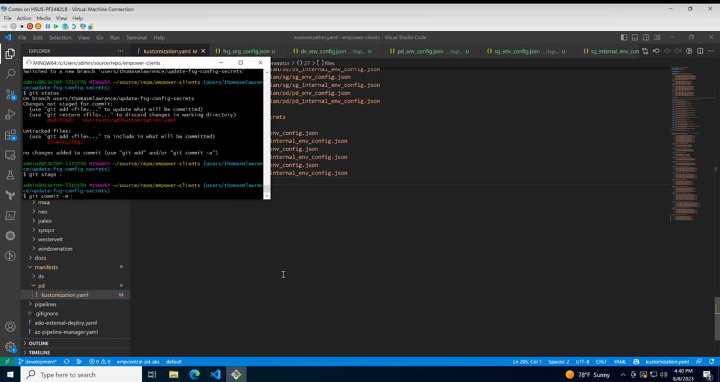
1.deploy.yaml
-Copy the config file from another client to make changes for the new client.
- Search and replace the client name.
- Change the version
Check that the following fields are correct:
- Chart
- Version
- Uiversion
- Userserviceversion
- Ismain
- coreAPIenabled
- Deployexternalorganization
- Apiversion
- coreAPIversion
- enableDBMmigration
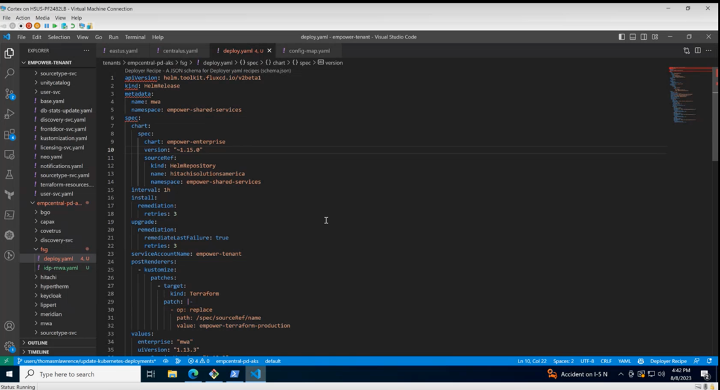
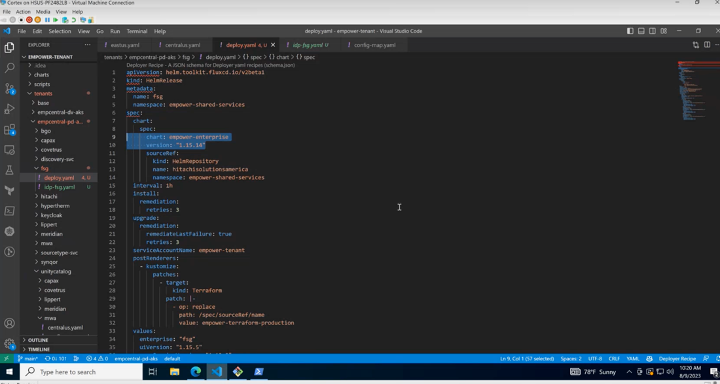
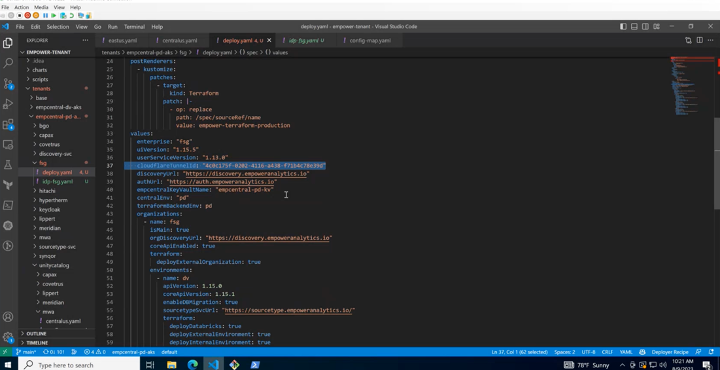
Minimal changes here, only version, etc.
2.Idp-{clientname}.yaml
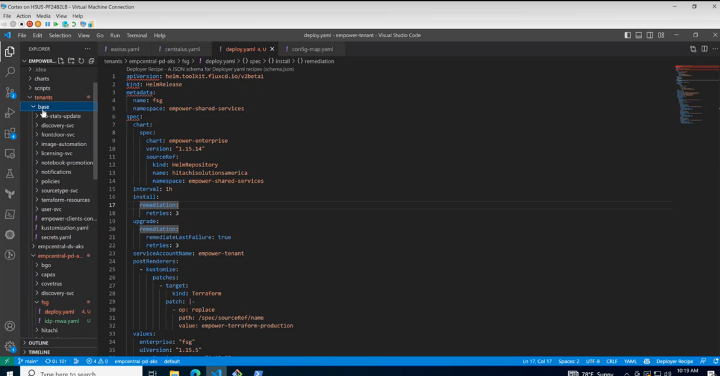
Fields that require change:
- Tenant_id's value
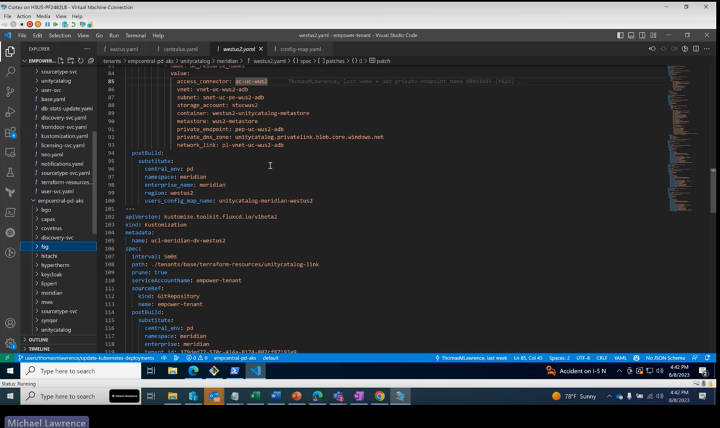
*Create {clientname}.yaml file in empcentral-pd.aks
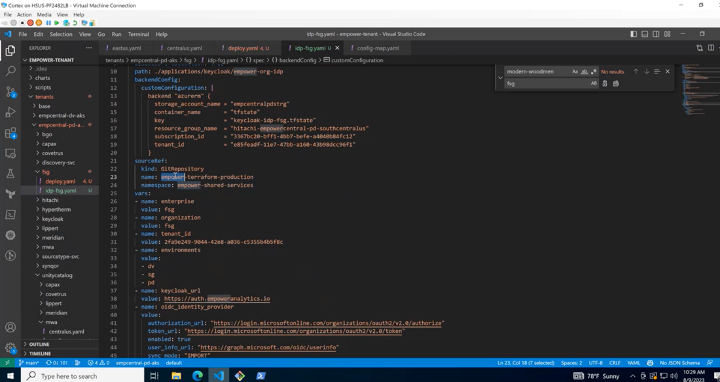
Copy the config file for the old client and paste it into the new client. Replace the client name and change:
- path
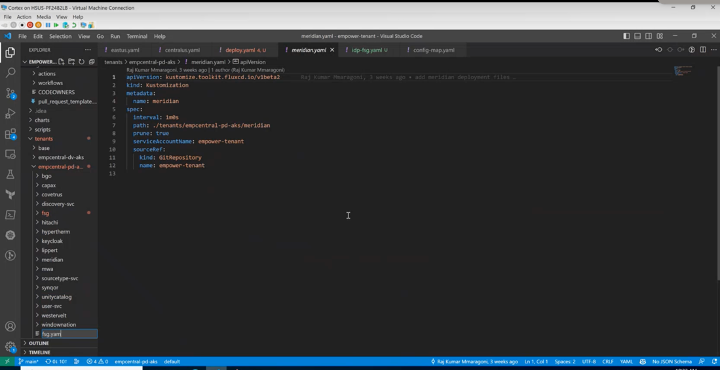
*To reference the above two files, create {clientname}.yaml file
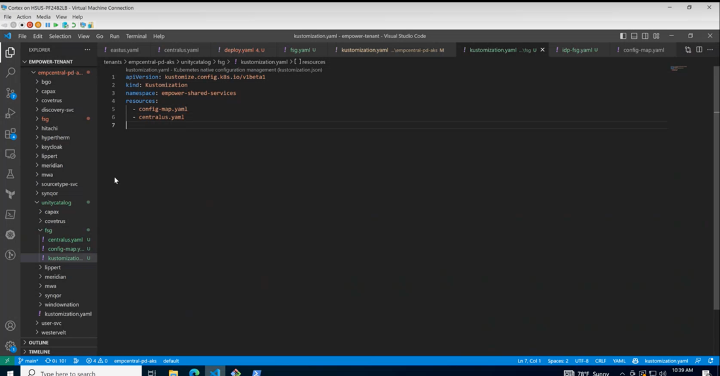
Move to kustomization.yaml file, which holds all the client YAML files, and add the client name to indicate the new client exists.
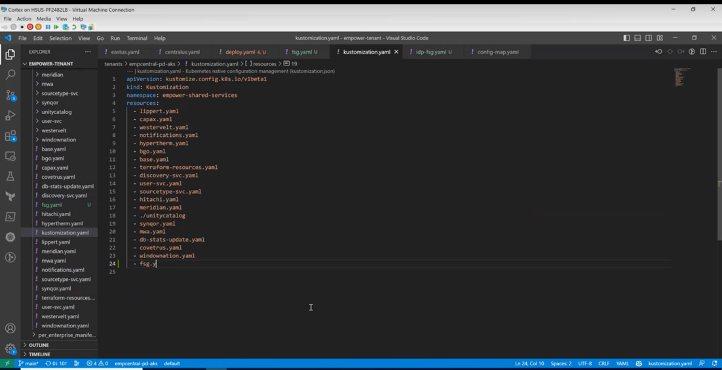
7. Create Customer Configuration Files (UC)
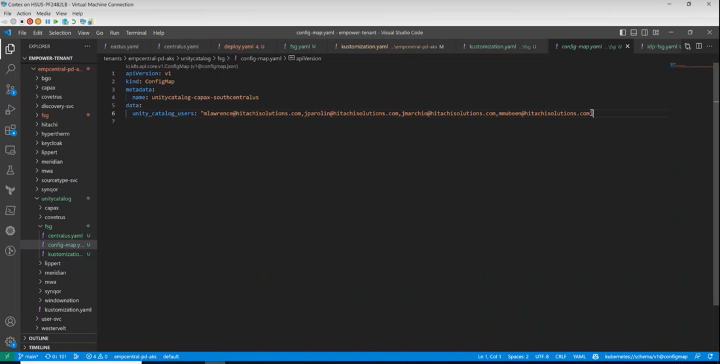
Create a client folder in unitycatalog and update the following files:
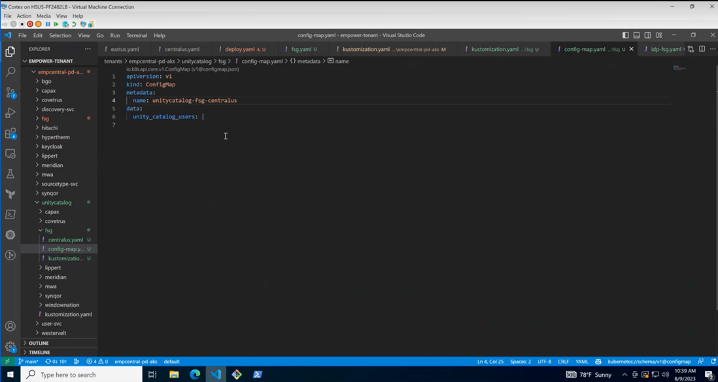
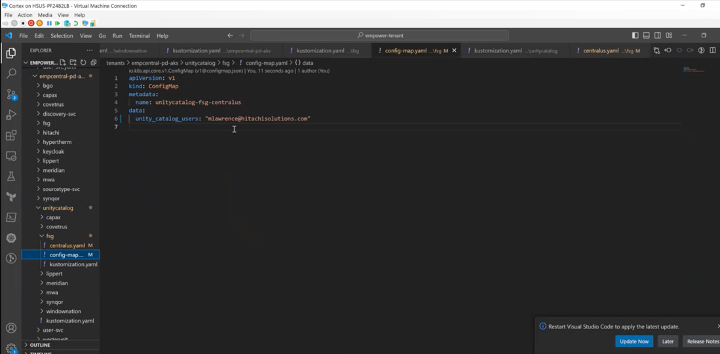
1.config-map.yaml
Change:
- Name
- Unity_catalog_users
regionname}.yaml
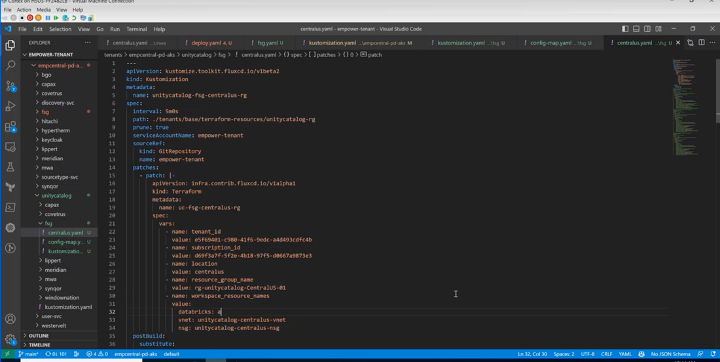
- Search and replace the new client name from the old client name.
- Replace the region name for the new client.
- Tenant_id's value
- Subscription_id
- Resource_group_name's value
- Databricks
- Vnet
- Nsg
- Location
*kustomization.yaml - This file is basically tracking which files exist, which are the above two files.
Push and PR approval on config files.
8. Start Running Azure DevOps Pipelines
Run all three internal central deployment pipelines (client-specific):
- dv, sg, pd
- Triage issues
| Client | DEV | STAGE | QA | PROD |
|---|---|---|---|---|
| BGO | ✓ | ✓ | ✕ | ✓ |
| Covetrus | ✓ | ✓ | ✓ | ✓ |
| Hypertherm | ✓ | ✓ | ✕ | ✓ |
| Lippert EU | ✓ | ✓ | ✕ | ✓ |
| Lippert US | ✓ | ✓ | ✕ | ✓ |
| MWA | ✓ | ✓ | ✕ | ✓ |
| Westervelt | ✓ | ✓ | ✕ | ✓ |
| SynQor | ✓ | ✓ | ✕ | ✓ |
Note: Run TERRAFORM first and then run PIPELINES
Solution (long term): External data factory deployment to Terraform, not the pipelines, but the actual resource itself, cut that out of Whizbang. Make Terraform the first-class citizen, so that it must run first, and this must run afterward. So, it'll automatically create that key vault, which is code for it that we can reuse to get that in.
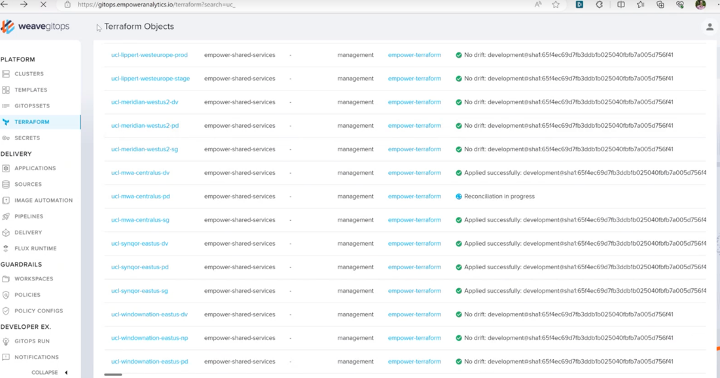
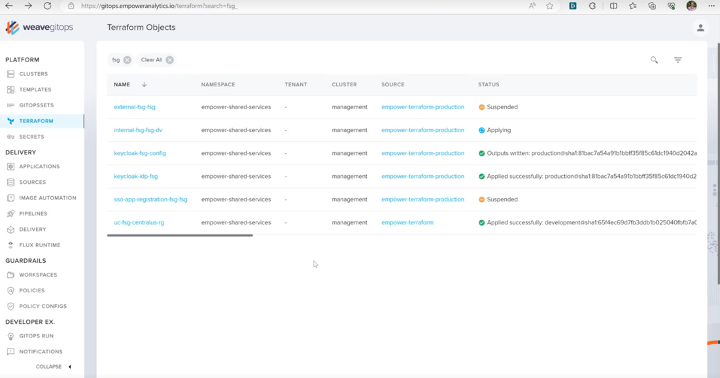
1.Go to GitOps site in the prod cluster and search for the client name in Terraform deployments and run.
Note: Make sure that whenever we have a new version of Empower, we test it against a greenfield environment. Especially, infrastructure changes need to be tested against greenfield because if we're not doing that, then we're testing them on the new customer setup.
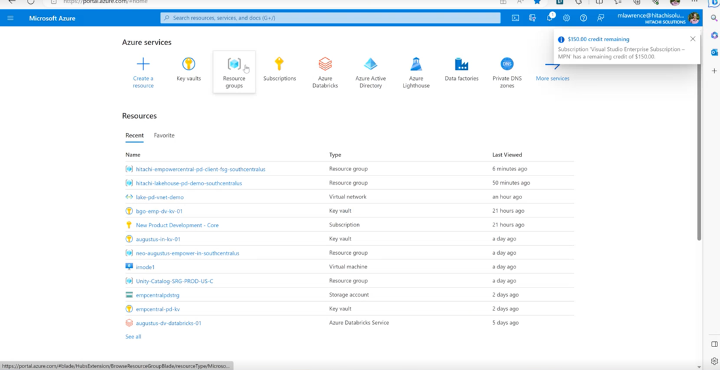
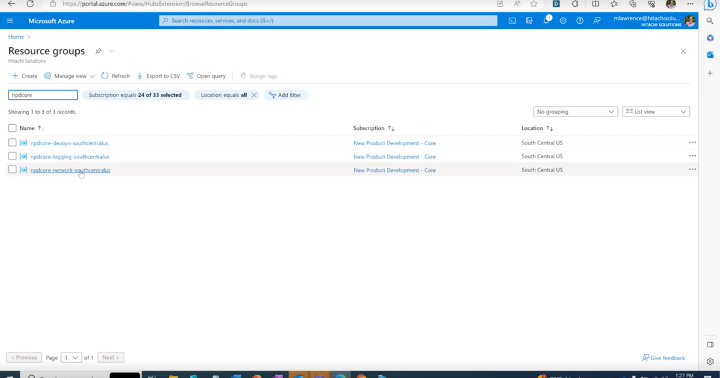
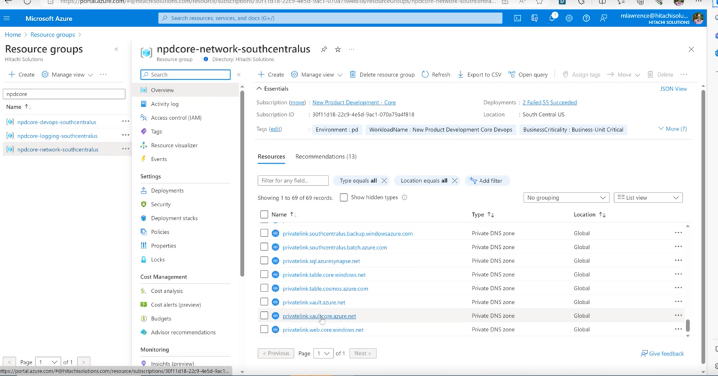
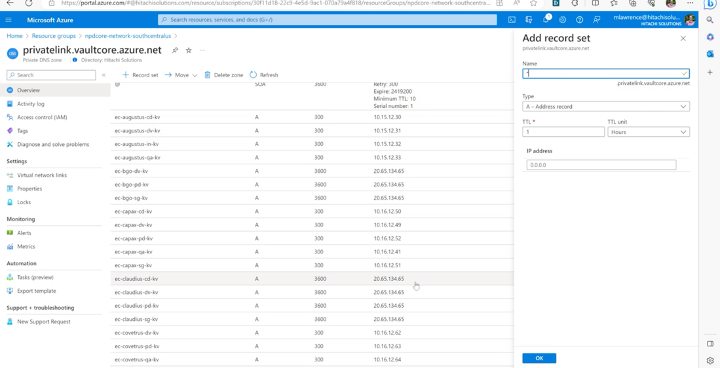
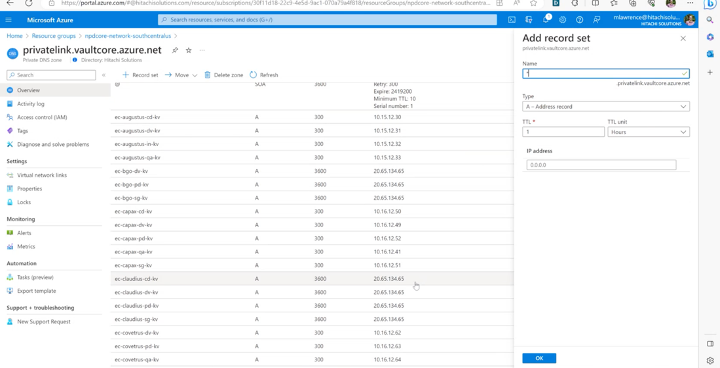
2.Go to Hitachi's tenant and into the resource group to add * record before running pipelines.
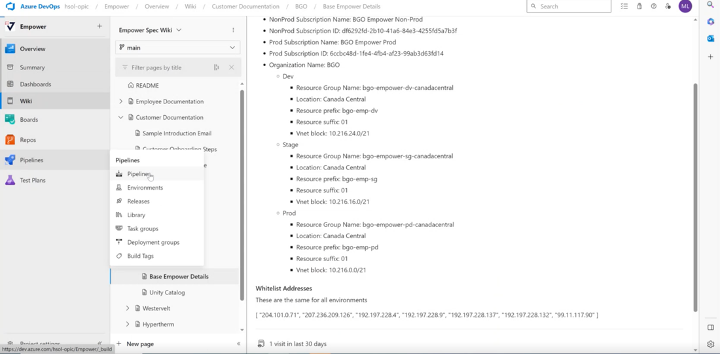
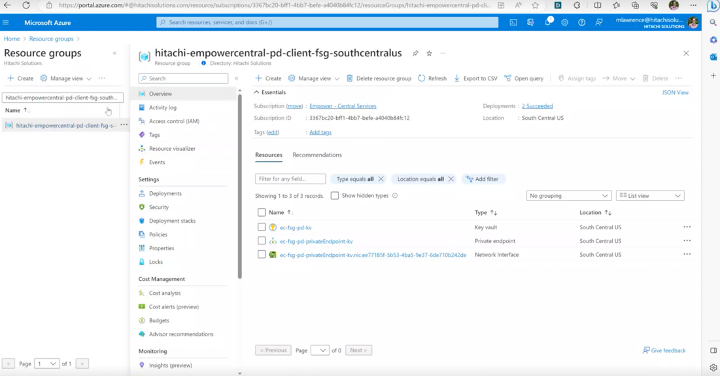
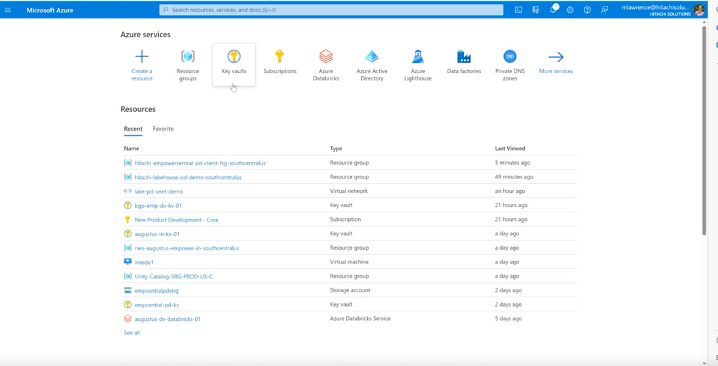
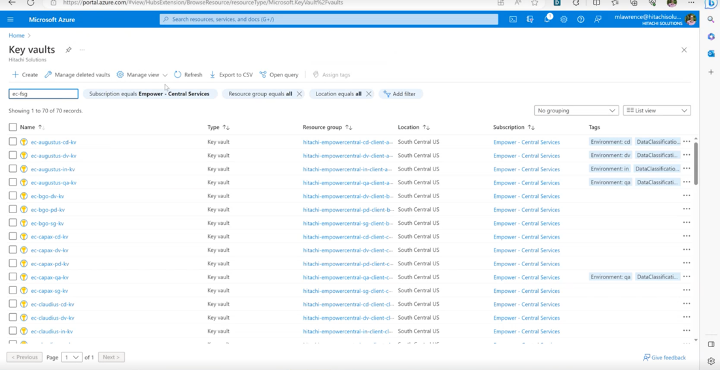
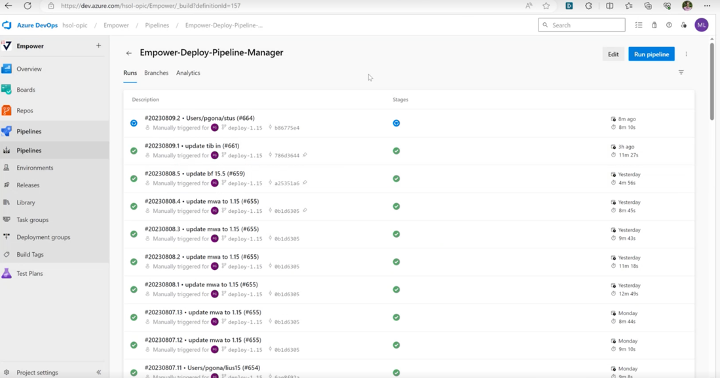
3.Go to Empower-Deploy-Pipeline-manager and run the pipeline:
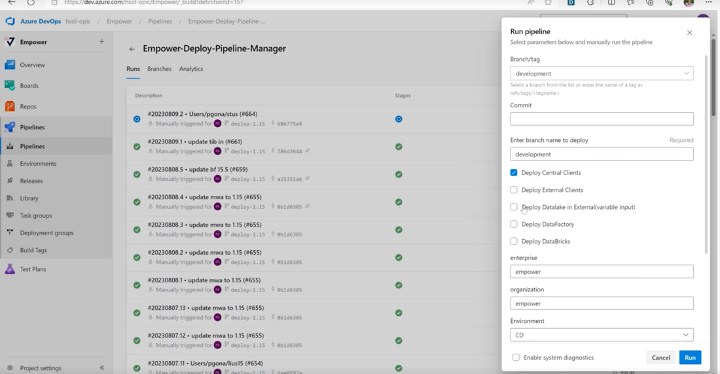
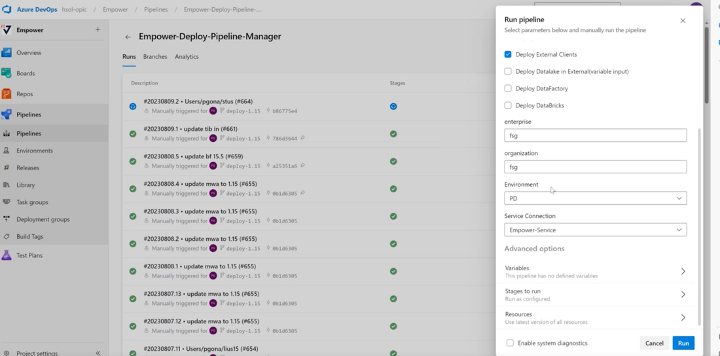
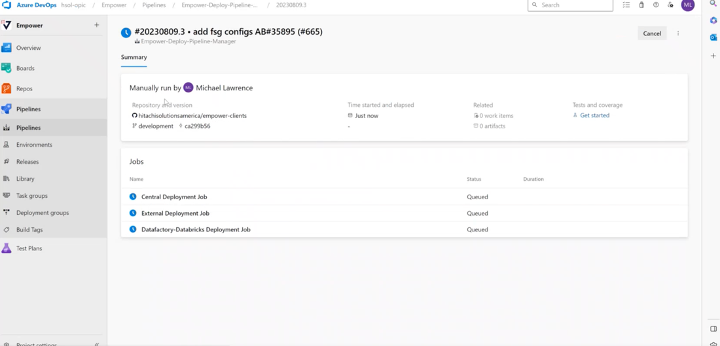
4.Repeat the above steps for the other environment only to deploy central clients.
9. Create the customer service connections in ADO
(This step requires global administrator access)
Prerequisites: tenant id for client, prod subscription name, prod subscription id, non-prod subscription name, non-prod subscription id
1.Click on Service Connections:
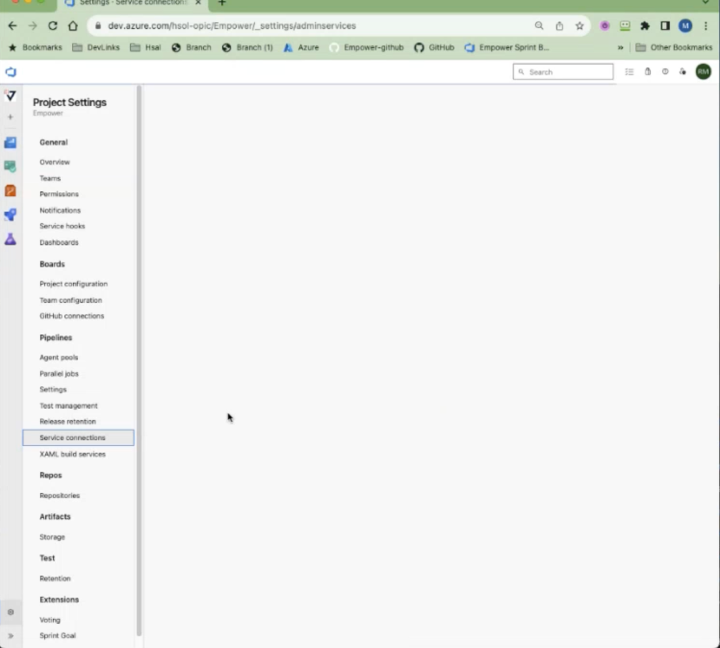
2.Open any reference client.
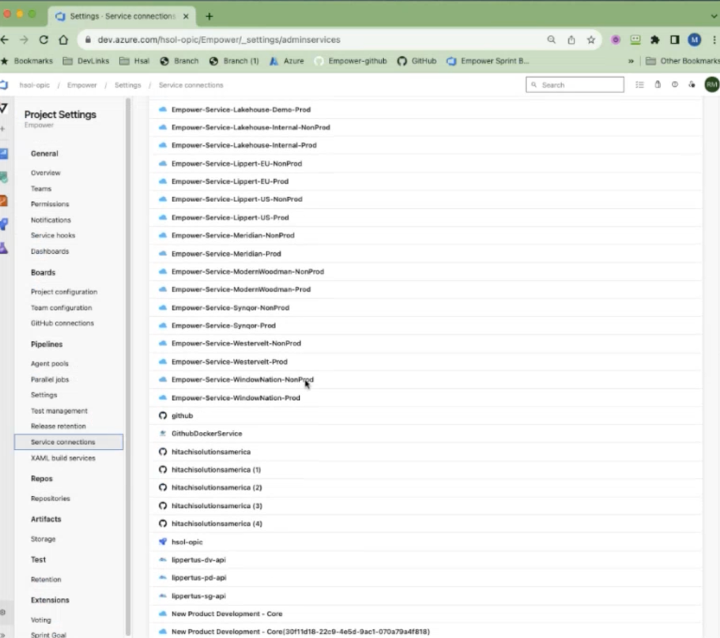
3.Create a duplicate and edit to create a new service connection.
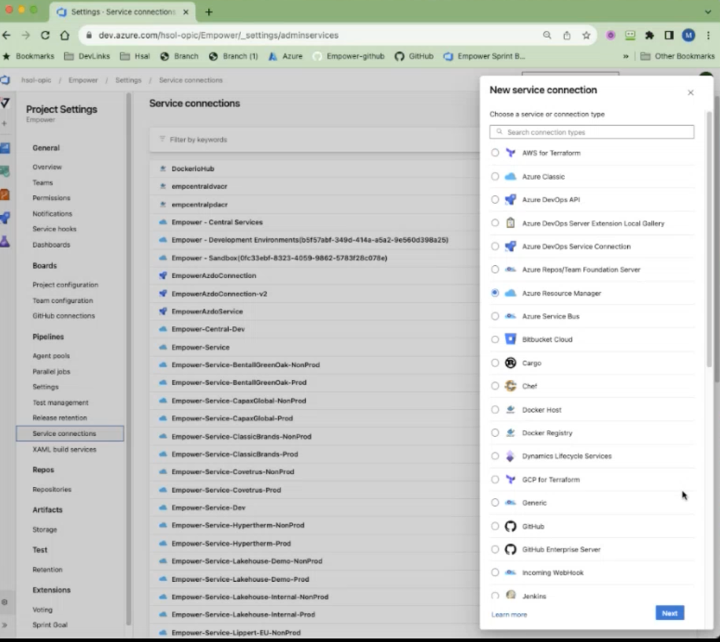
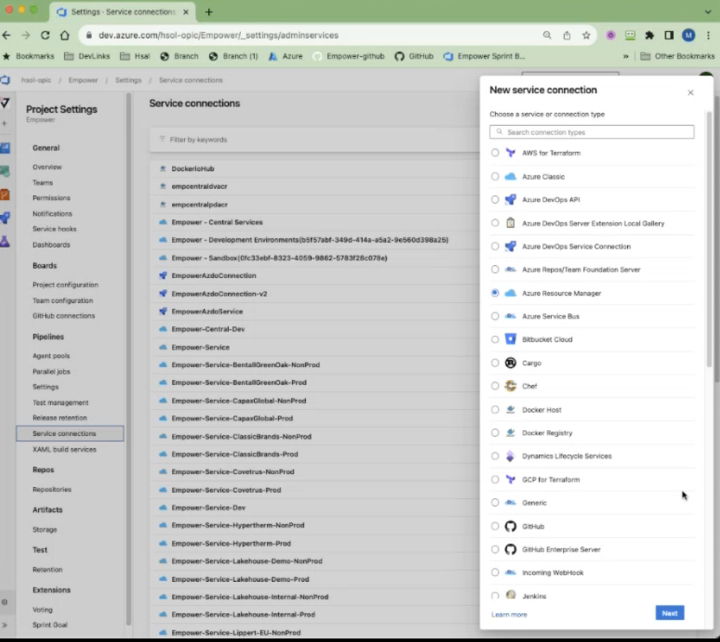
4.Click on Azure Resource Manager and hit next.
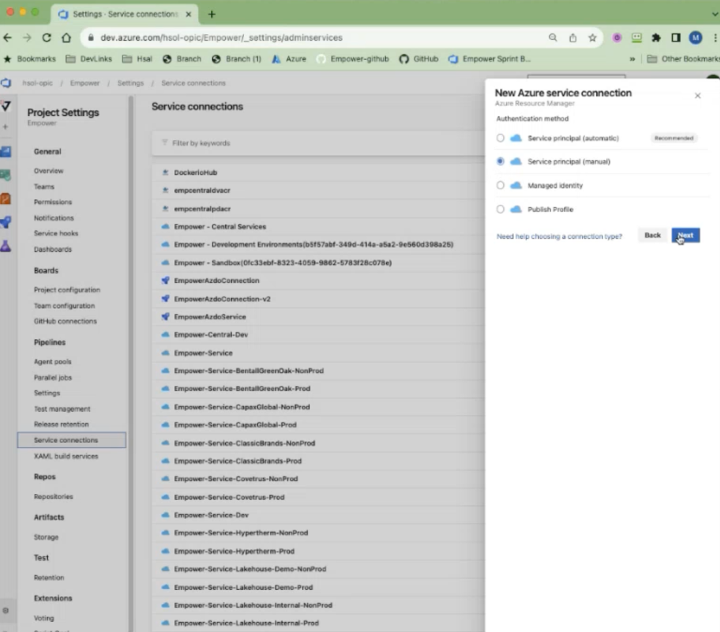
5.Click on Service Principal (manual).
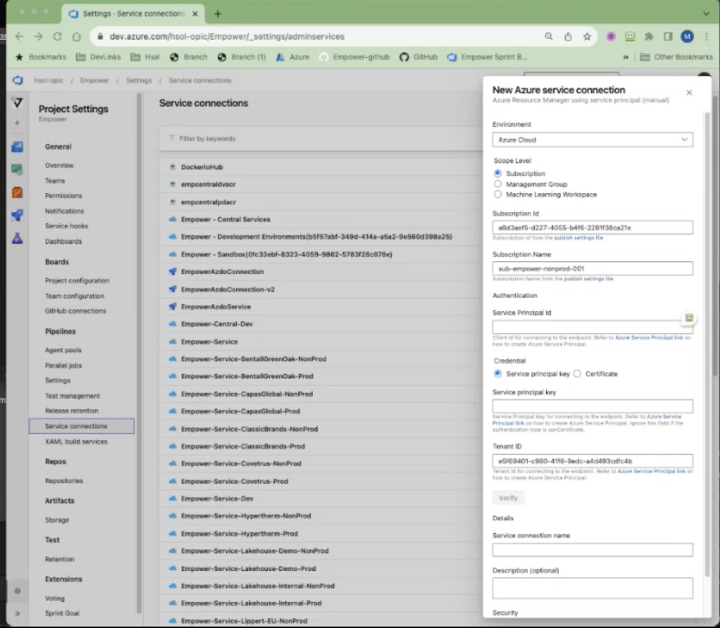
Fill in:
- Subscription id
- Subscription name
- Tenant id
- Service Principal id (same for all clients)
- Service Principal key (same for all clients)
- Service connection name
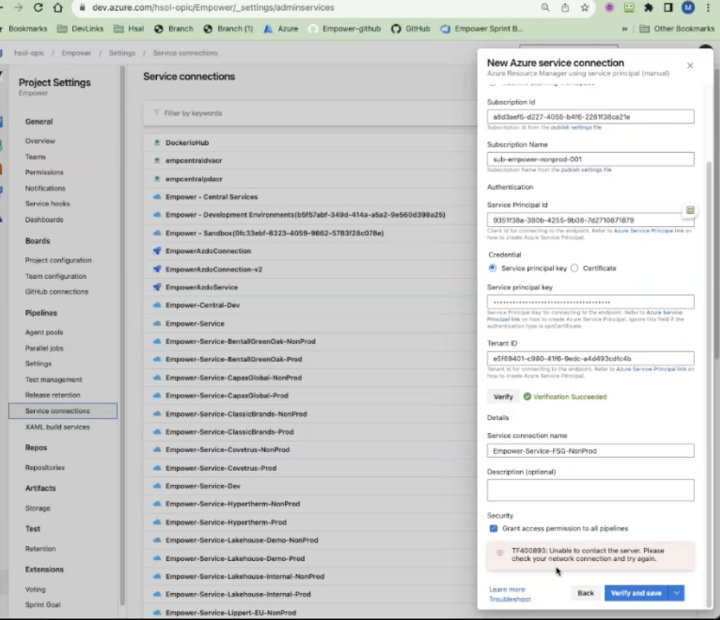
6.Verify and Save.
7.Repeat the above steps for other subscriptions (done only for prod, non-prod)
8.Merge PR from Empower tenant which had all manifests in it
10. Run the external client logging pipeline and triage issues
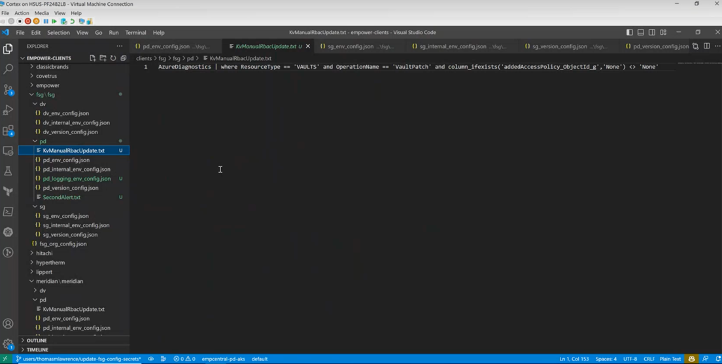
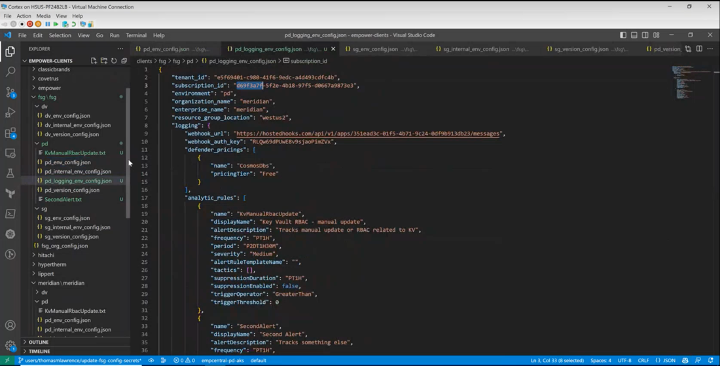
1.Deploy the resource group to the customer's prod subscription, copy and paste in the tenant ID and subscription ID in the customer's prod-specific subscription. So, it knows where to deploy it.
Pd_logging_env_config.json
Change:
- Tenant_id
- Subscription_id
- Organization_name
- Enterprise_name
- Resource_group_location
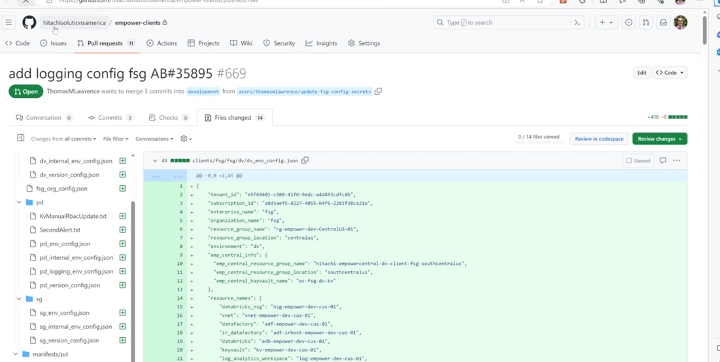
2.Create a PR with respect to the story number after updating the branch.
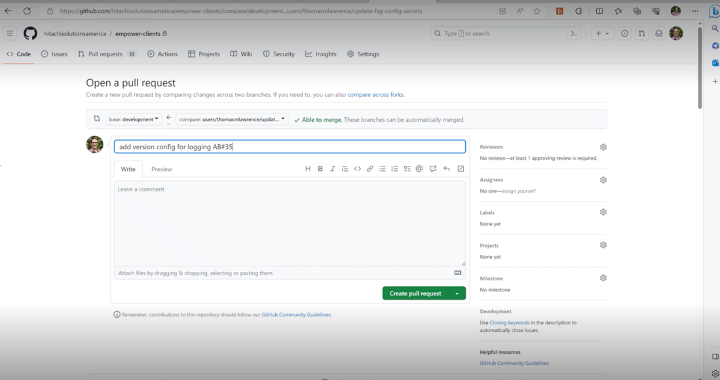
Add version config after updating the branch.
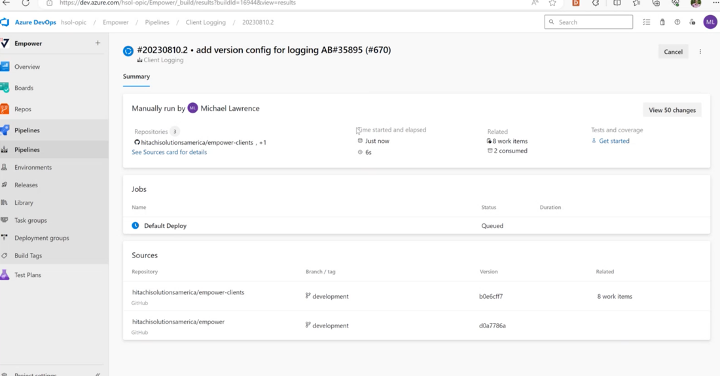
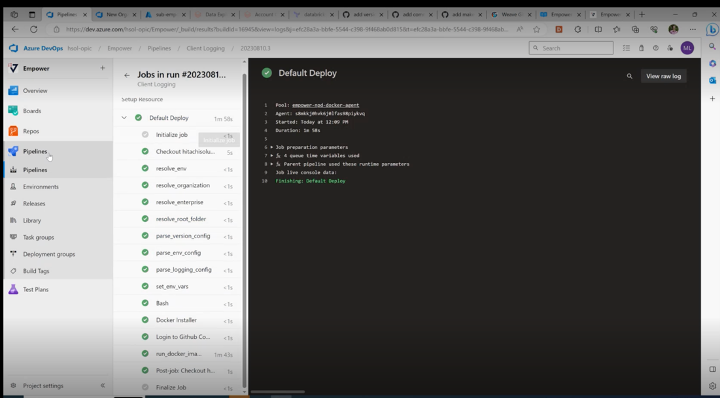
3.Run the client logging pipeline.
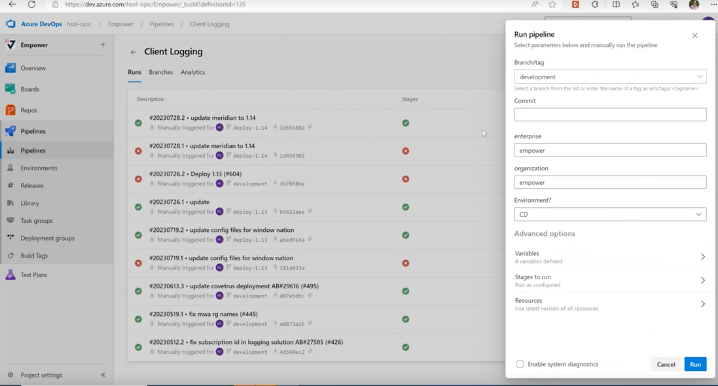
PS - The outputs of our pipelines are stored in our central storage. The above is customer-based, so it should go to the prod central storage.
Pd_version.config.json
11. Create dev, stage, and prod external resource groups
We create these resource groups because the external deployment pipeline doesn't make them. Creating empty resource groups in the customer environment
1.Go to resource groups and click on "Create".
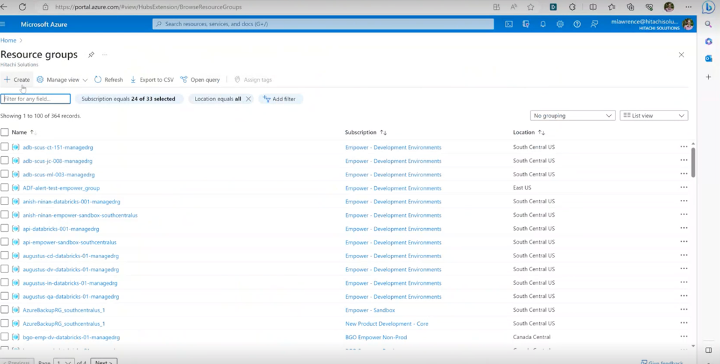
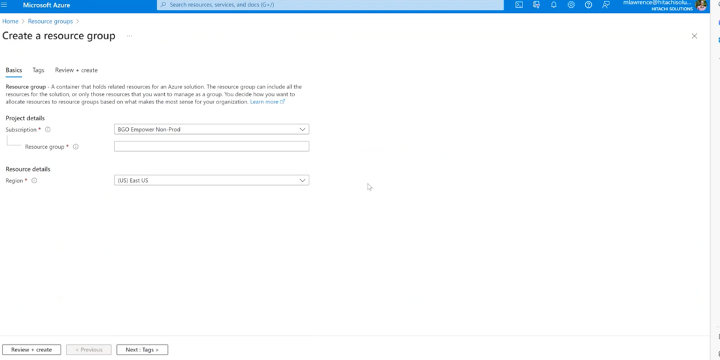
2.Add the name, make sure you choose the right subscription, right location, and then hit "Review and Create".
12. Run the external prod infrastructure pipelines
1.Go to the Empower Deploy Pipeline Manager and run just the external client's pipeline in client prod.
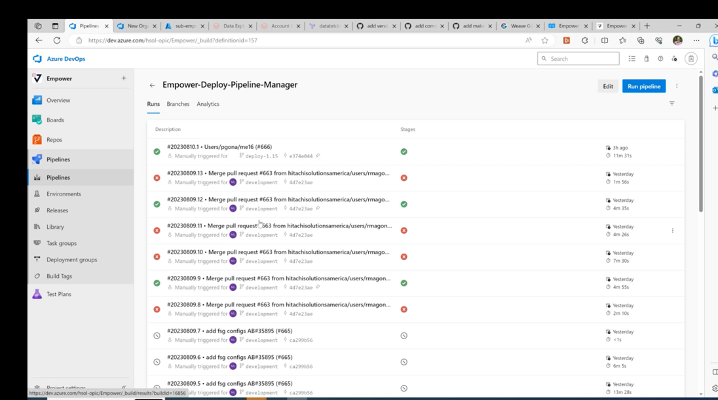
2.Add the two service connections created to:
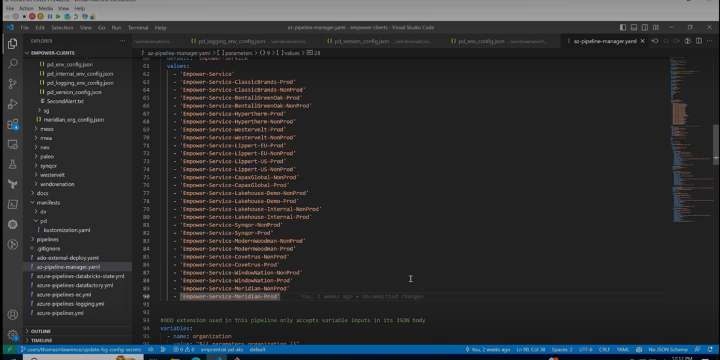
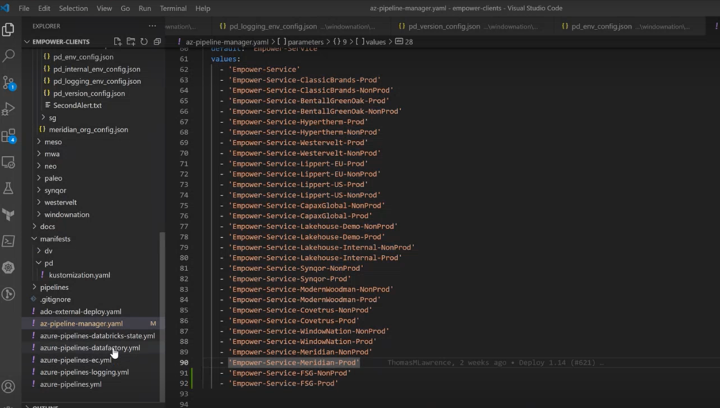
3.Also, add here.
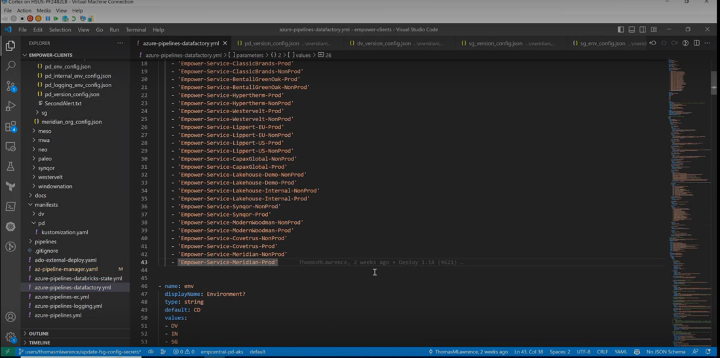
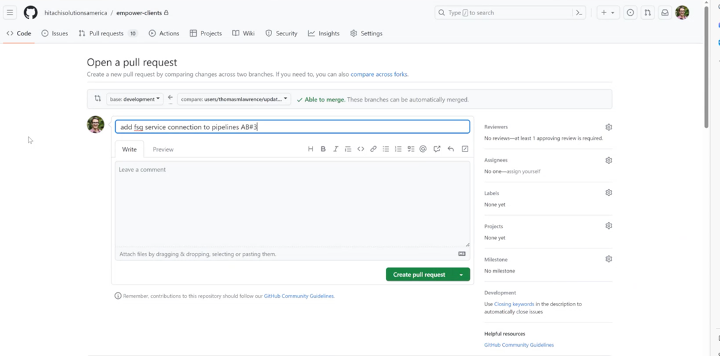
4.Create a PR with respect to the story number after updating the branch (there will be an error here: Main process data factory deployment helper warning. The integration runtime must be installed on a virtual machine before it can be linked).
13. Meet with customer and install the integration runtime
*Install the customer integration runtime (If the client does not have On-Prem data sources, we can do this without the client)
Link: https://docs.empoweranalytics.io/empower/docs/integration-runtime-setup
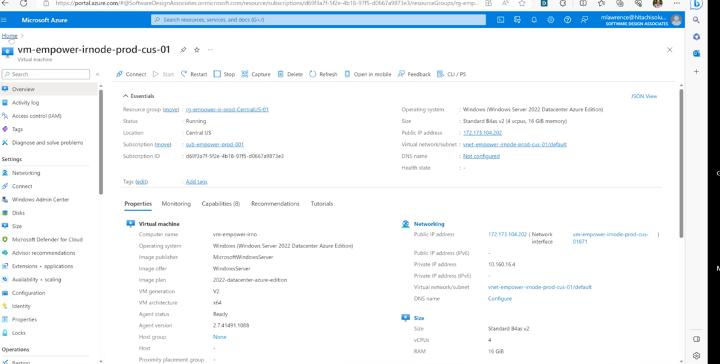
1.Create 2 VMs (available in readme) for automatic integration runtime updates.
PS: The 2 VMs cannot have the same name.
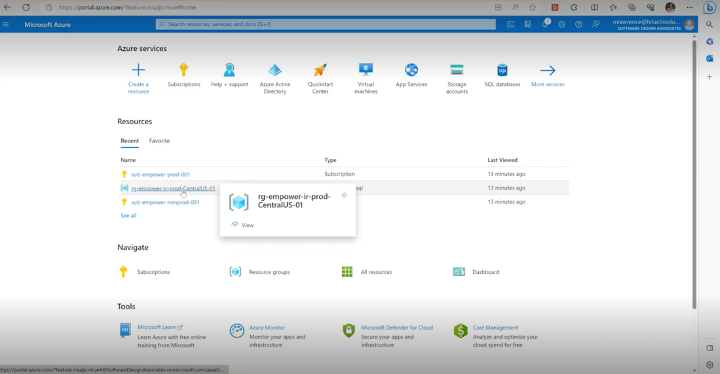
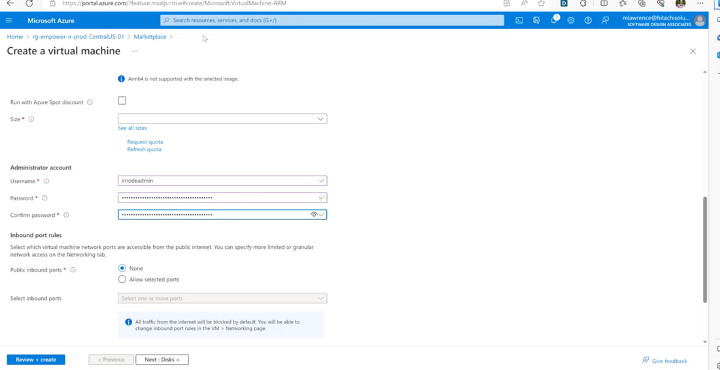
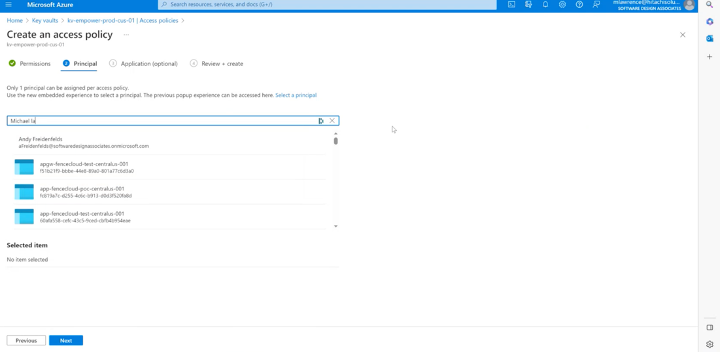
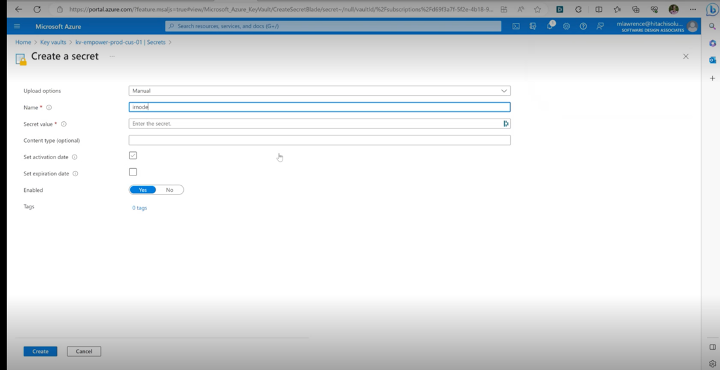
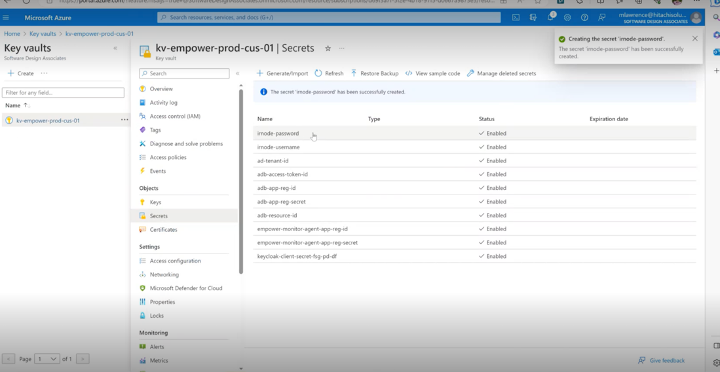
Irnode-password and irnode-username
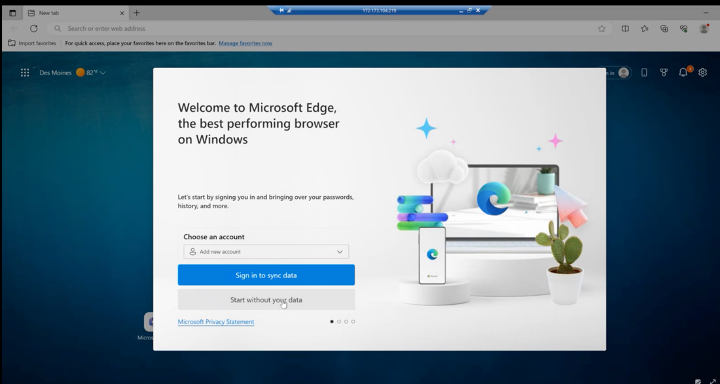
2.RDP into each VM; open Edge and run the file in Hitachi storage account (This file sits in Azure and in Hitachi's tenant in a central storage account. So, it sits in this EMP central prod storage account. It sits inside this container called empower ODBC installer via Cloudflare warp) which is an installer. It's a custom installer that we have created that will need to run on each VM. Copy and paste this over into each VM.!
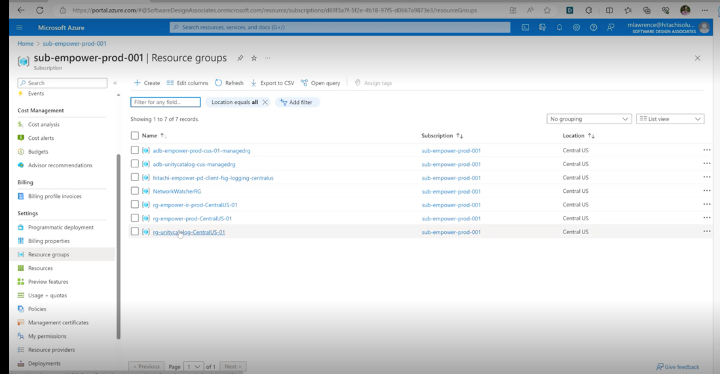
3.Go to the customer prod resource group and find the storage account: empcentralpdstrg found in the container empower-odbc-installer.
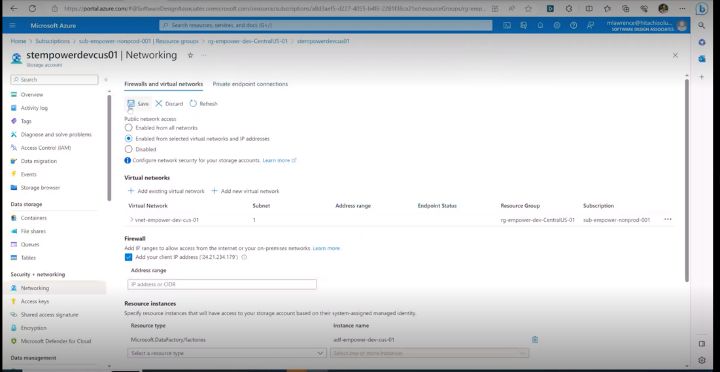
4.Add yourself to the network. Add your IP to the firewall anytime you're doing storage account work, you'll need to do that.
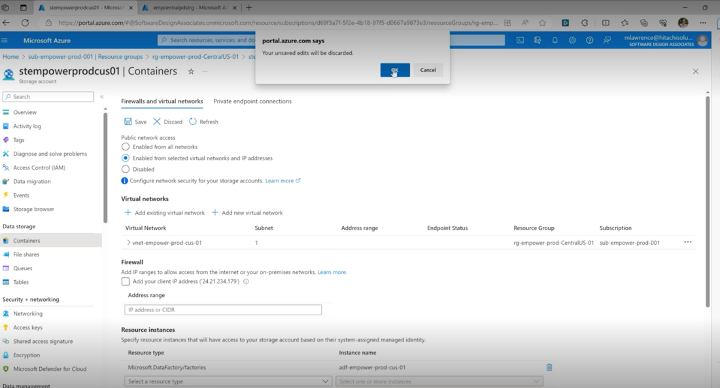
5.Go to containers and create a new container and call this empower ODBC installer. Make that container and then store the file in that container.
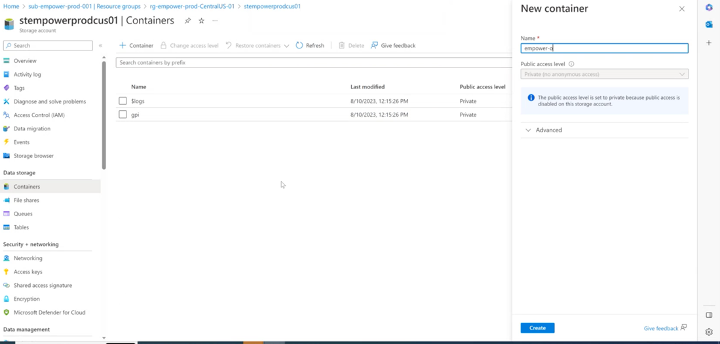
6.Now, customers can download that installer.
Go to Microsoft Download Center Integration Runtime.
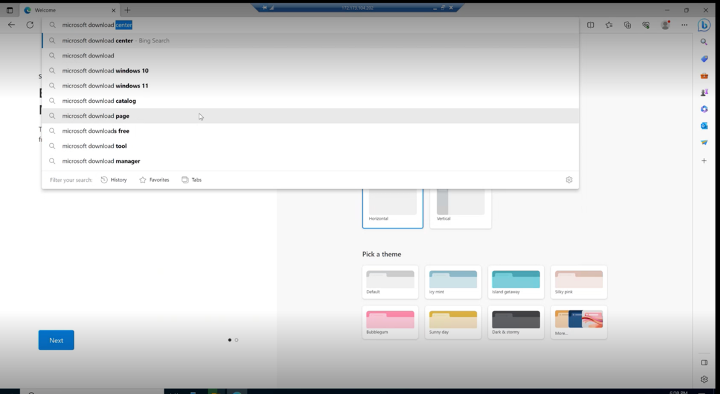
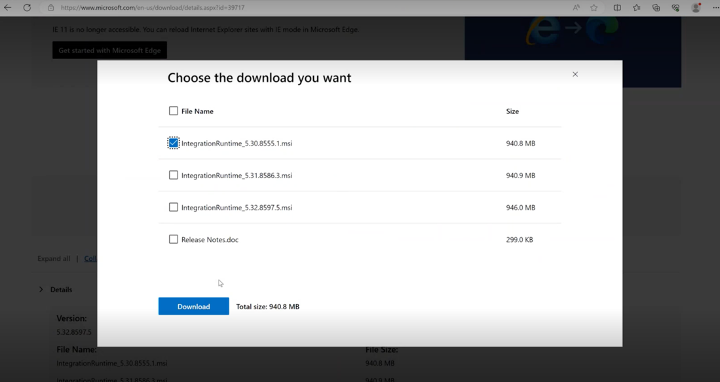
7.Download the latest version.
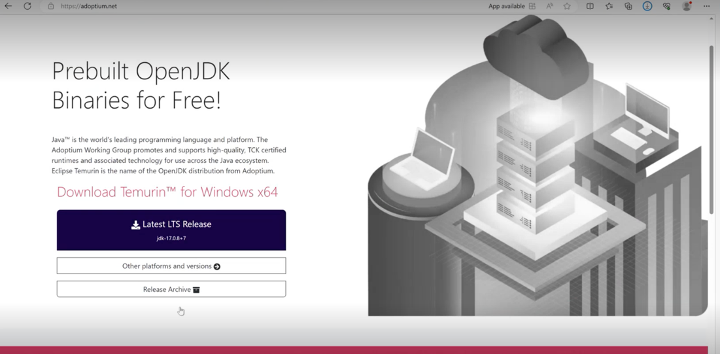
8.Go to Adoptium JRE 16.
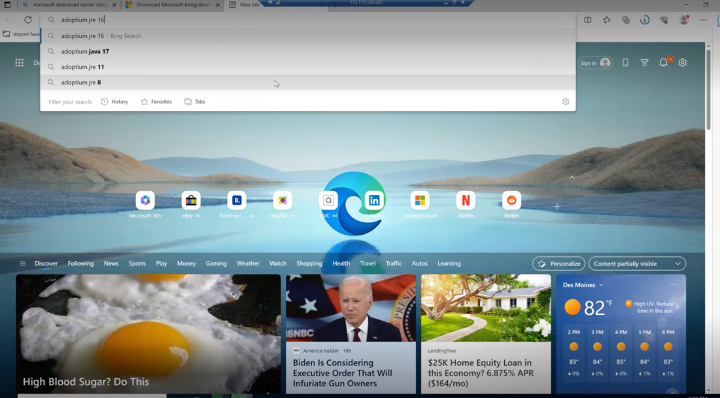
9.Go to the release archive.
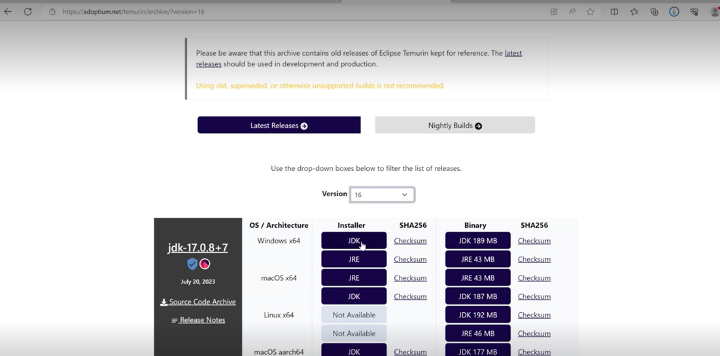
10.Select version 16.
11.Repeat the steps for VM 2 run above two files on both VMs.
Above needs to be on the Microsoft Marketplace so that the customer can create it from the Microsoft Marketplace easily.
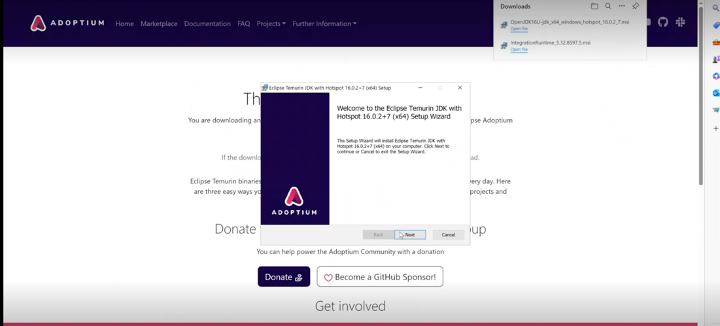
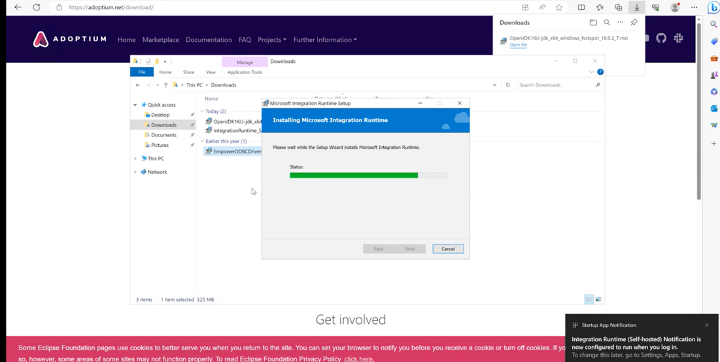
12.Run our customer custom installer on both VMs.
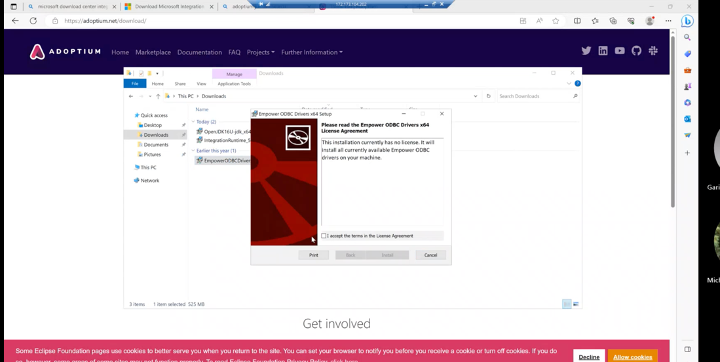
13.Go to prod subscription resource group.
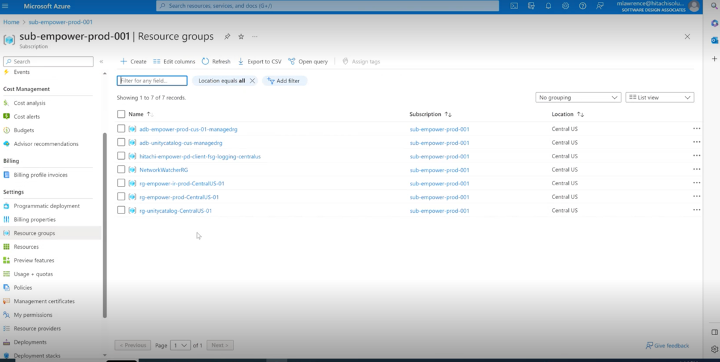
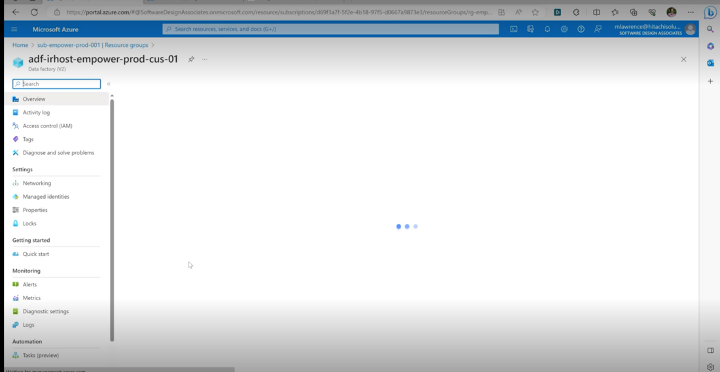
14.Go to Prod resource group and to the irhost data factory.
15.Manage integration runtimes.
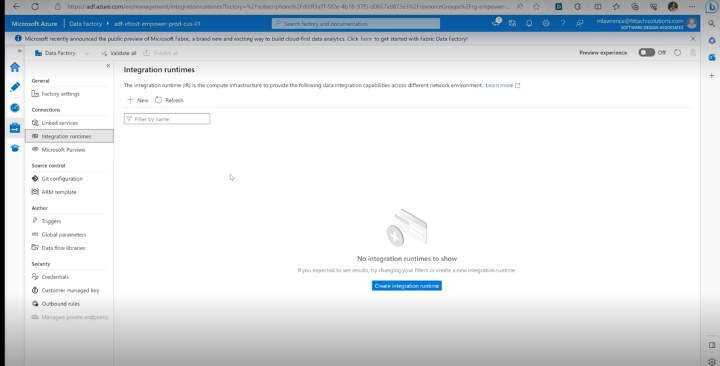
PS: If it is unavailable, grab one of these keys. Go into one of the VMs, use the key here, click on "Register". Make sure to check "Enable remote access from the Internet", "Enable remote access without certificate", and then click "Finish".
15. Flip feature flags in YAML file
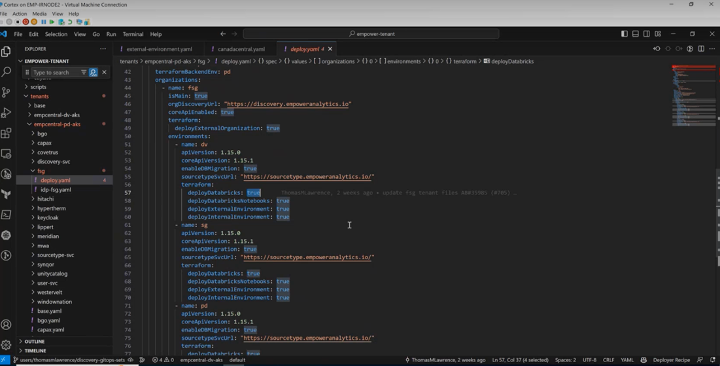
Go to the manifest YAML files and flip on the feature flags.
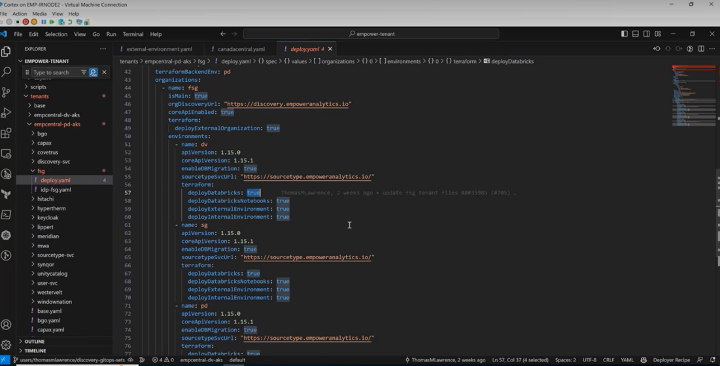
Note: We don't do this too early because if we turn these on too early, they'll just fail.
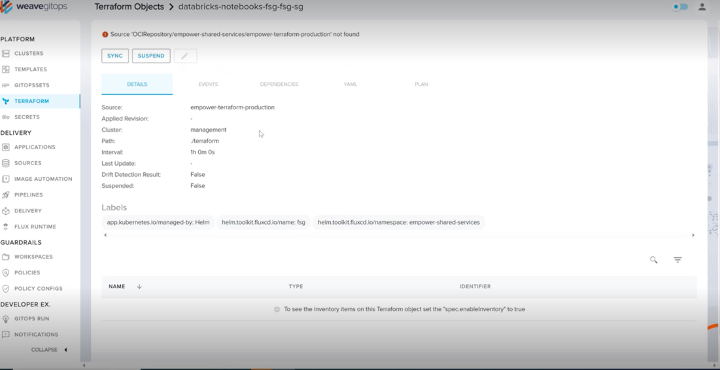
16. Check if all Terraform deployments ran successfully
1.Go to the prod cluster and search for the client's name.
Error: If the below fails
Before we set up the Databricks notebooks through Terraform, we've got to set up the OCR repository, which is basically a container repository where the Databricks notebooks are going to be found, but we have a pipeline that can run it. This is just a current issue with our Terraform deployment versus our central deployment. A secret already exists that needs to be deleted and recreated.
2.Search for 3 internal key vaults.
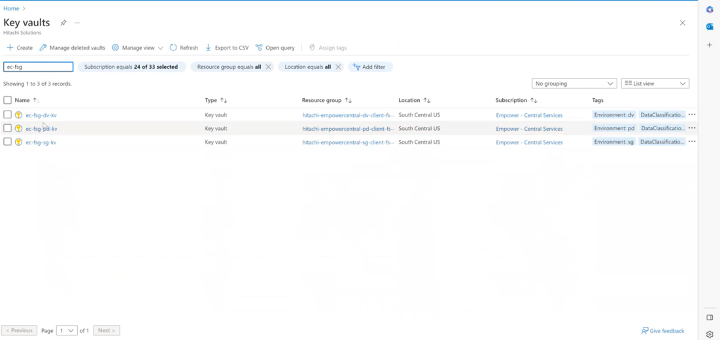
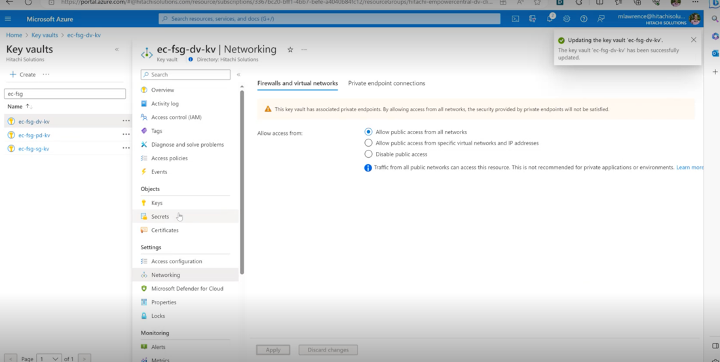
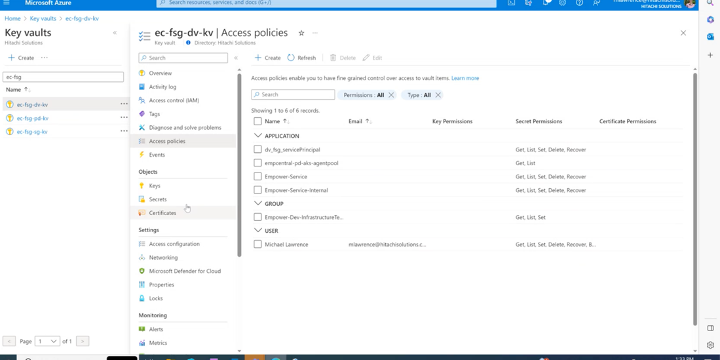
3.Give access policy to SRE and networking access (for a brief period).
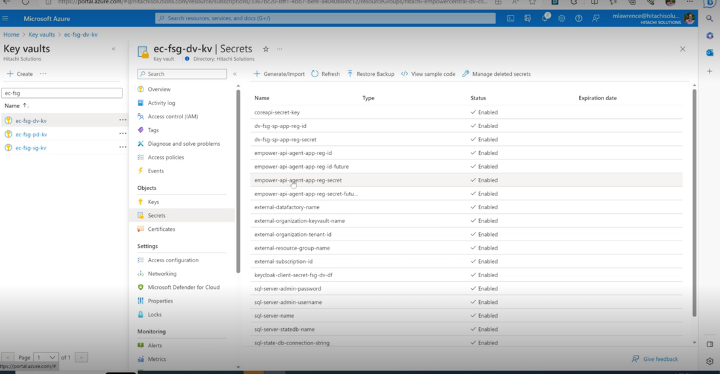
4.Delete empower API agent app Reg ID, not the future one, and empower API agent app Reg Secret.
5.Re-enable networking for each key vault.
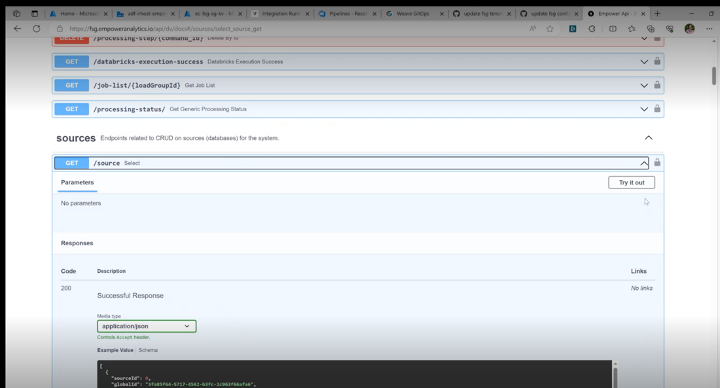
17. Check the API version number and test any GET ALL endpoint and check version is correct
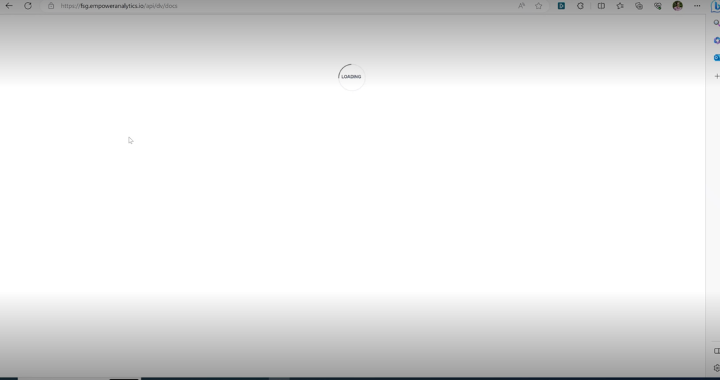
• Go down under sources and get endpoint and click lock
• Type “empower” into the client ID. Log with SSO
• Log in with your Hitachi account
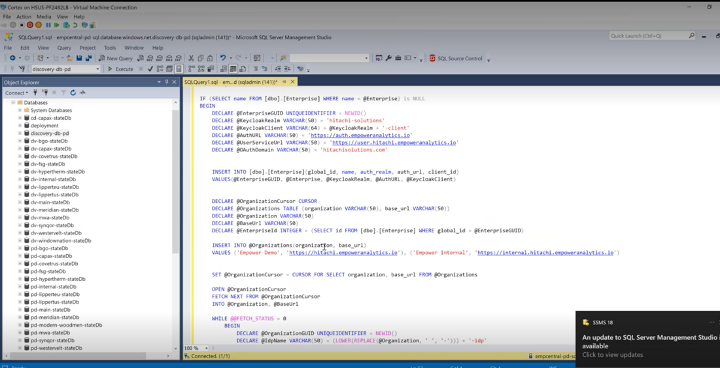
18. Populate the discovery database
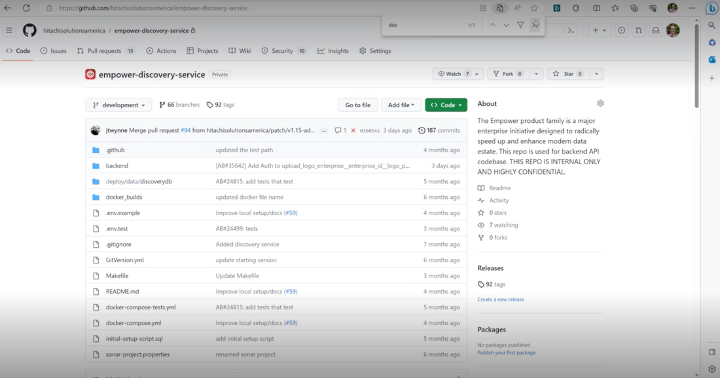
There is a script, but the config input is manual.
The script is found in the Empower Discovery Service repository, and it's called initial_setup_script.sql.
1.Open SQL Server Management Studio.
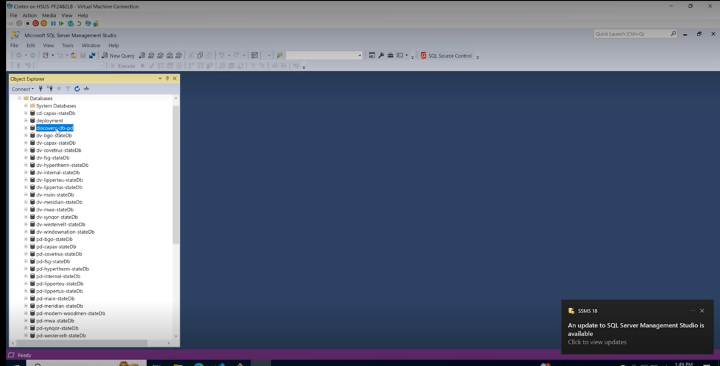
2.Log in as admin, go to databases, and access the Discovery database prod. Run a query against this.
3.Change the name of the client/values in the script (this is going to show in the UI).
19. Check the user service
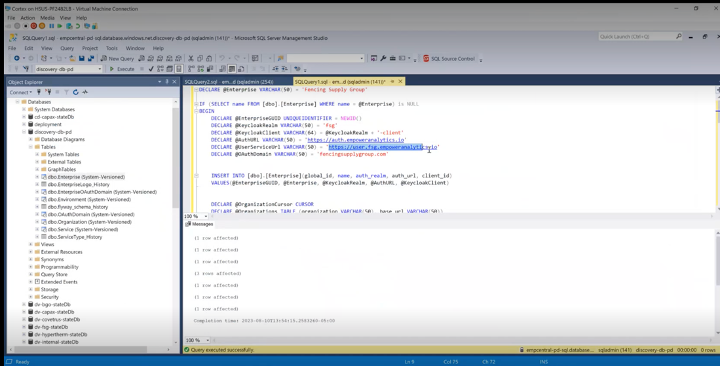
This step relates to the one above.
1.Go to docs.
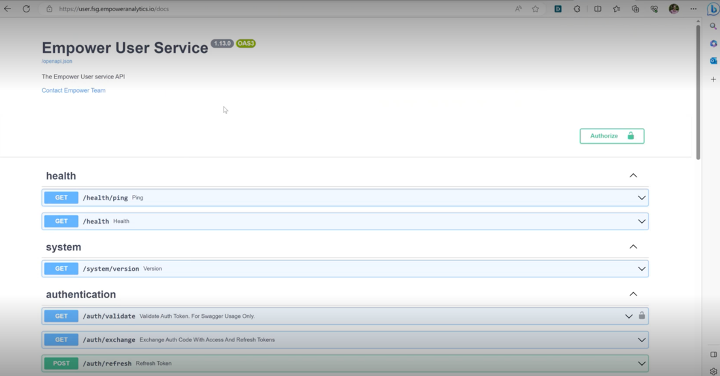
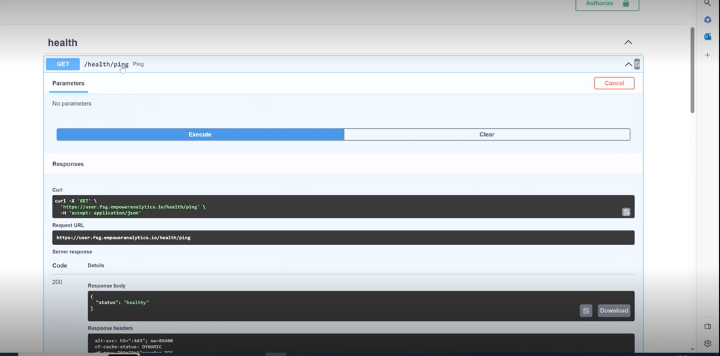
2.Perform a health ping.
20. Check the UI version number and smoke test the UI
1.Search without the API and log in.
2.Check if the new client exists.
21. Update the data factory pool ID
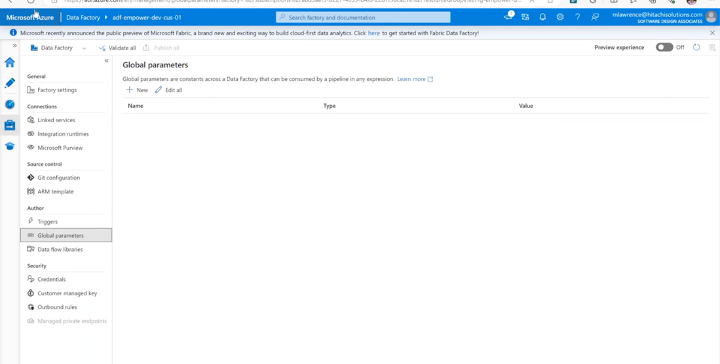
22. Check the data factory global parameters
This is just us checking them to make sure they look good.
23. Create the Databricks secret scope
24. Run the Databricks mount point job
25. Create the jobs state config and dropbox Data Lake folders
26. Deploy Unity Catalog resource group
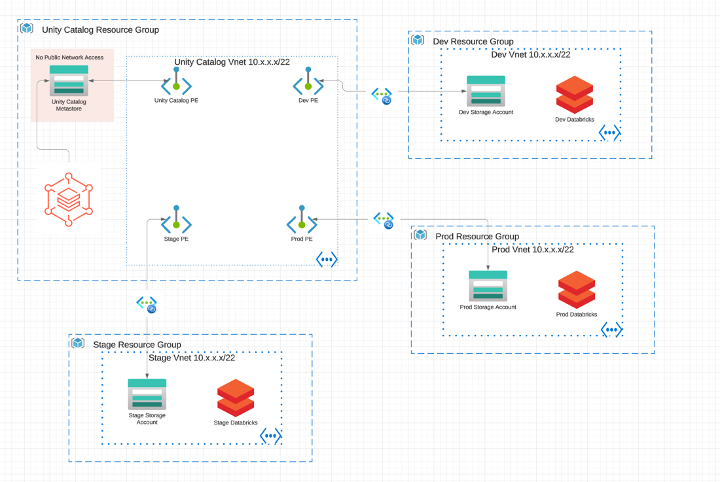
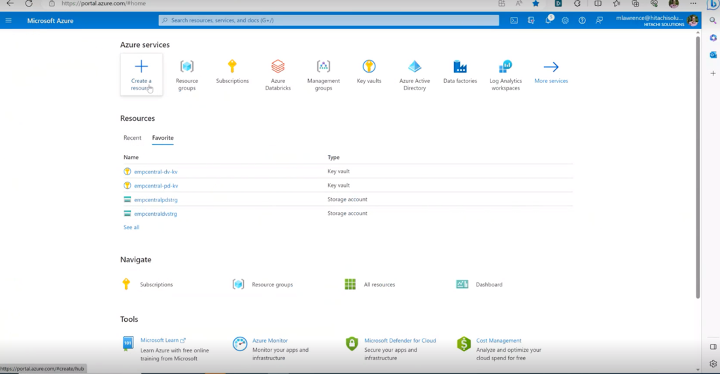
1.Go to resource groups in any customer environment and click on "Create".
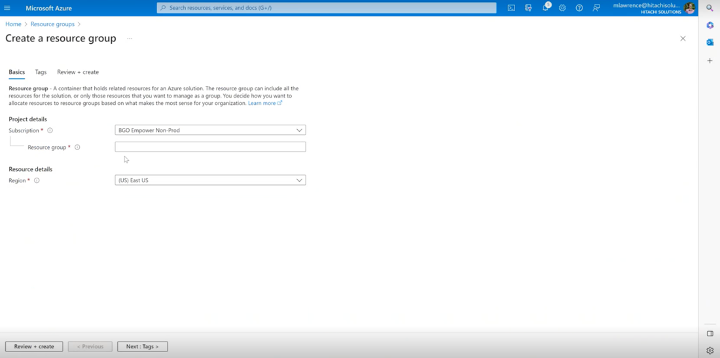
2.Enter the name and location, then click on "Review + Create".
27. Deploy Unity Catalog Metastore and Associate dev, stage, and prod Databricks workspaces with Unity Catalog
Resource Group needs to run first, then metastore, then association. Don't PR all of those at once; comment/uncomment the association in each when on steps for UC setup.
1.Comment on the config files:
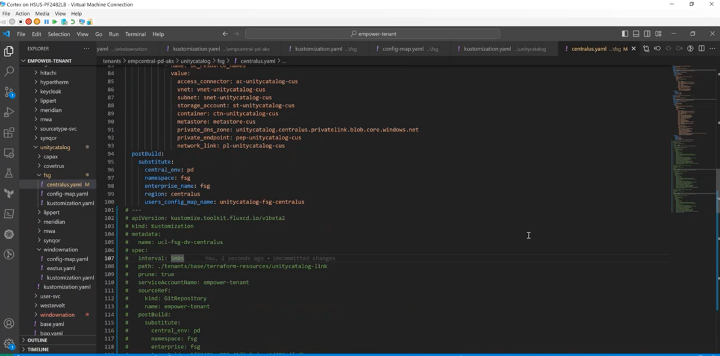
2.Push
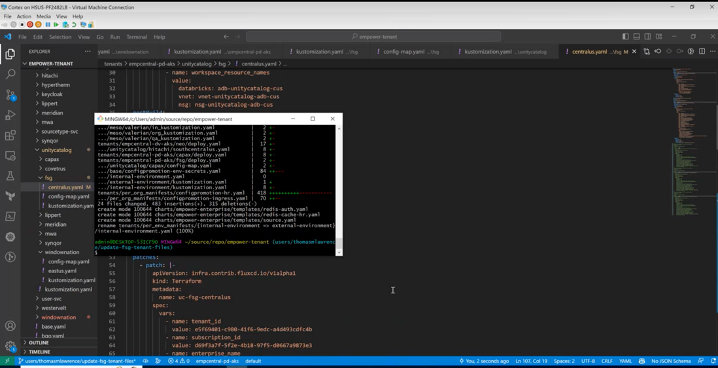
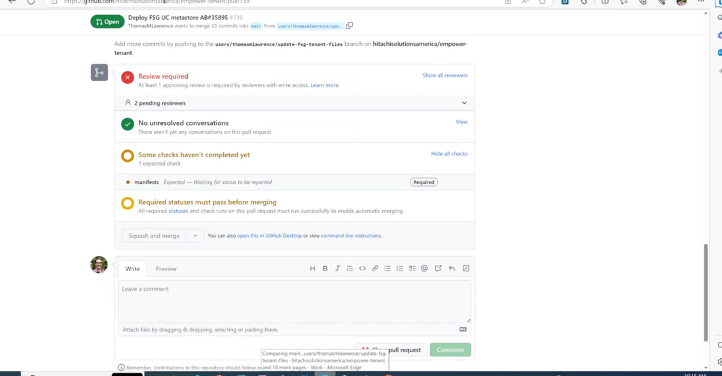
3.Create a PR
4.Go to Weave GitOps site.
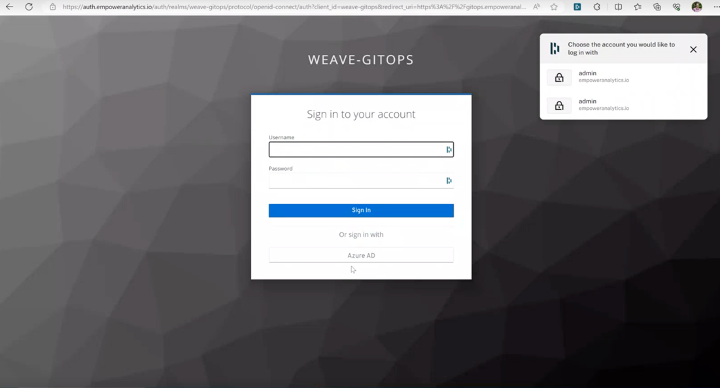
5.Search for the client name.
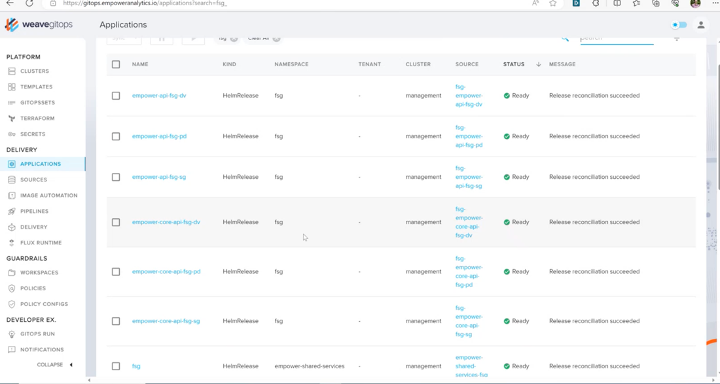
6.Sync
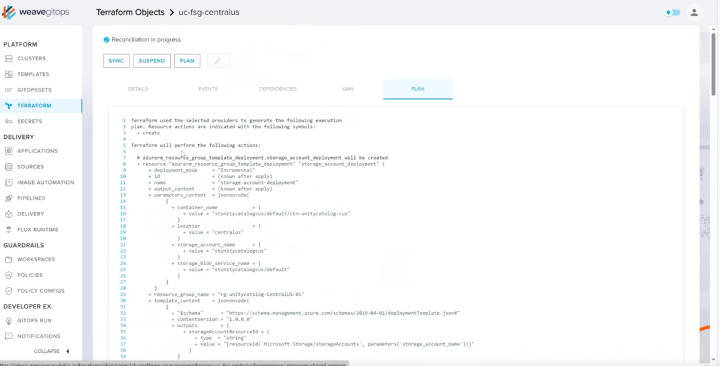
7.Uncomment below.
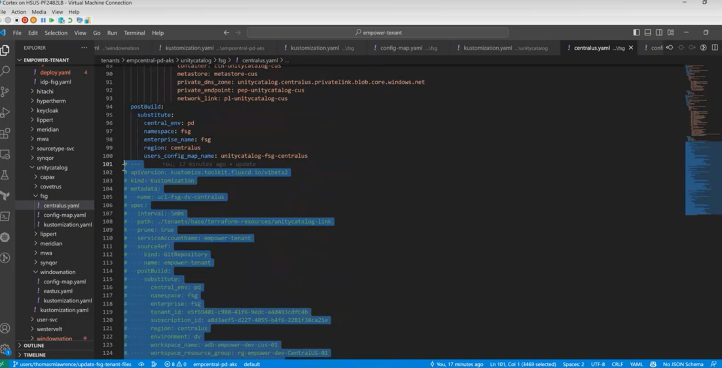
8.Push
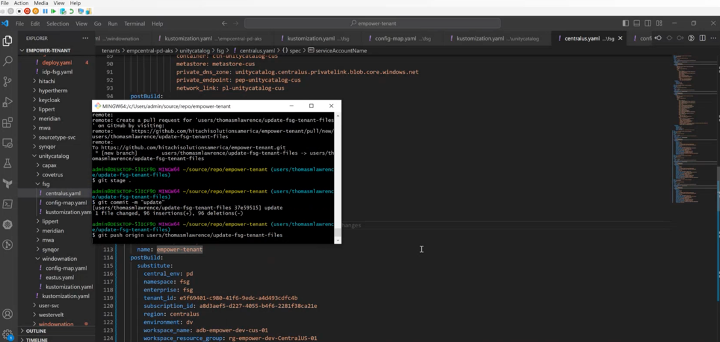
- Create a PR
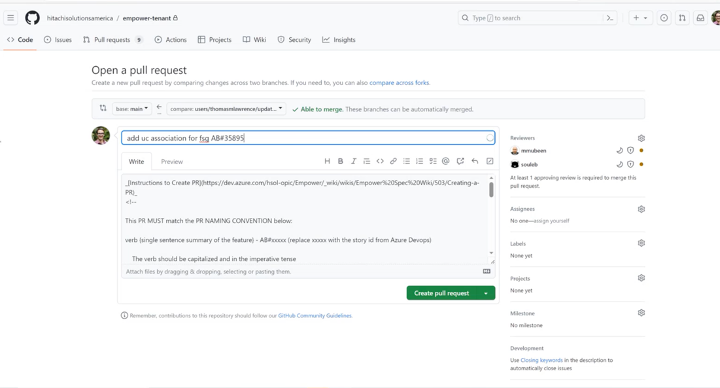
Location of UC deployment config files:
10.Update the below UC master file for the new client:
11.Move to the Empower tenant in the file empcentral-pd-aks.
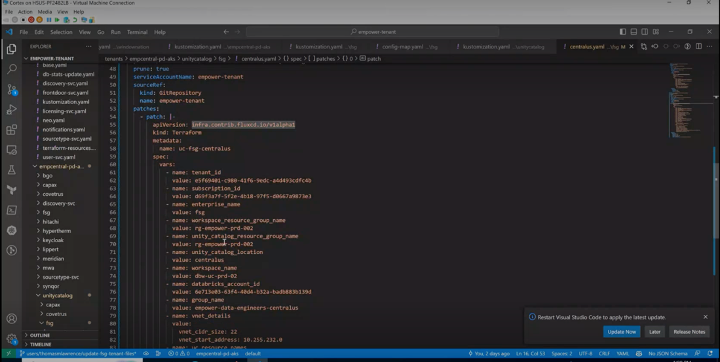
12.Update the resource group name (central resource group that we're going to deploy Unity Catalog to).
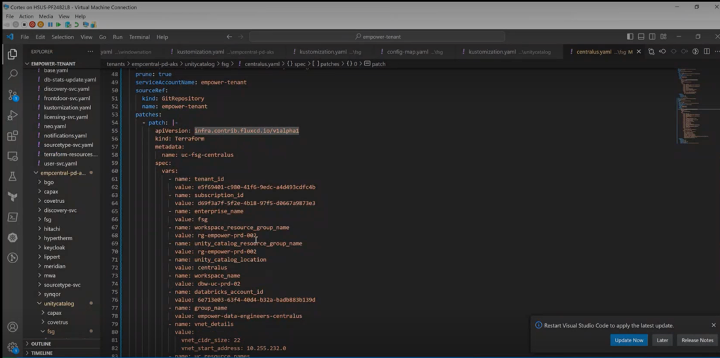
13.Update the workspace name.
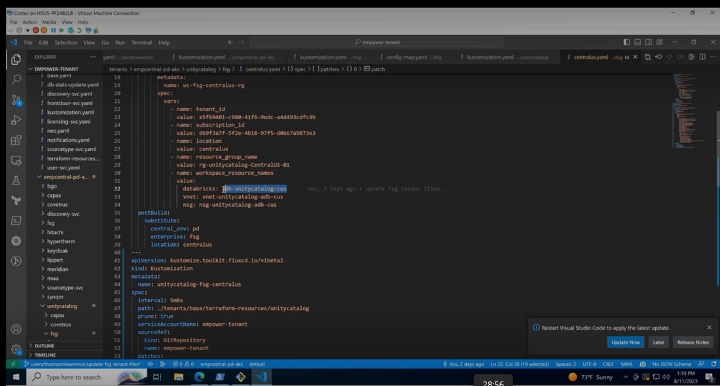
14.Grab the Databricks account name on FSG's tenant.
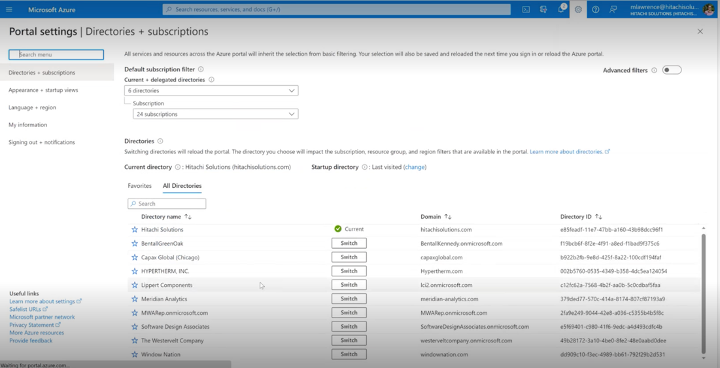
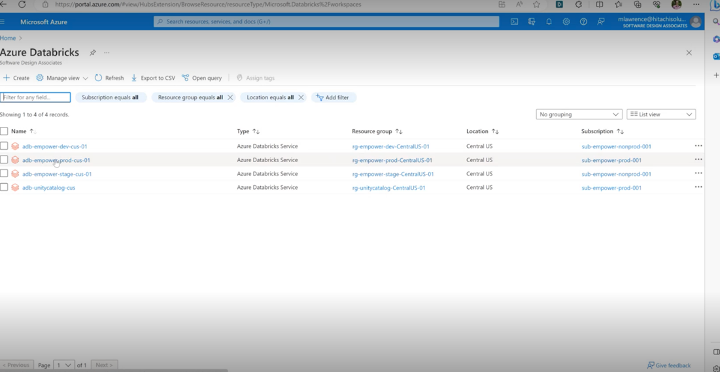
15.Open one of their Databricks workspaces.
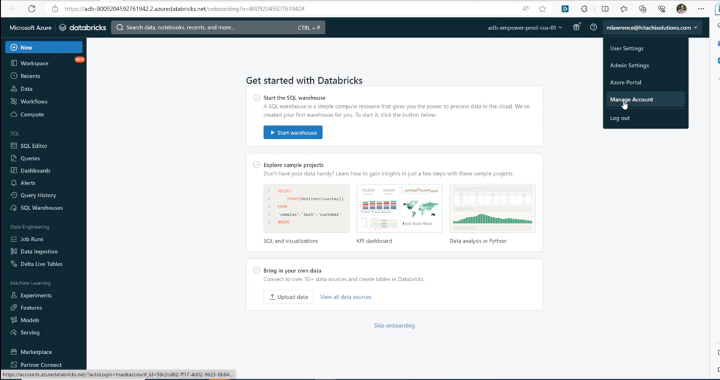
16.Go to the top right and click on "Manage Account" and go to the top, right-click on the name, and copy this ID.
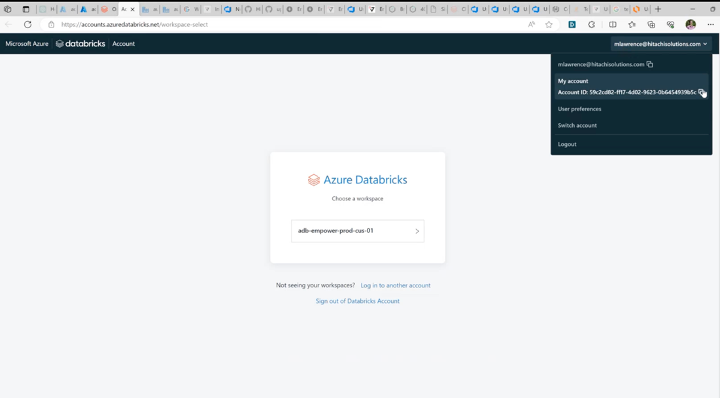
17.Input in the file.
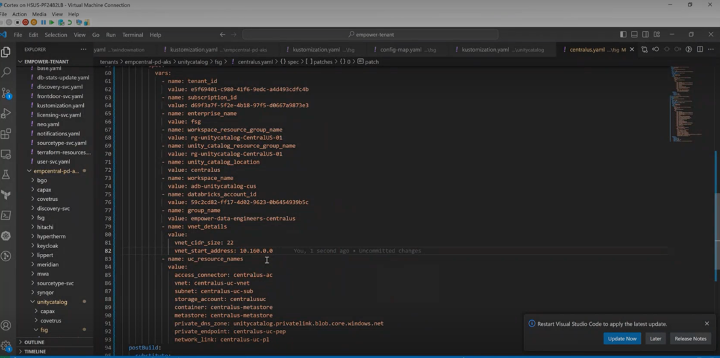
18.Update resource names, and these resource names are going to need to follow the naming convention of the client.
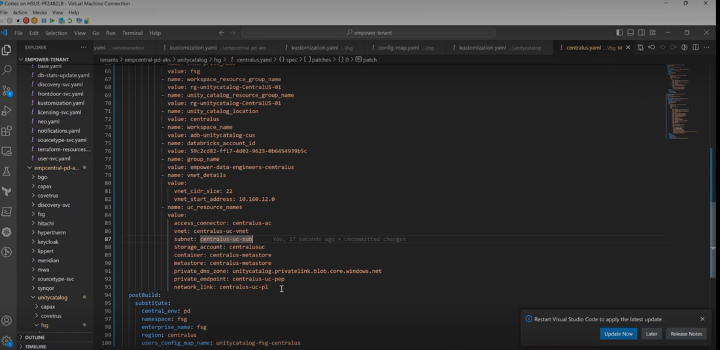
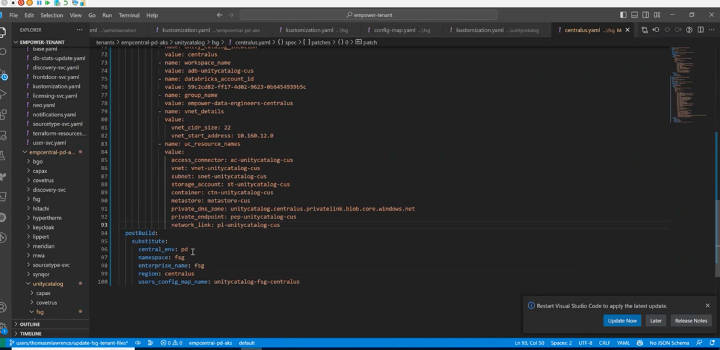
19.Move to config.yaml
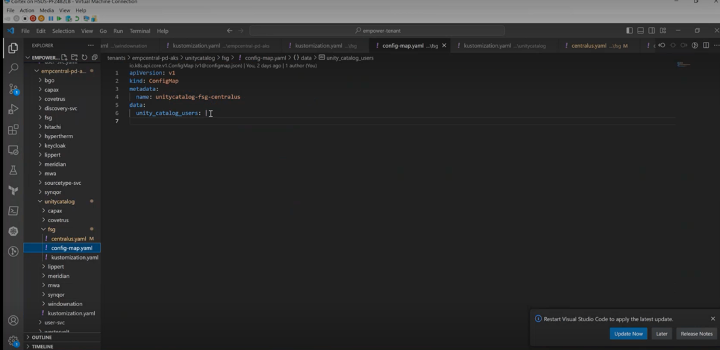
20.Update email id below
Step: Associate Dev, stage, and prod Databricks workspaces with Unity Catalog
21.Create associations between UC catalog resource group and environments (PD, SG, AND PROD)
Copy code from the old client and paste it into the new client.
Change client name (search and replace).
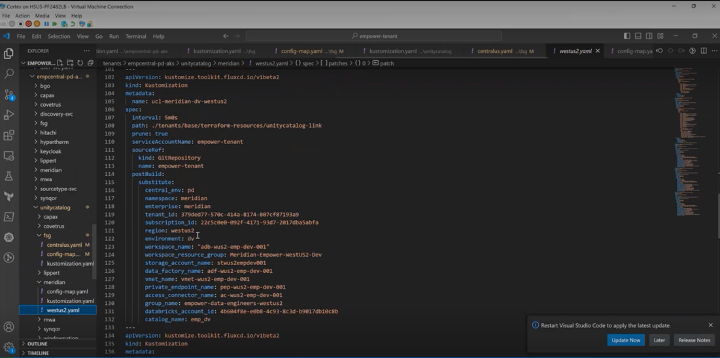
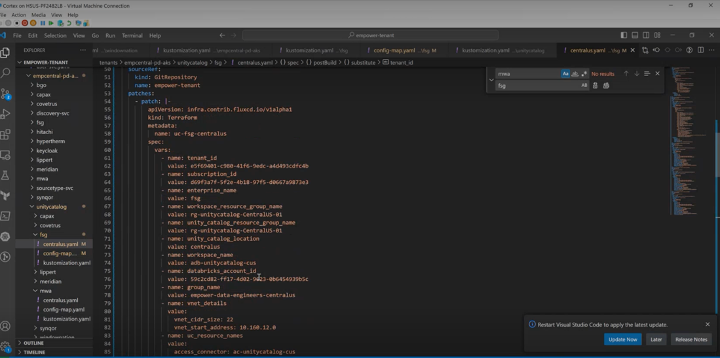
22.Make all the tenant ID, subscription ID correct.
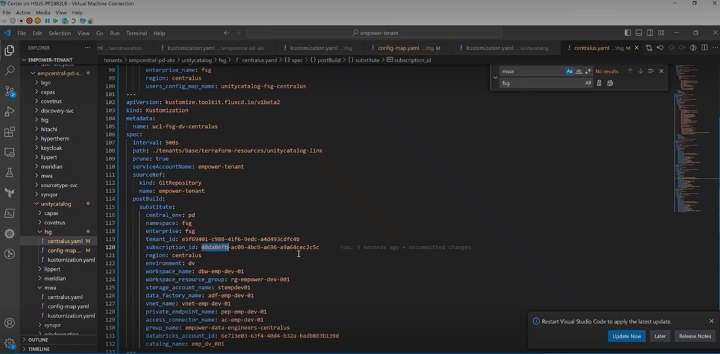
23.Grab resource names and resource group names of what we're linking and update.
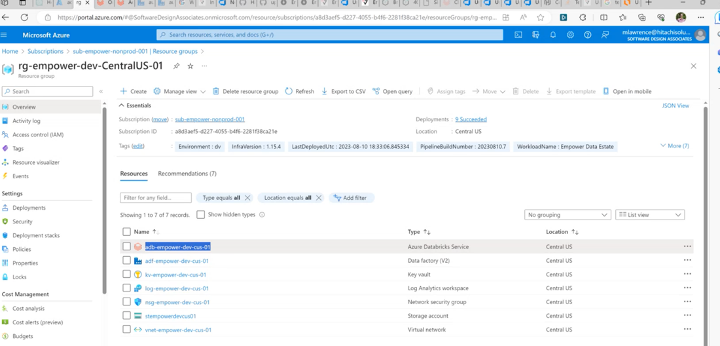
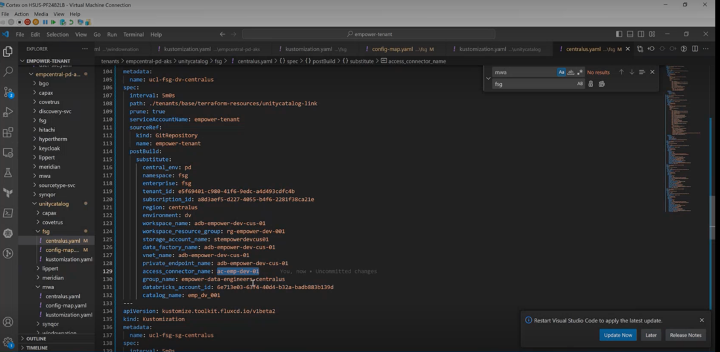
24.Update Databricks account ID.
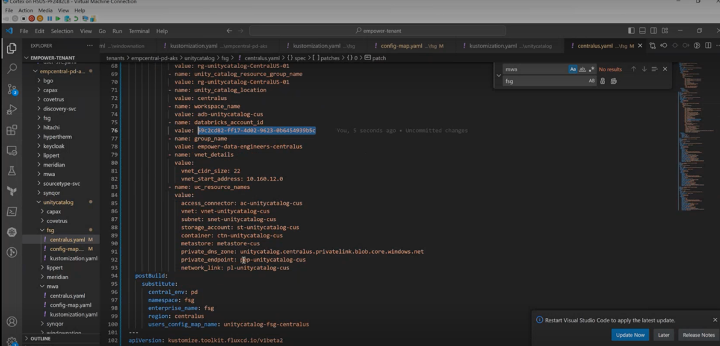
25.Update the catalog name.
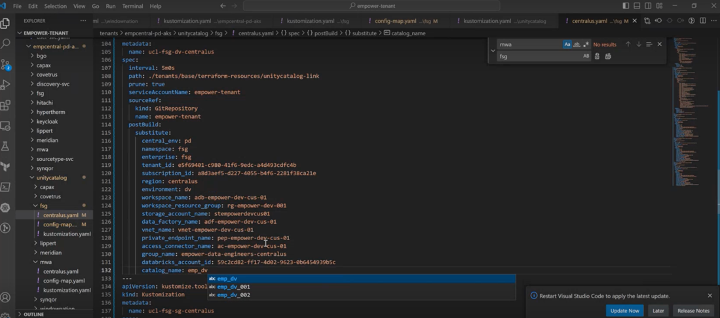
26.Repeat the steps for another environment (SG, PD)
Start in DEV
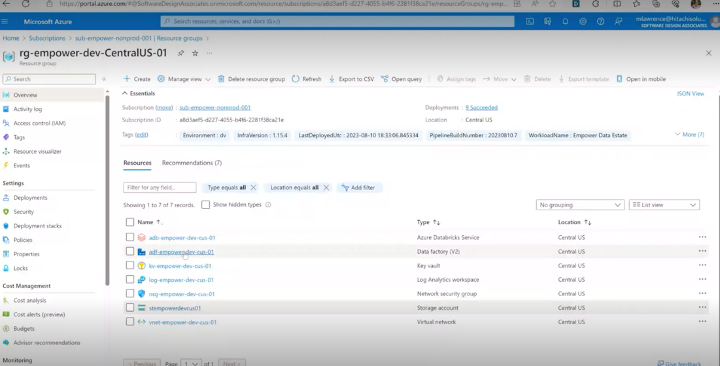
27.Open the storage account and put your IP address into the storage account first to get into the firewall.
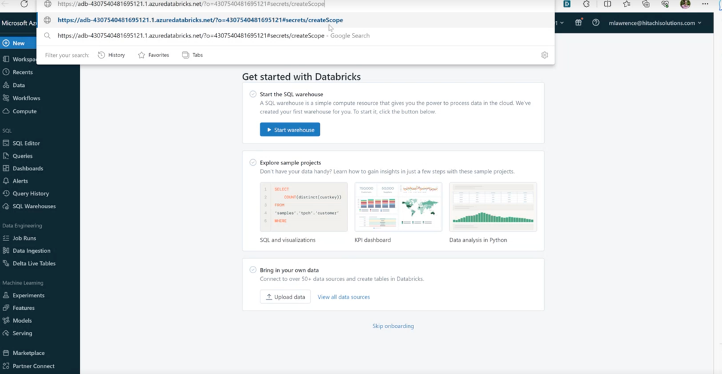
28.In Data Factory or in Databricks, edit the URL by removing "onboarding" and adding "#secrets/createScope" and that's going to take you to a hidden page that you can't get through the UI and that is going to make a key vault secret scope. PS: It has the same name every time.
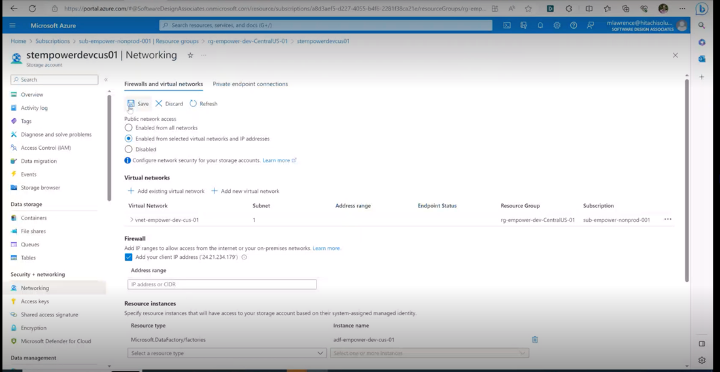
29.Go to Key Vault properties to get the URI of the key vault to tell Databricks where to find the key vault.
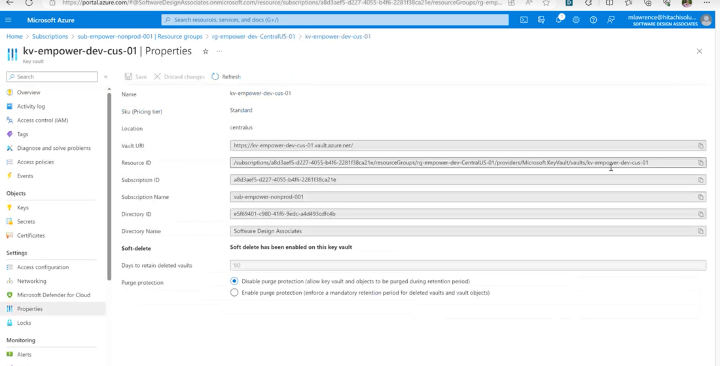
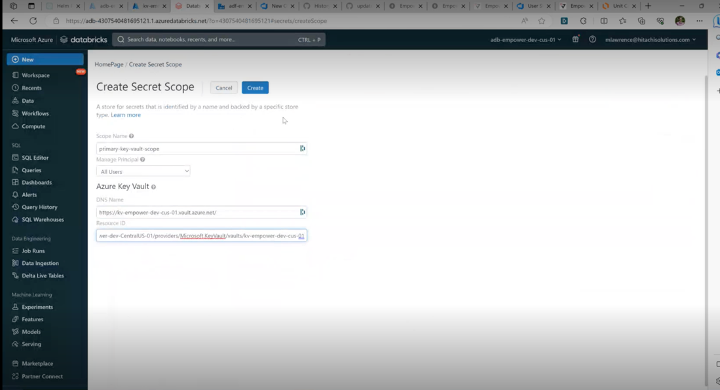
30.Go to compute.
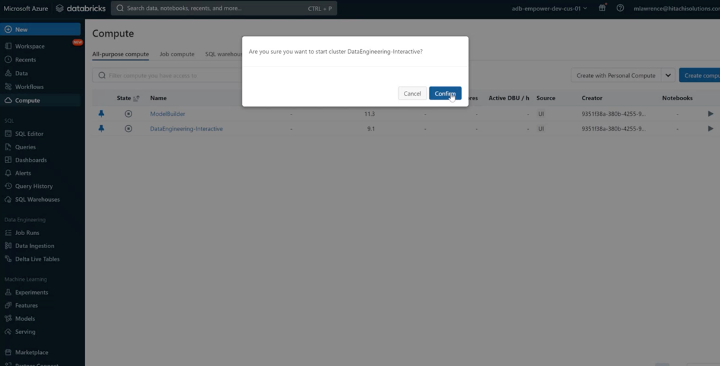
31.Start the data engineering interactive cluster.
32.Go to ADF, global parameters.
33.Run the Databricks and Data Factory pipelines (SHOULD BE PART OF STEP INFRA PIPELINE RUN)
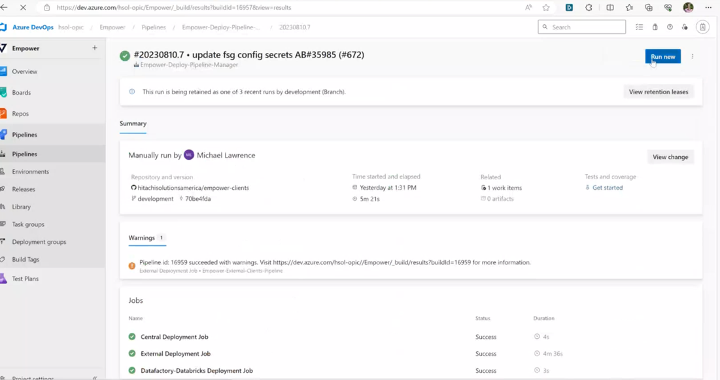
The key thing here is that non-prod goes to stage and prod and proud obviously goes to prod.
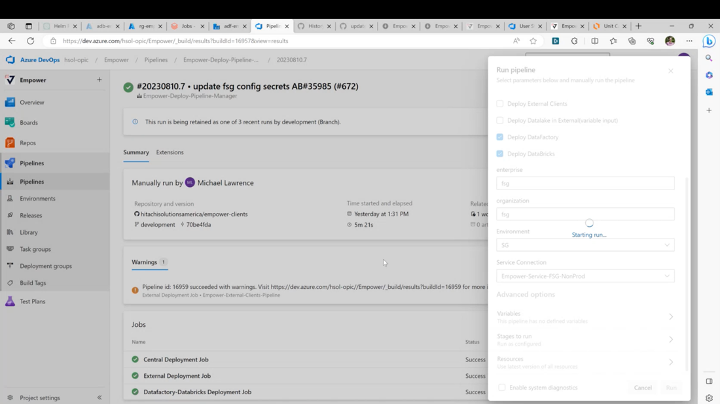
34.Run for other environments as well.
35.Create a container called maindl.
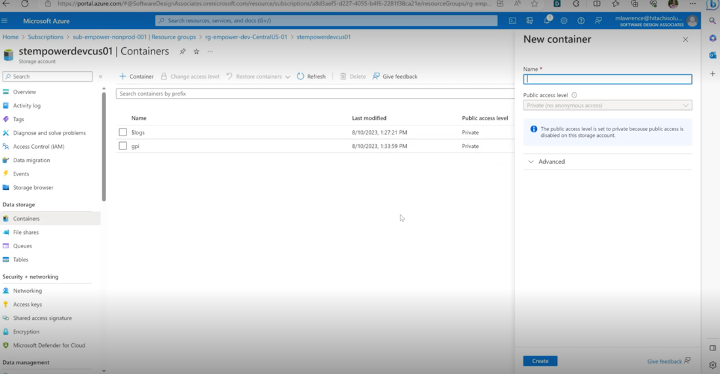
36.Go inside that container and create three folders.
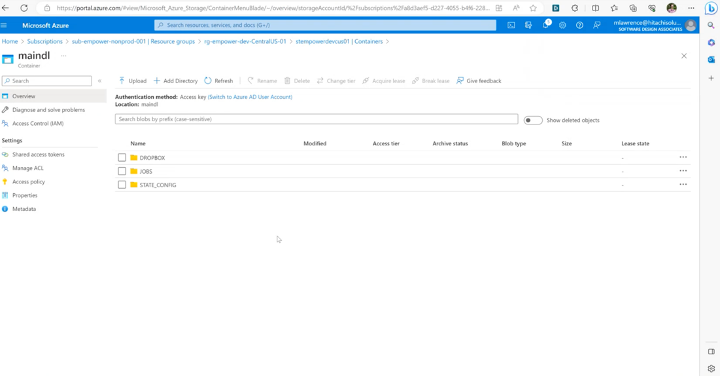
Dropbox, jobs, and state config need to be created inside the main DL.
38.Repeat steps for other environments.
39.Start these clusters to be ready to run a particular job.
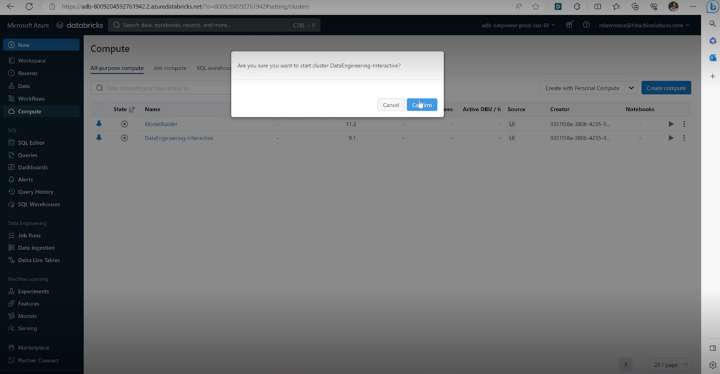
40.Start the data engineering interactive clusters in every workspace.
- Go to look at the workspace and you should see the above notebooks.
- Go to workflows and run the IC one-time mount point setup.