Manual Deployment Process
:::note Table of Contents
- Copy keycloak-client-secret-neo-dv-df from the augustus dv and add it in the sandbox keyvault
- Copy a sql server in Azure
- Compare two databases using sql data compare
- Create Datalake Folders
:::
Copy keycloak-client-secret-neo-dv-df from the augustus dv and add it in the sandbox keyvault
To Copy the respective secret and add it in the sandbox key vault follow the below steps
Steps
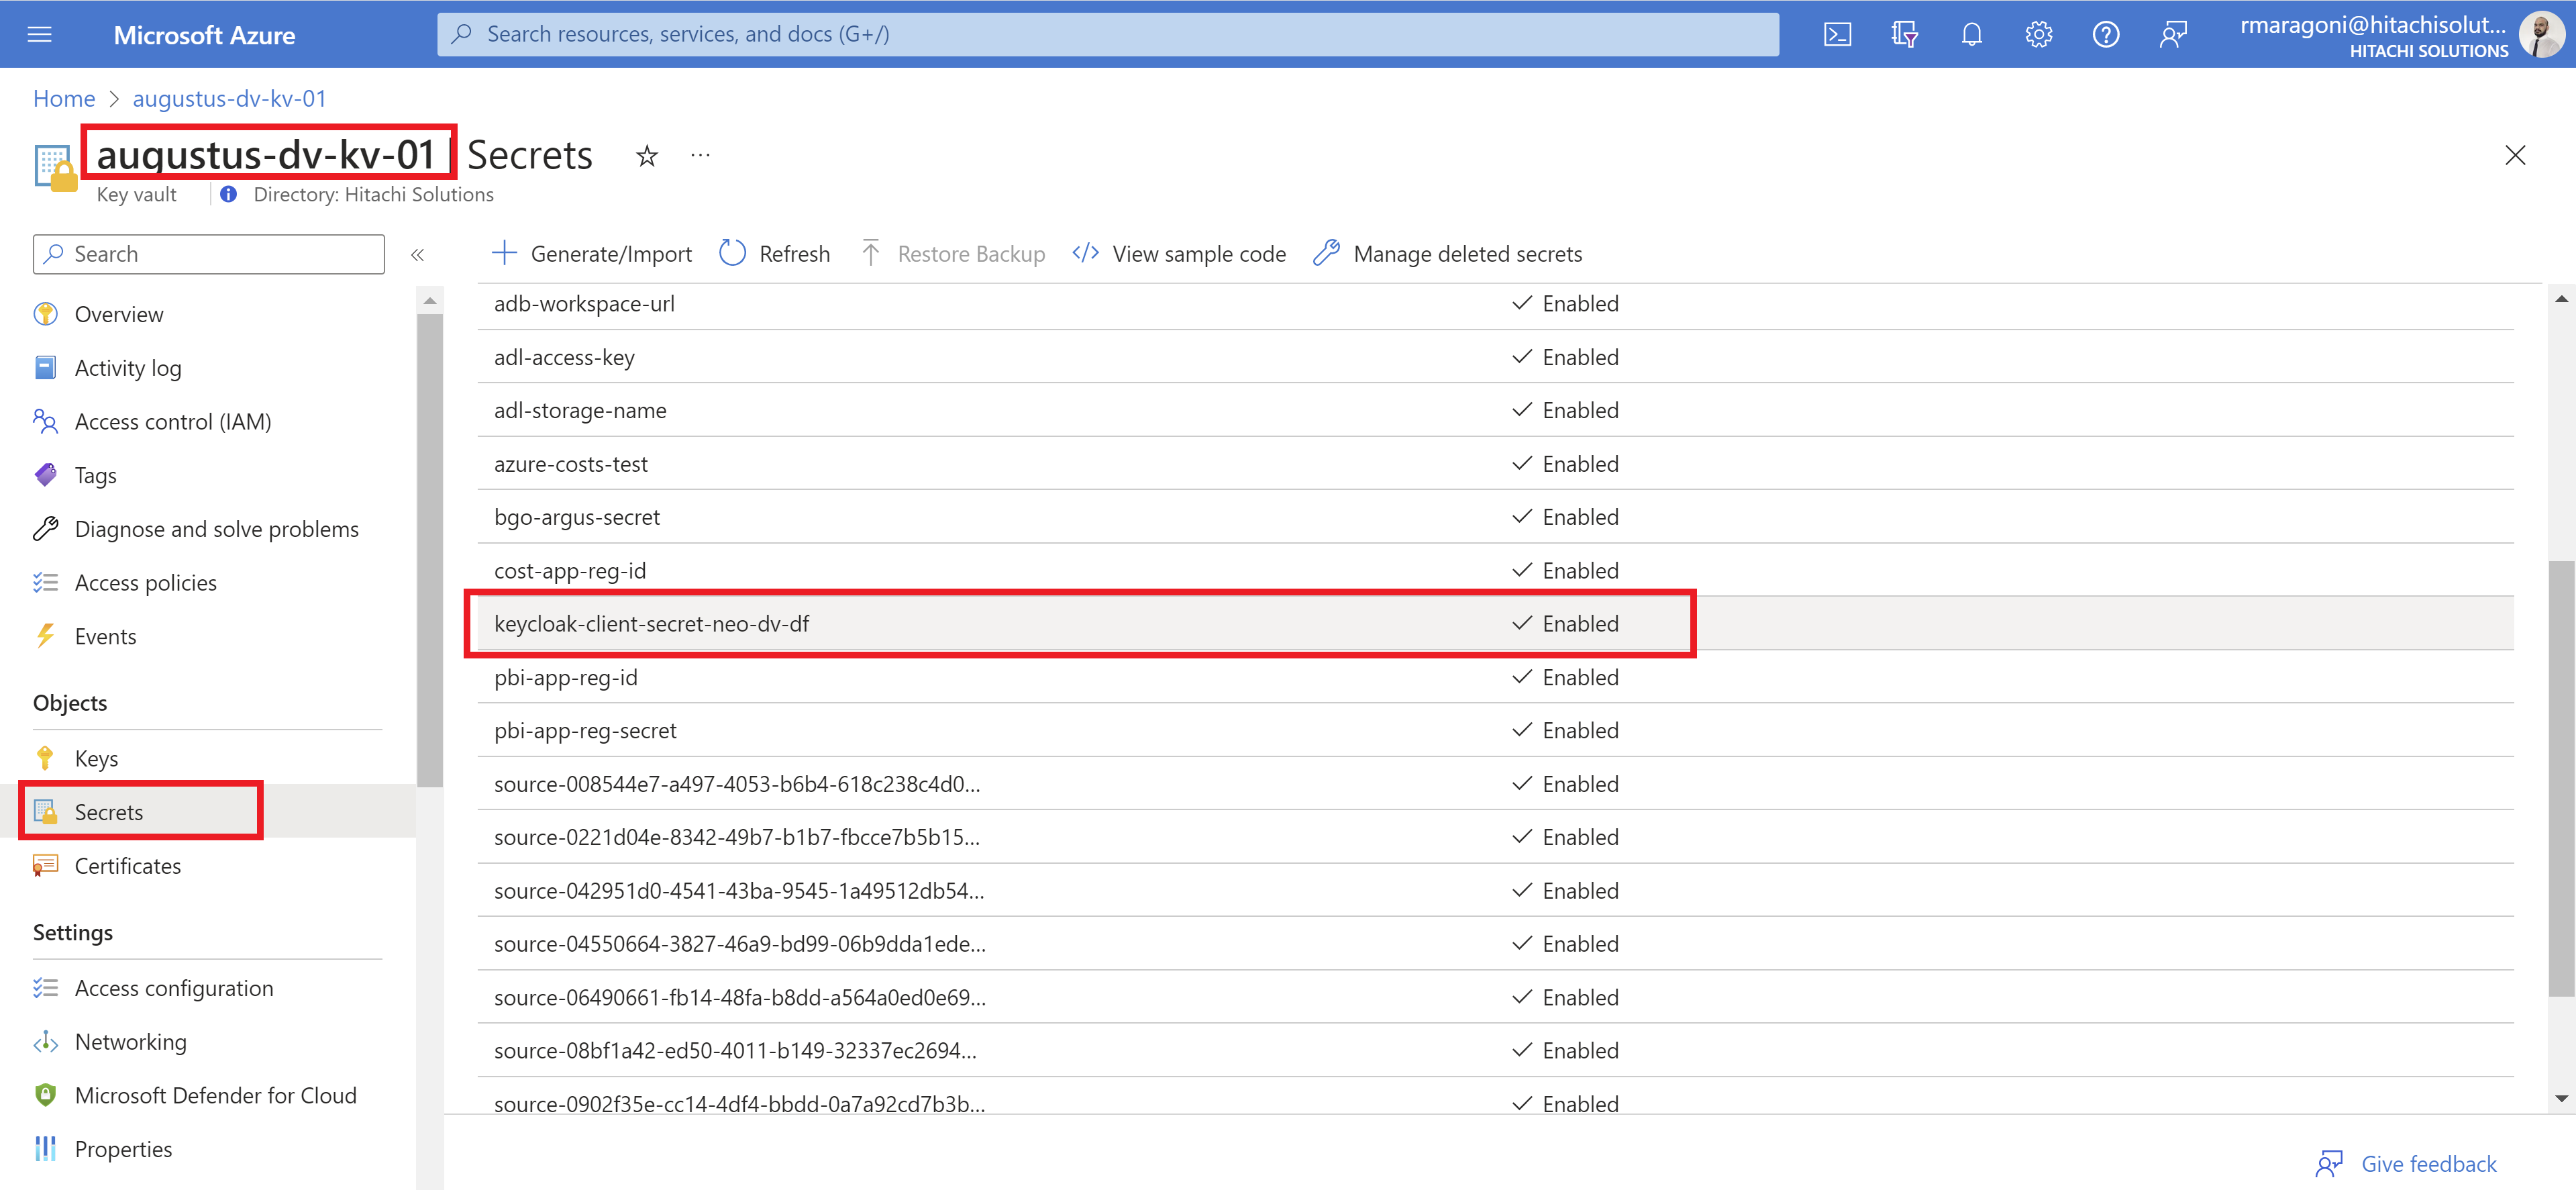
Step1: go to the augustus dv keyvault
Step2: Navigate to secrets and open the keycloak-client-secret-neo-dv-df key and copy the current version secret value
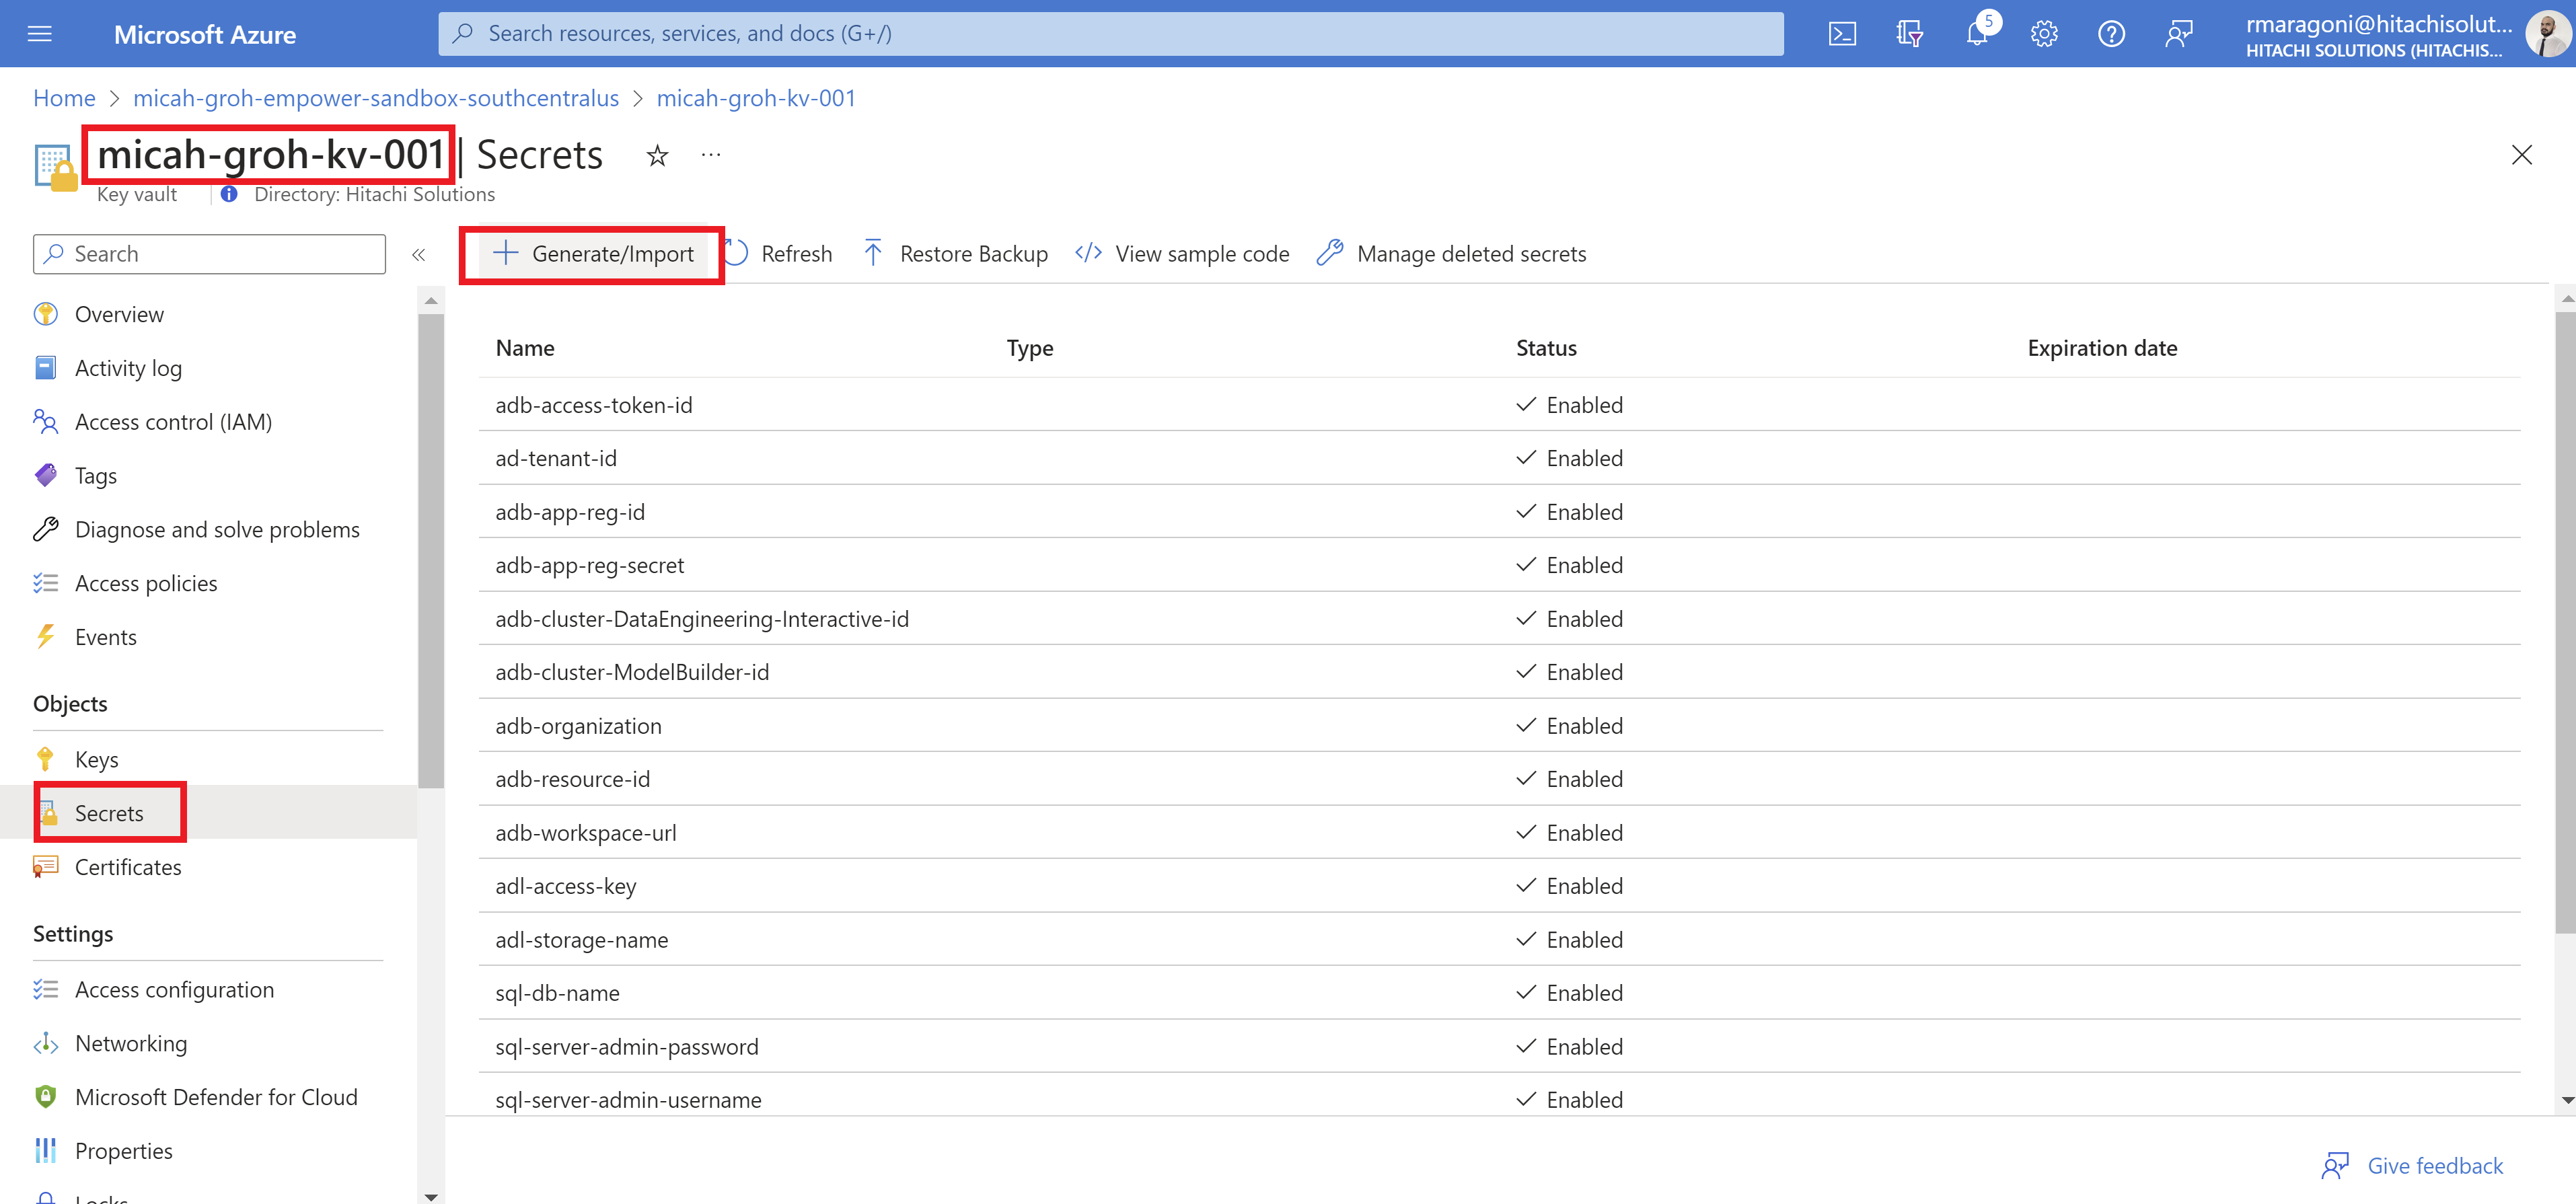
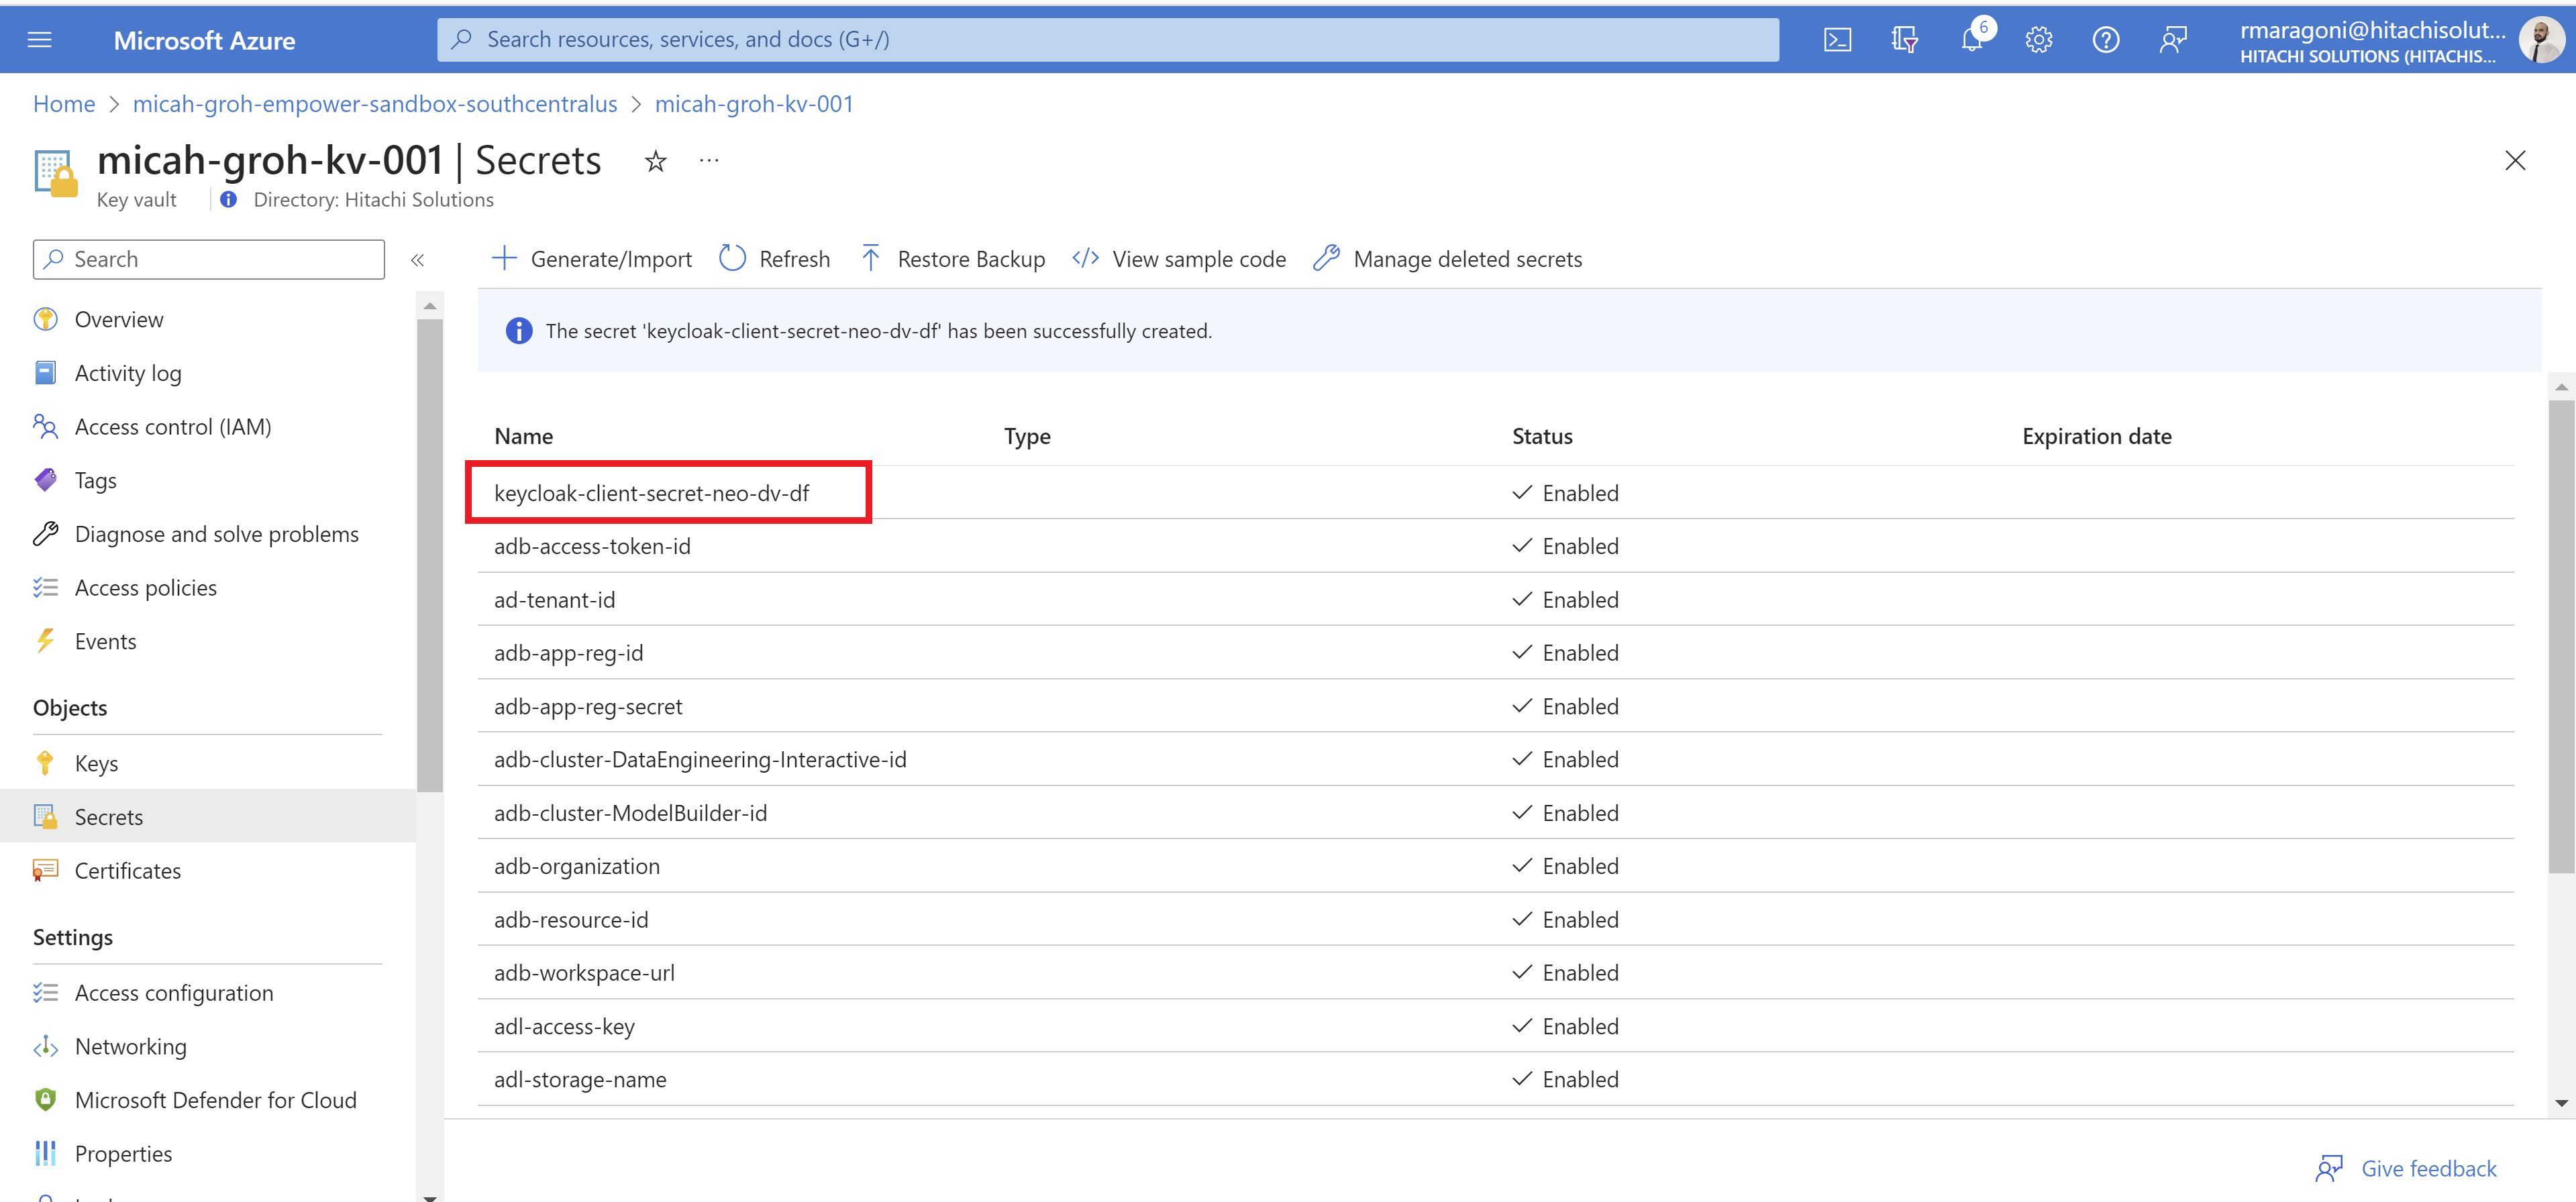
Step3: Now go to the sandbox key vault and navigate to secrets and add the key & value which you copied from the augustus dv key vault and hit on create (In this case my sandbox key vault is 'micah-groh-kv-001')
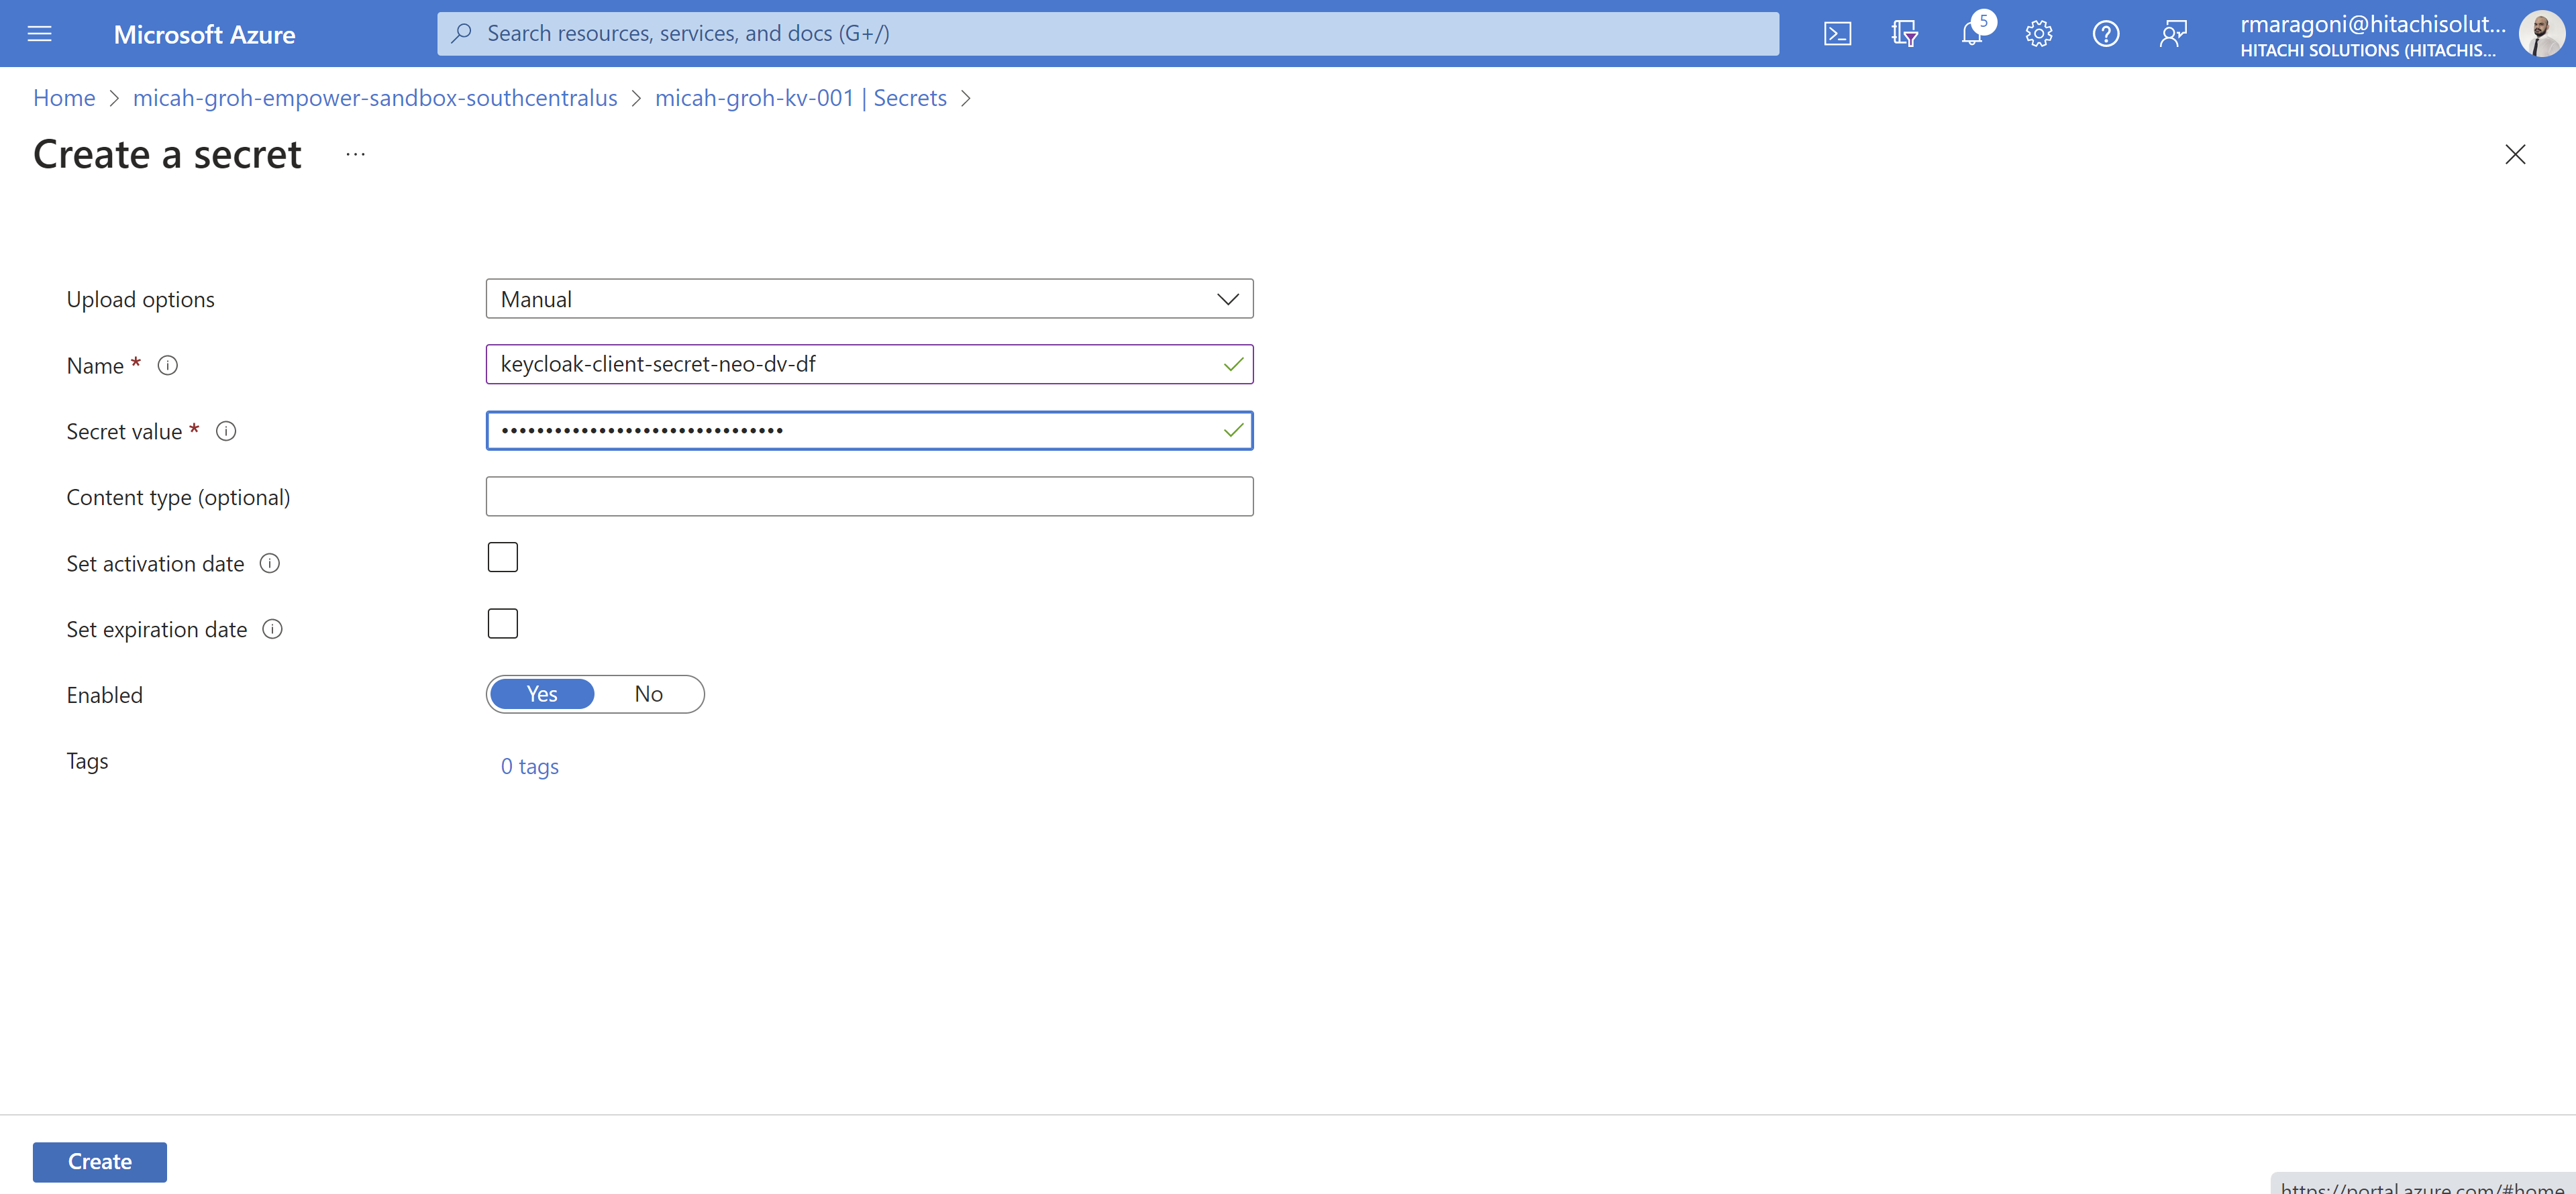
Now you have successfully added the Key & Value in the New sandbox. you can see it in the below image
Copy a sql server in Azure
Prerequisites
- Contributor and login details on both databases.
Steps
-
First, delete the database that is the target of the copy activity. Check with the QA team if this is fine to do. Important: Save the exact name of the database deleted.
-
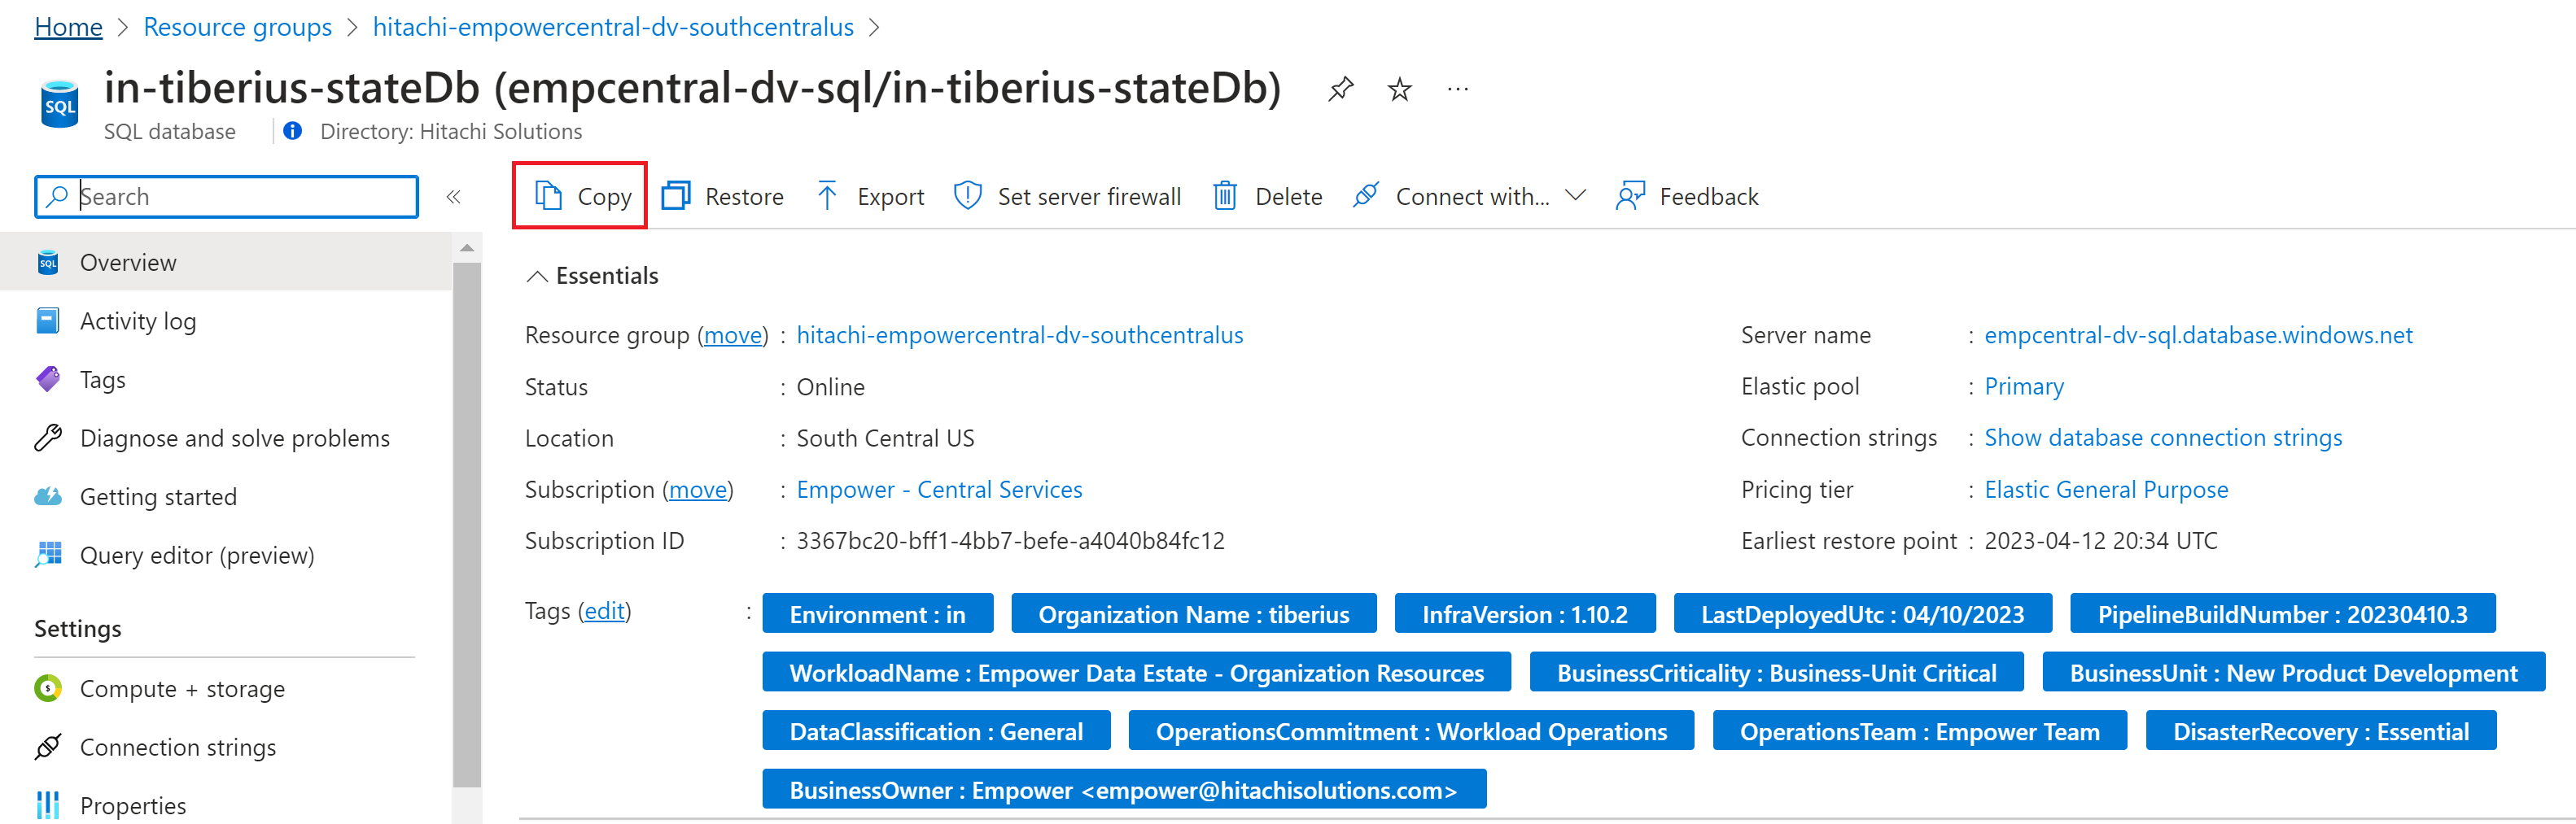
Hit the copy button at the top of the source database.
-
Fill out the form with the right database server and name. Select no for elastic pools and geo redundant storage.
-
Finally, hit review and create.
Compare two databases using sql data compare
Prerequisites
A redgate sql data compare license and software installation
Steps
-
Open redgate sql data compare on your desktop.
-
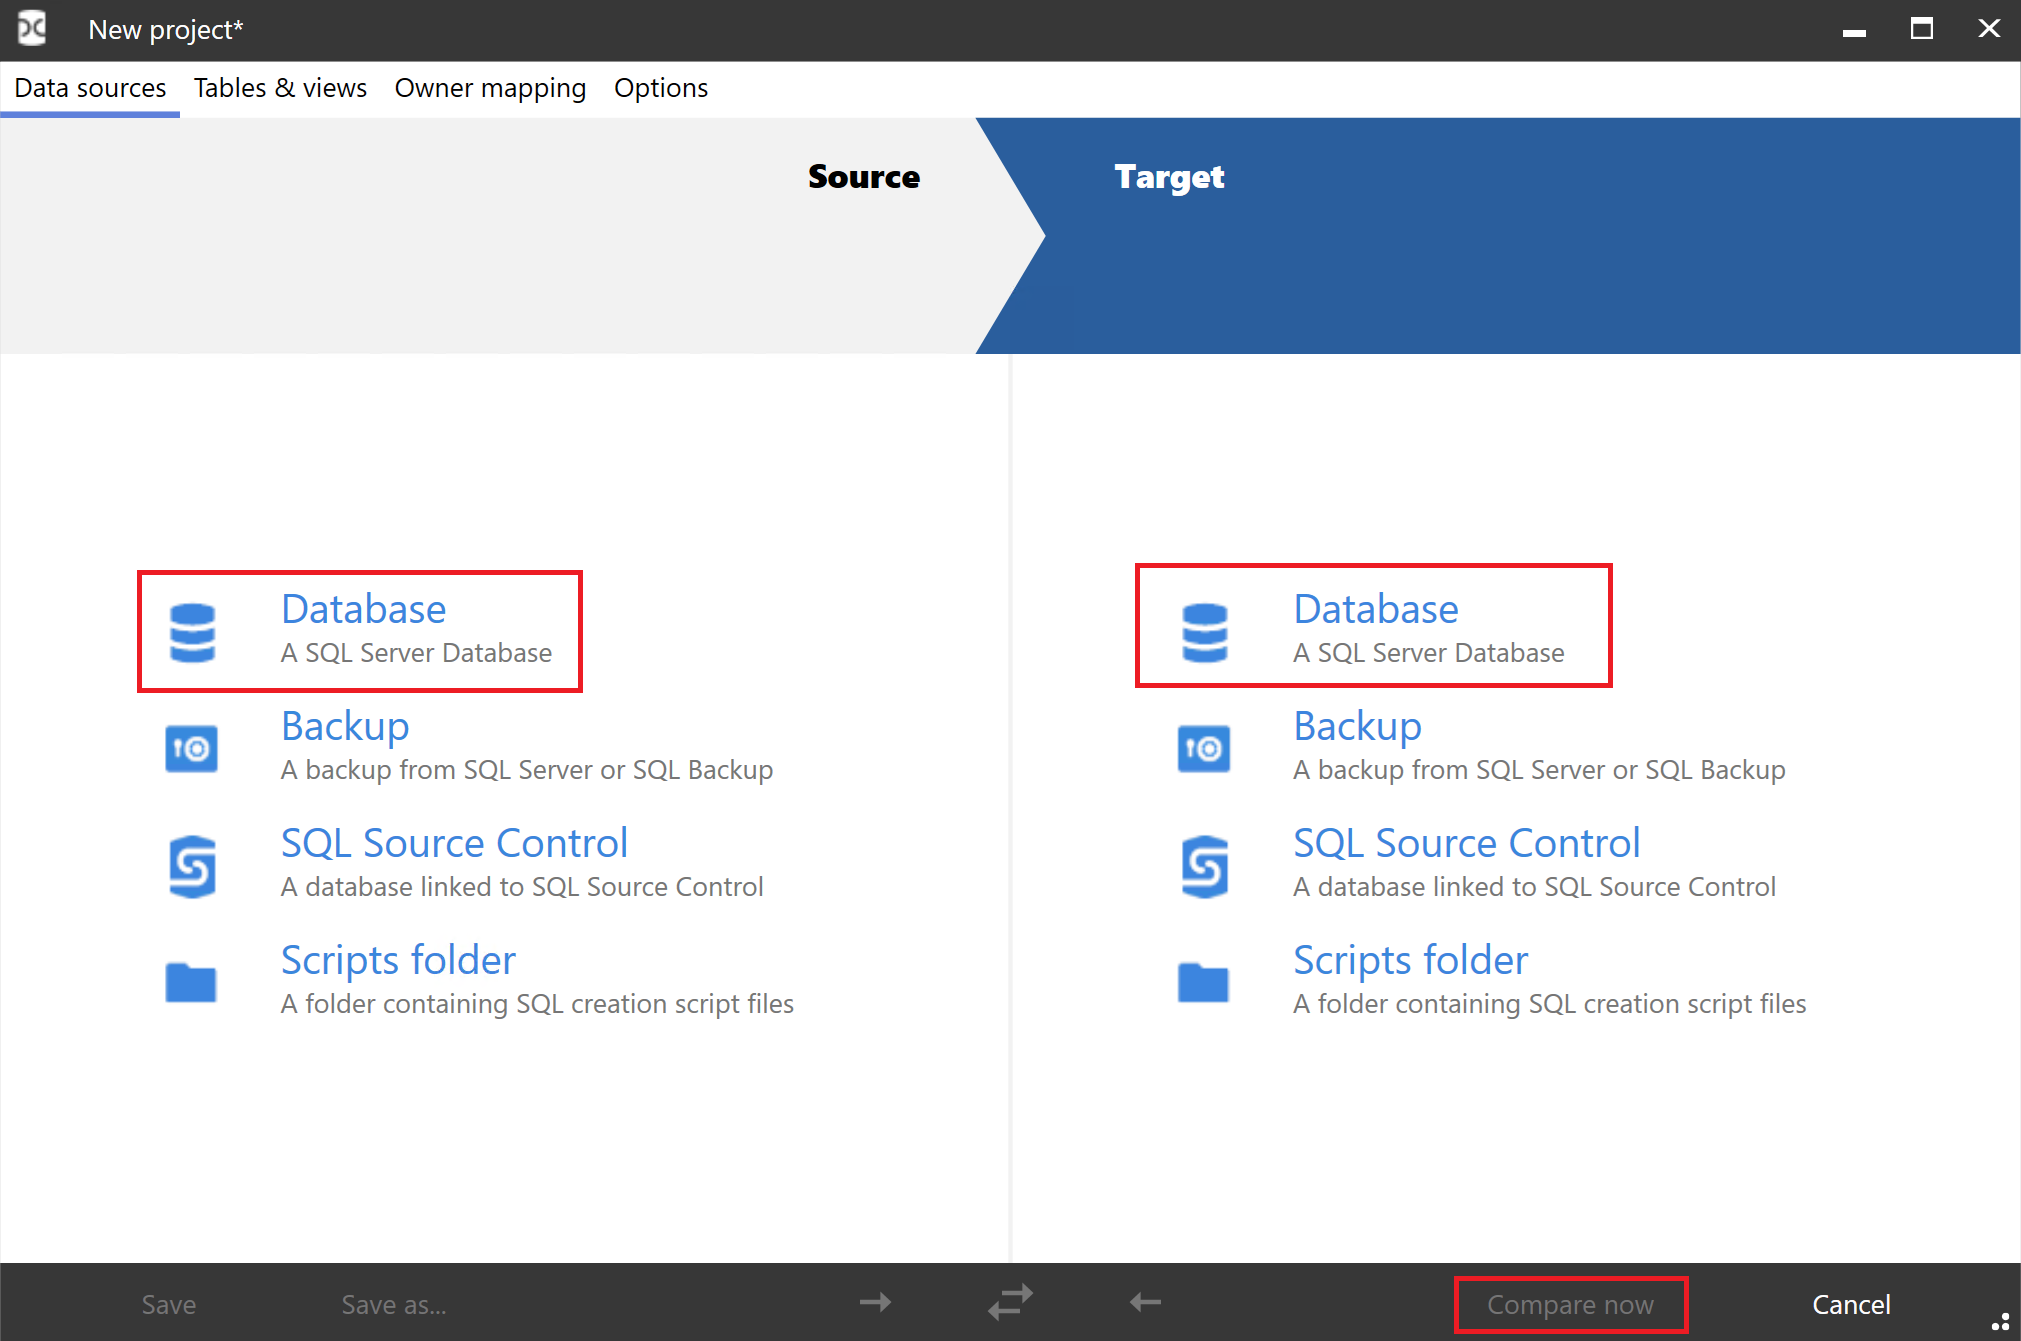
Select database for both options. Then select compare now.
-
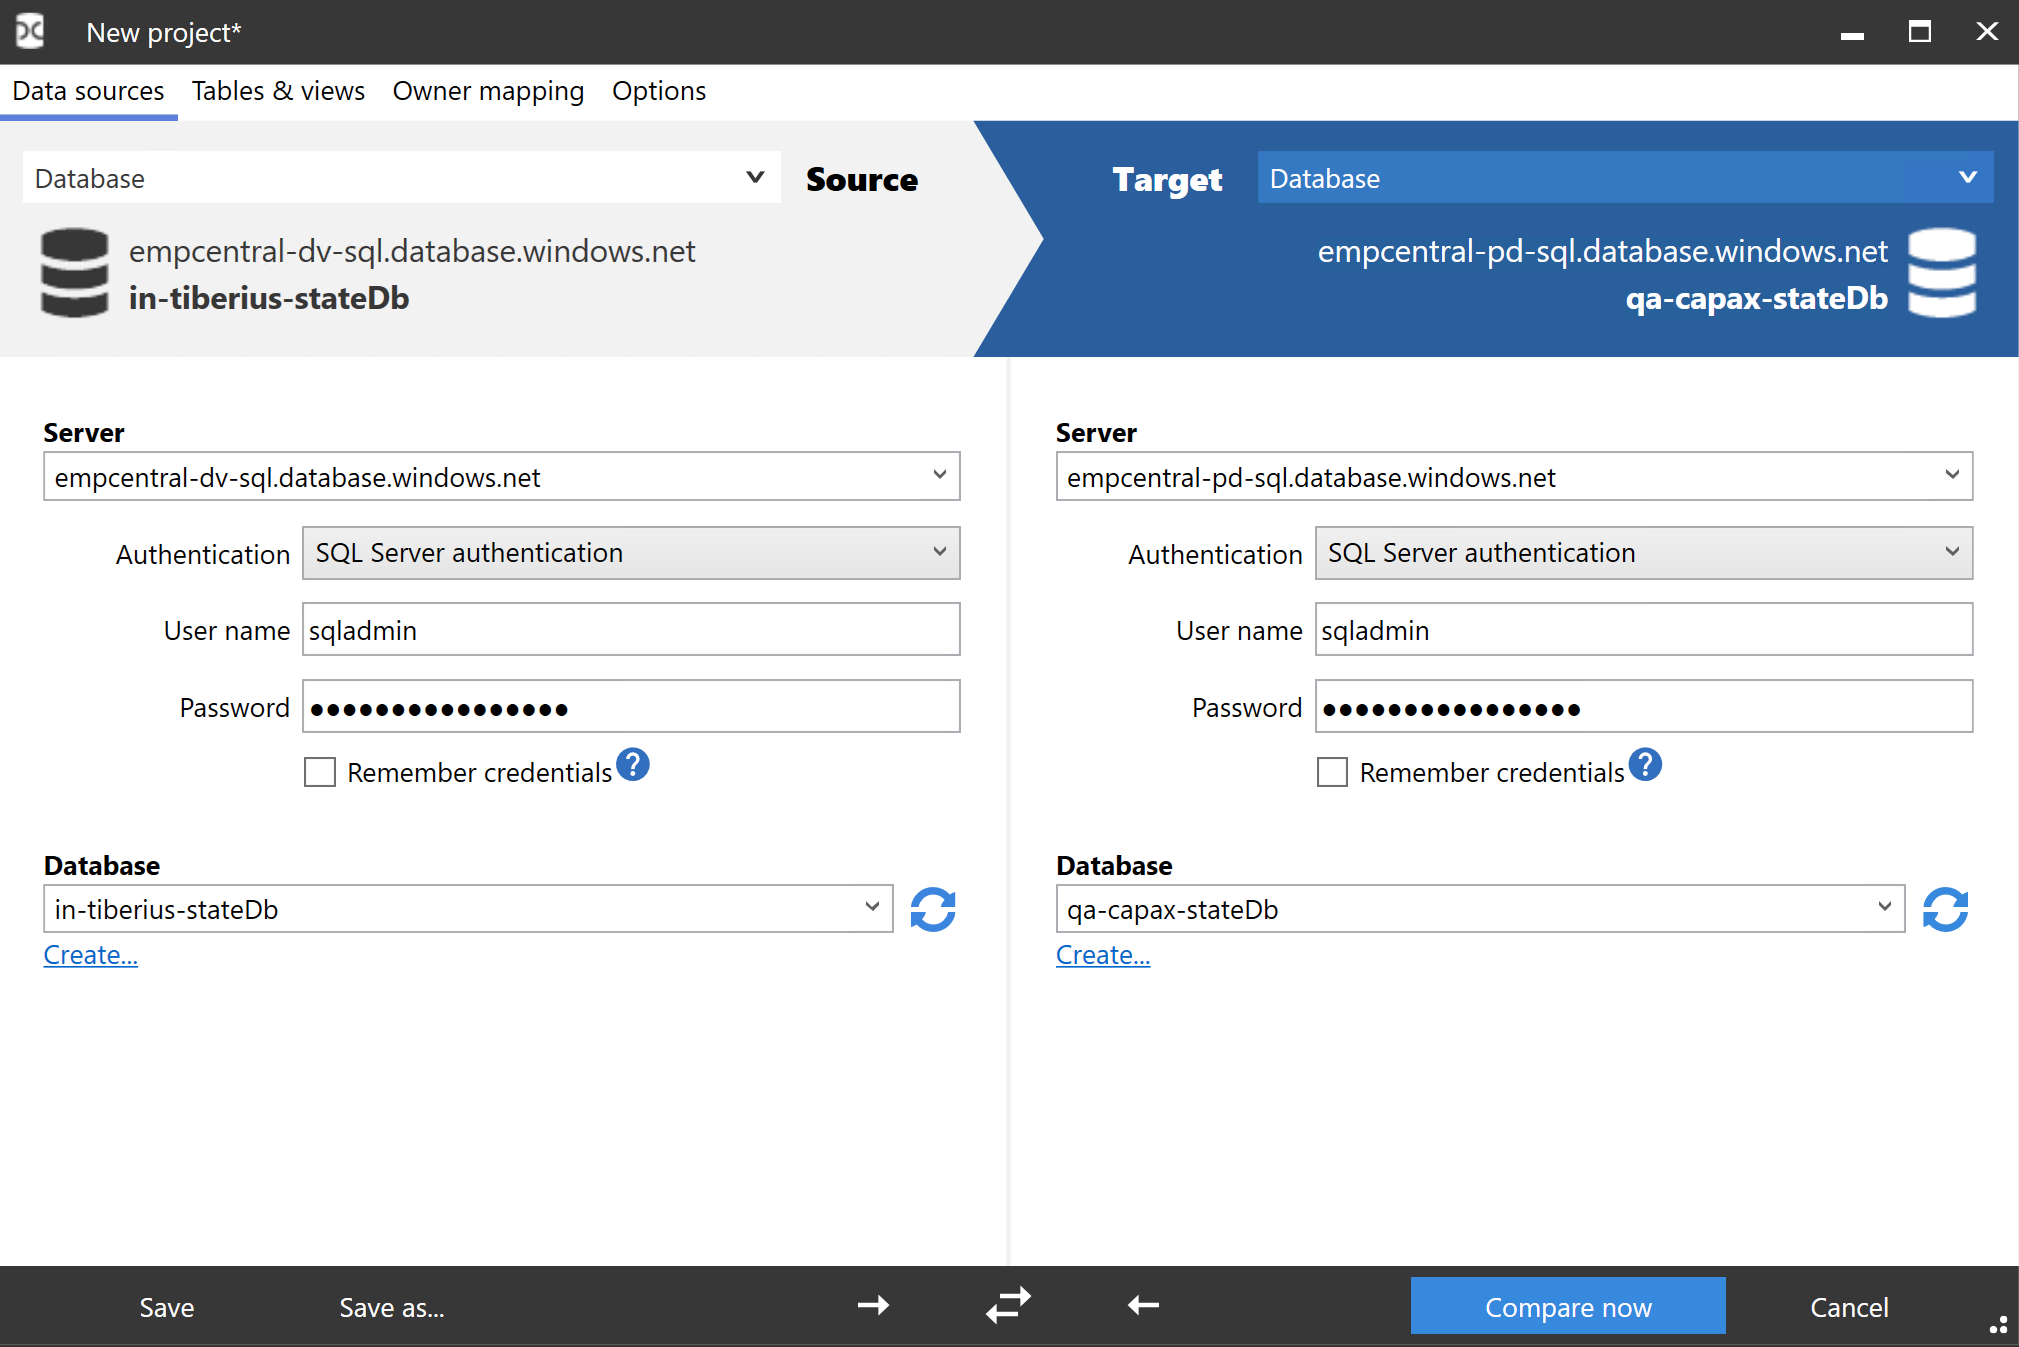
Enter the credentials of each database. Then hit compare now.
-
Finally, view the tables compared.

Create Datalake Folders
Prerequisites
- You will need Storage Account Data Contributor or Storage Blob Data Contributor on the storage account.
- Your IP address will need access through the storage account's firewall if that is enabled.
Steps
-
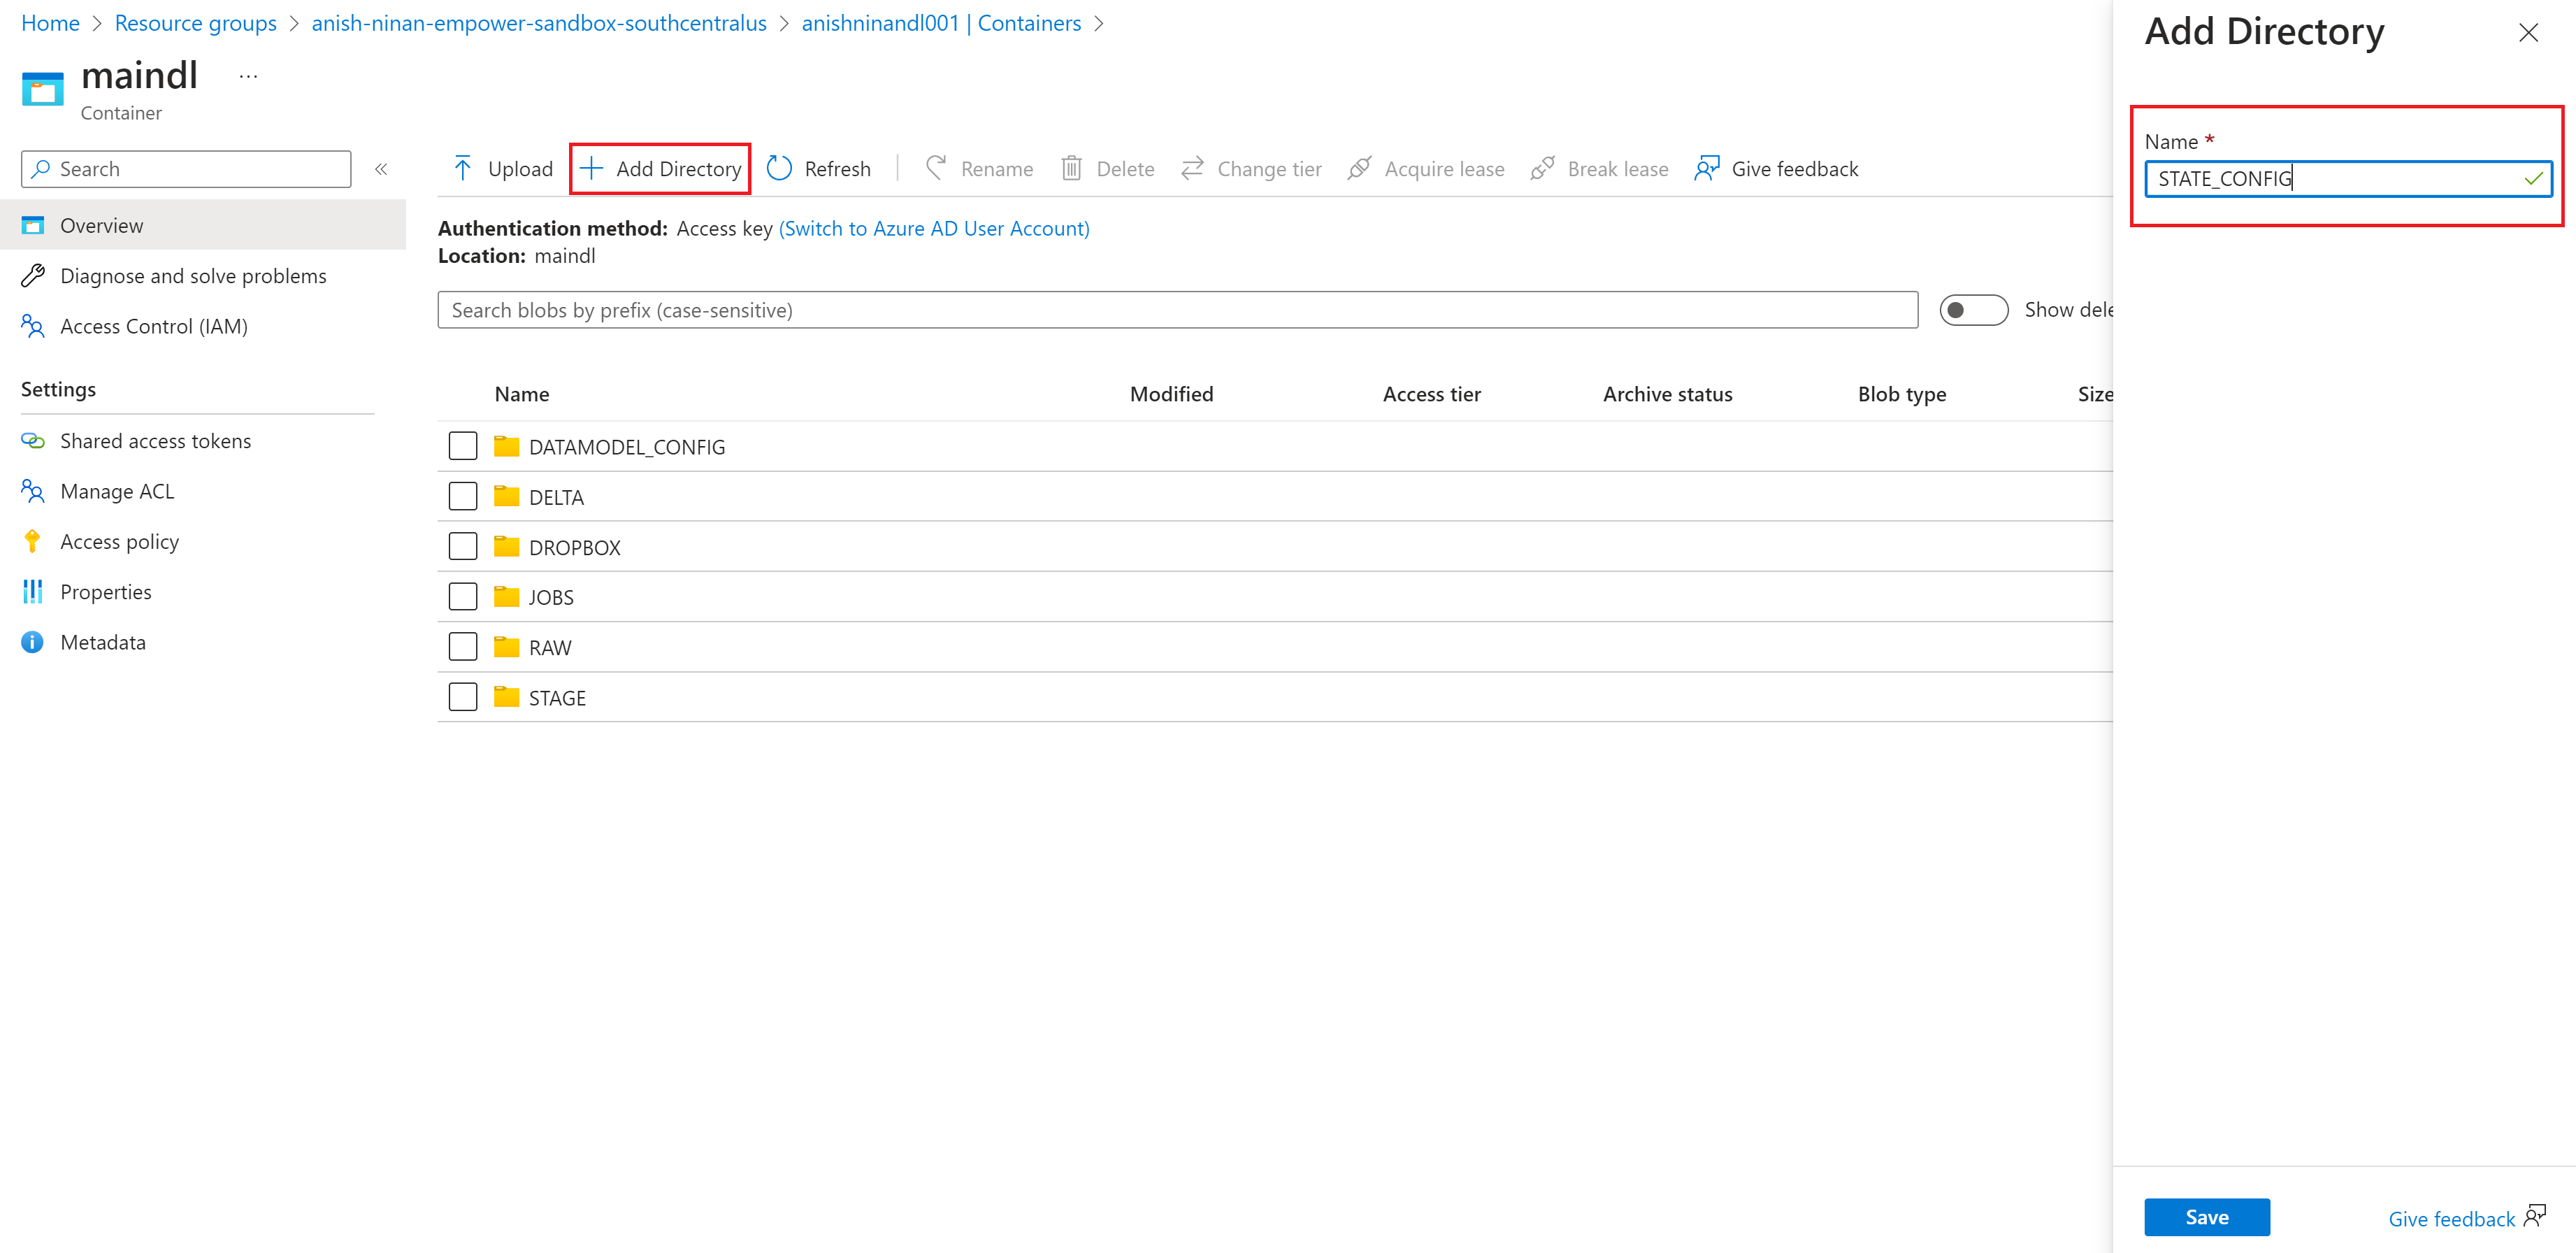
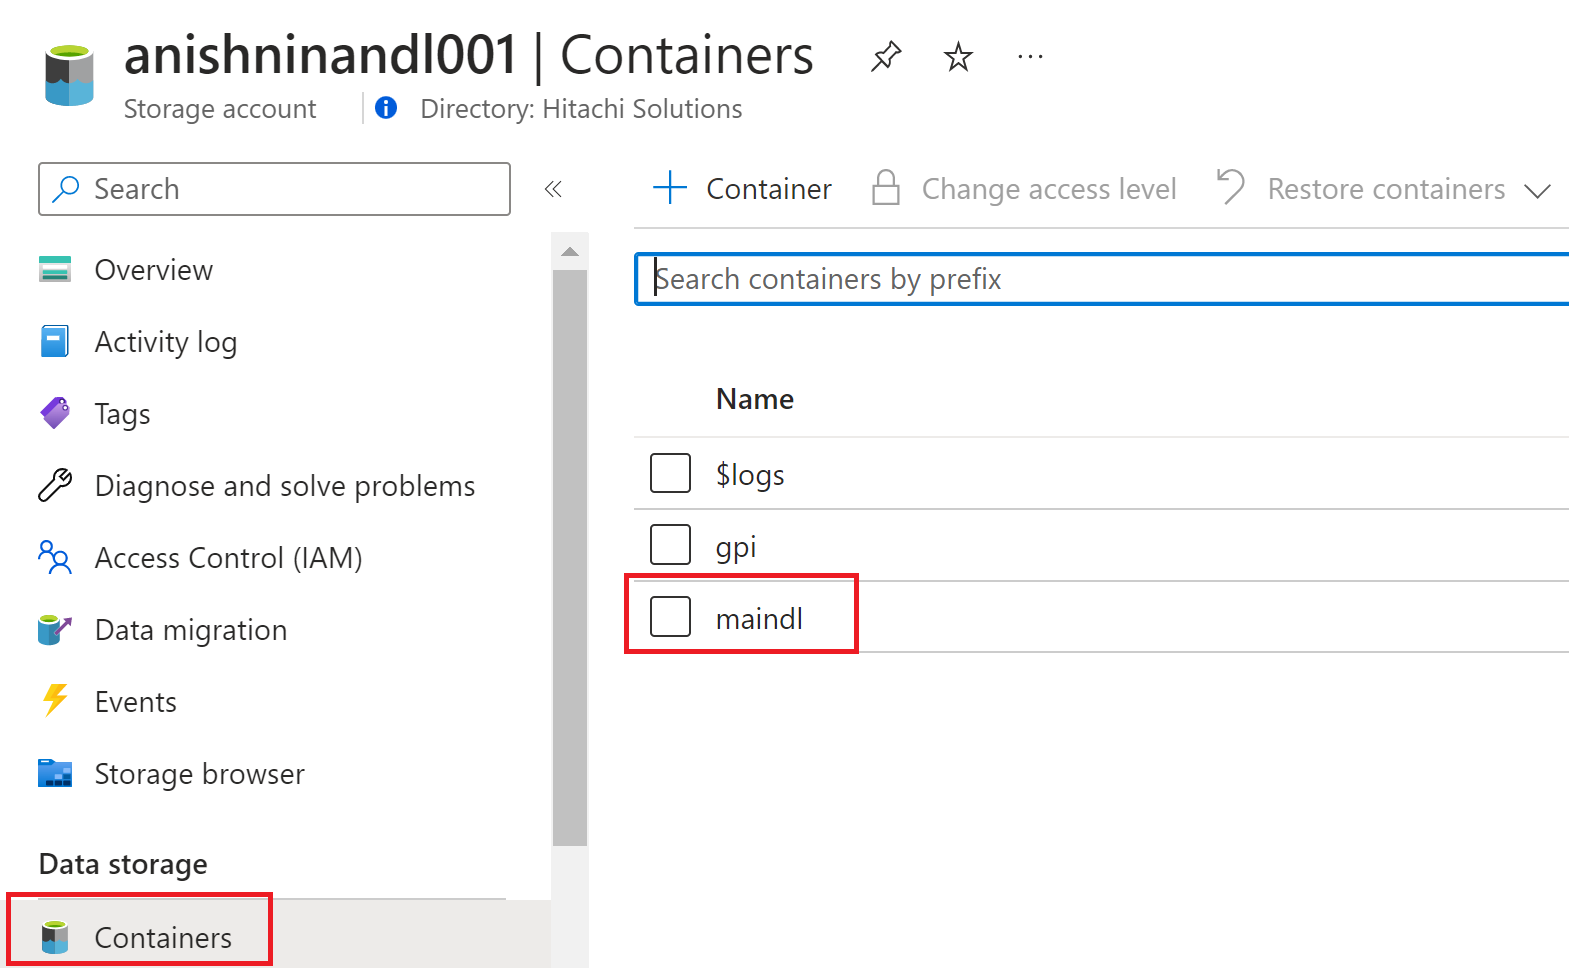
Navigate to the storage account and click on the containers tab. Then navigate to the maindl container.
-
In the maindl container, create a new directory called STATE_CONFIG, JOBS, DROPBOX. Then hit save.