Before a customer's integration runtime can be setup, it is necessary to run the Azure DevOps pipeline against their prod environment. This pipeline is expected to fail in the first step, letting the developer know the IR needs to be setup so it can continue.
Then, schedule a meeting with the client surrounding setup of the integration runtime. There are several things the client will need to do before meeting though.
They will need to setup two VMs in the same network as their on-premise data sources. The reason for two is due to the fact that with two VMs they can perform auto updates.
These VMs will need at least a gigabit connection, 4 cores and 16 GB of ram.
After the VMs are setup, follow the steps laid out in the next section to setup the IR nodes.
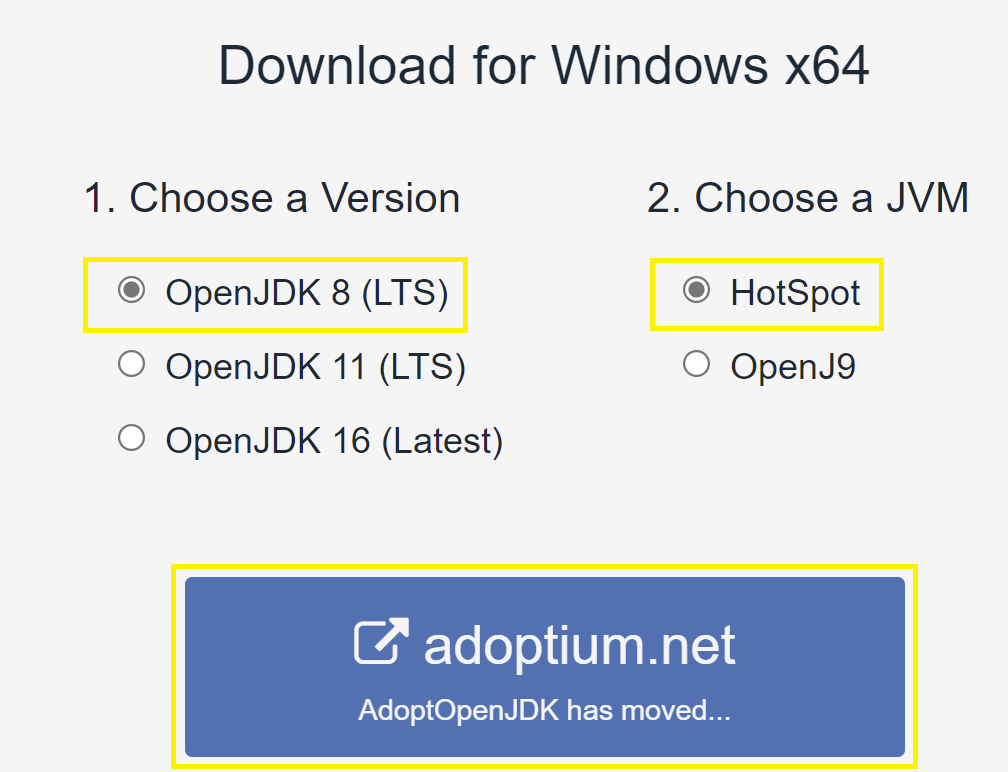
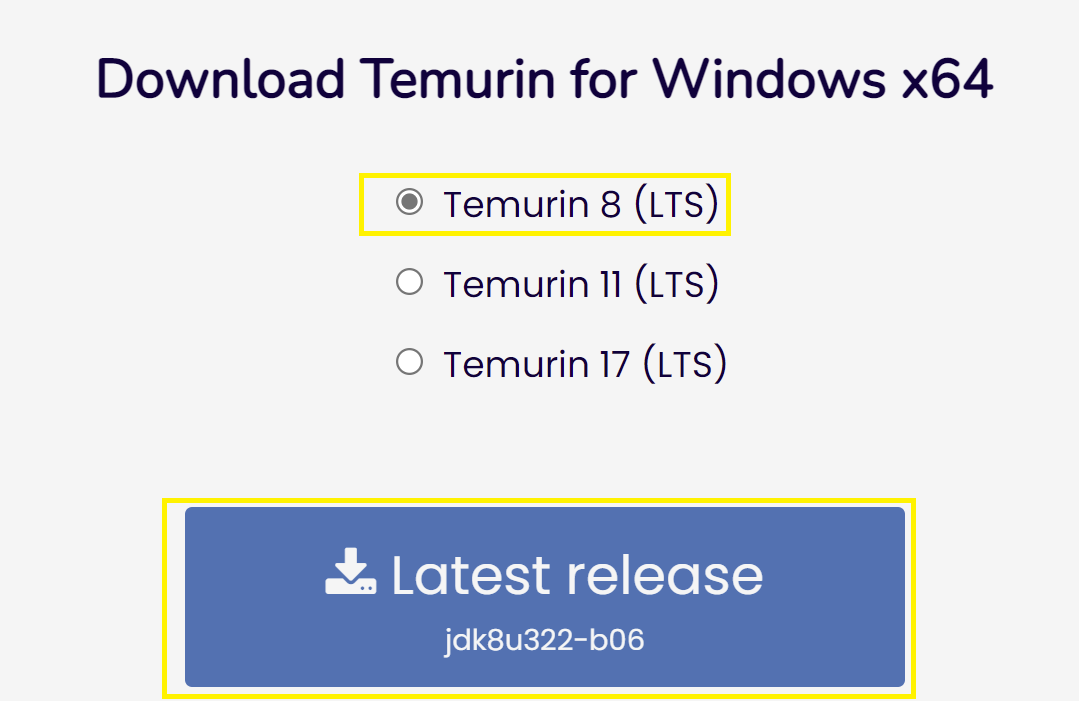
Install open JDK version 8 from the following link on each VM. AdoptOpenJDK - Open source, prebuilt OpenJDK binaries.
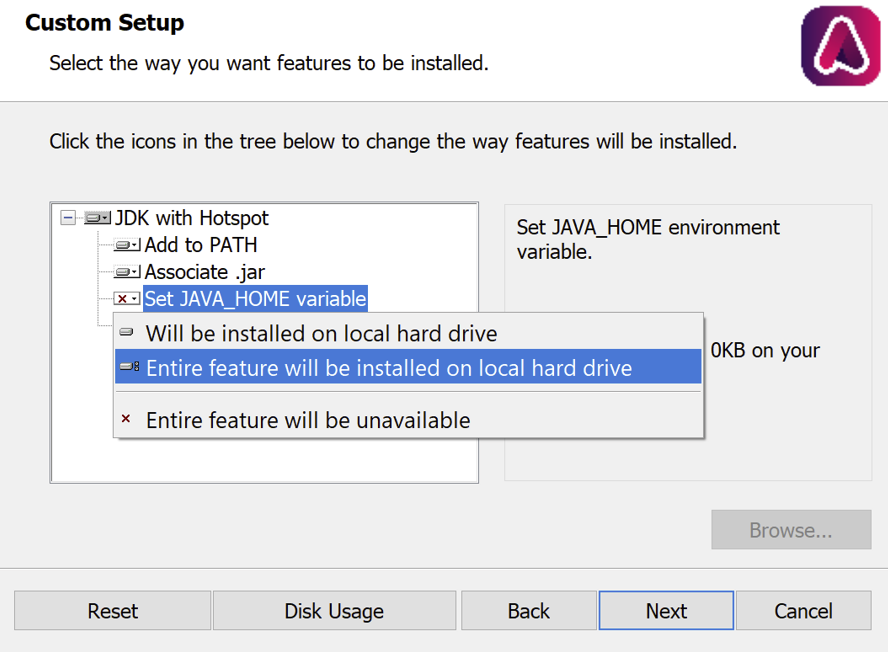
Run the downloaded installer on each virtual machine. Proceed through the installer and stop when you reach the Custom Setup screen. Click the small red x next to “Set JAVA_HOME variable” to open the following drop down and select “Entire feature will be installed on local hard drive”
Complete the install wizard keeping all other values set to default.
From this point there are two approaches for installing the IR, manual and express.
The client will need access to a modern browser in their VMs capable of accessing the Azure portal for this step. If the only browser they have access to is internet explorer, they will need to follow the manual deployment process.
If the client has access to a modern browser in their VMs, make sure the following steps are done in their VM.
Navigate in the portal to the client’s prod resource group and enter their data factory.
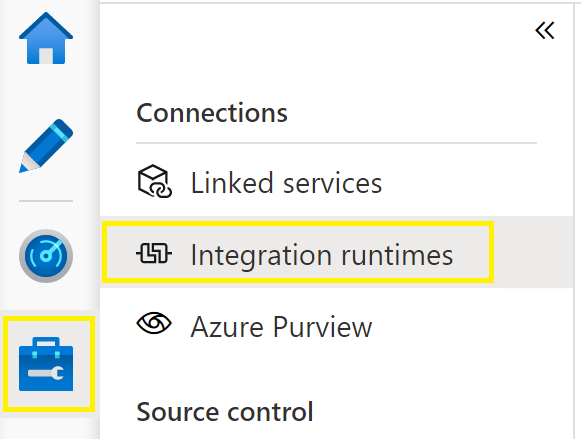
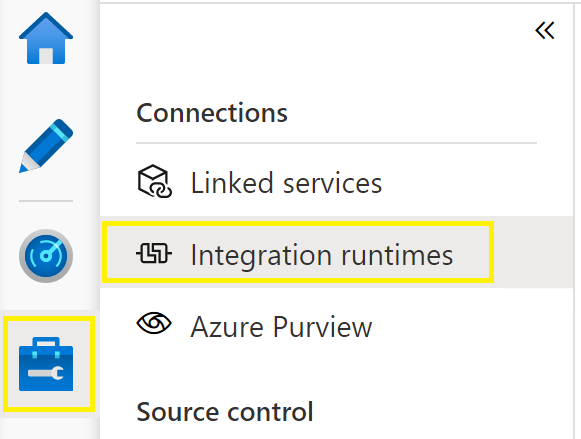
Click on the manage tab and navigate to integration runtimes.
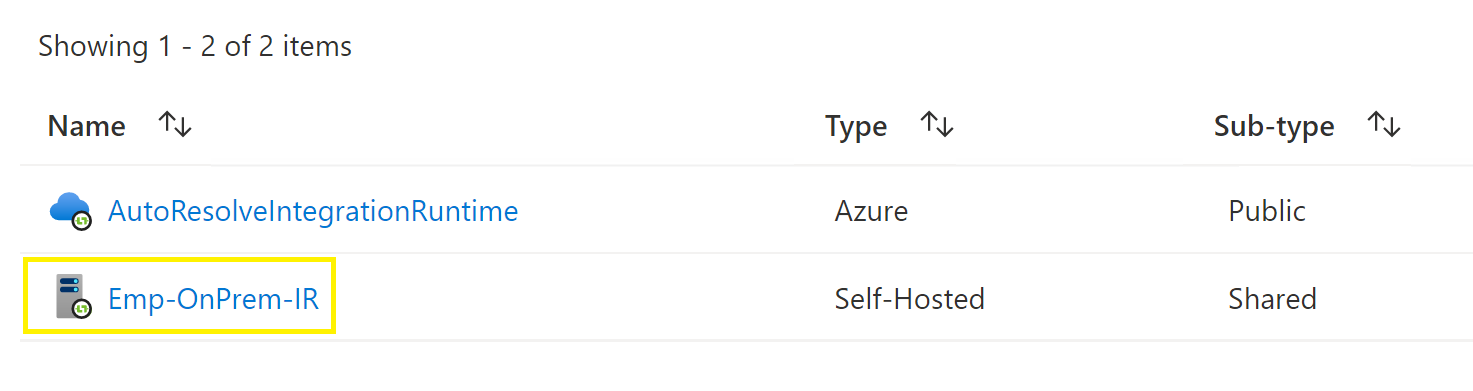
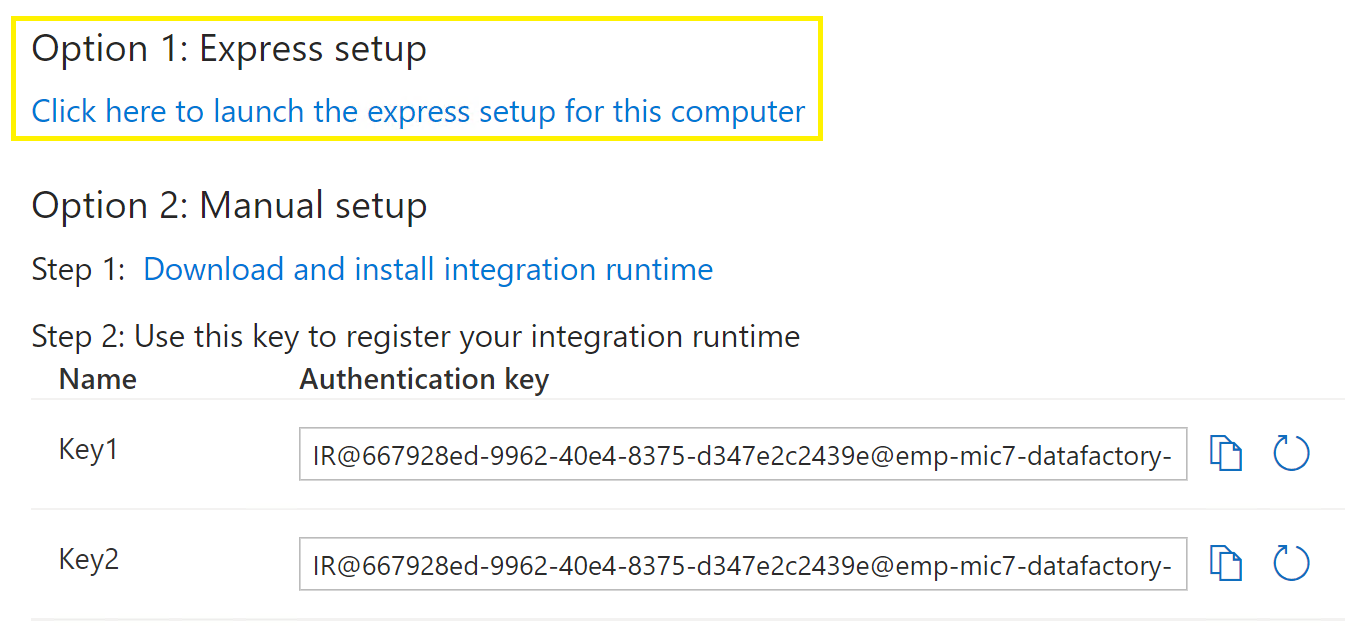
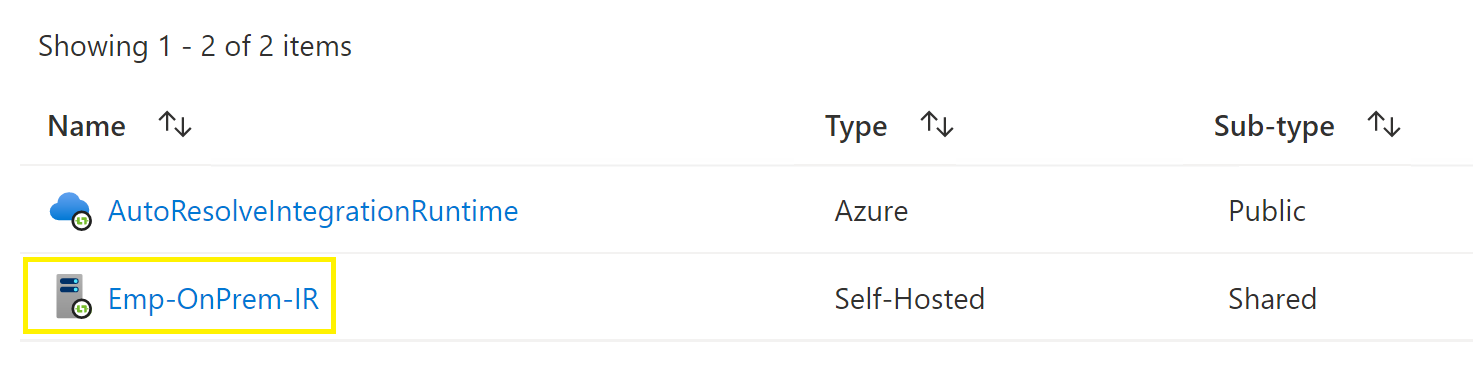
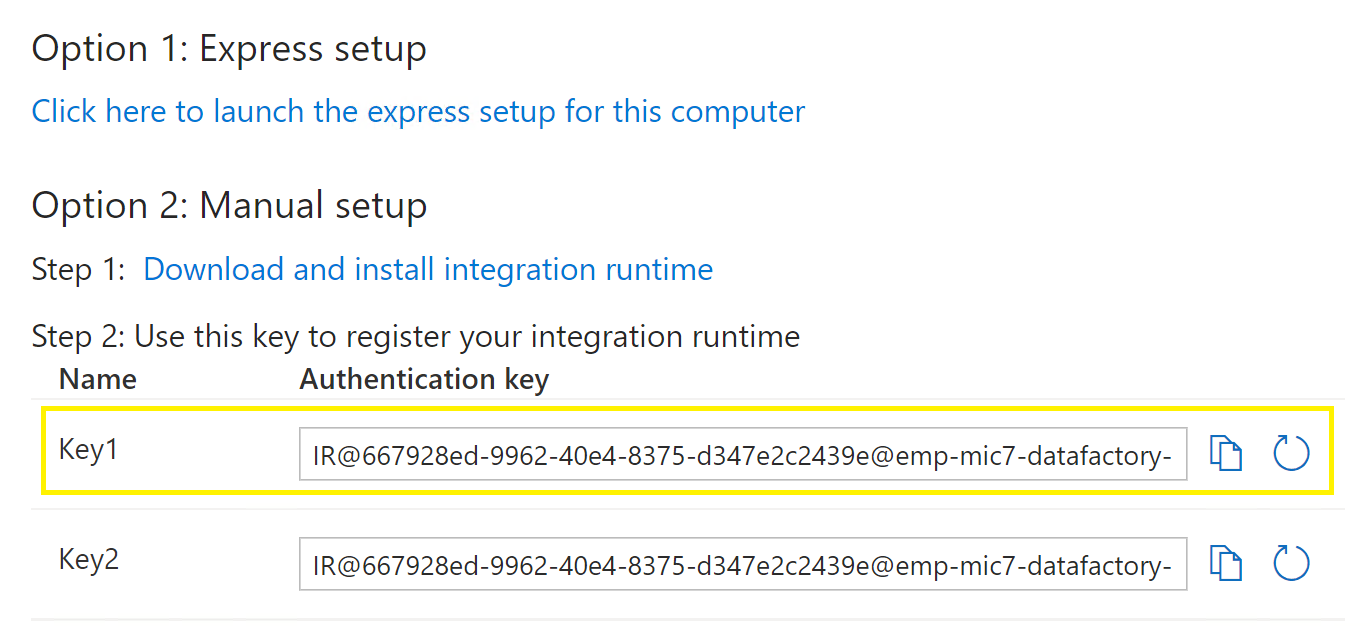
Click on the IR named Emp-OnPrem-IR and click the express deployment link.
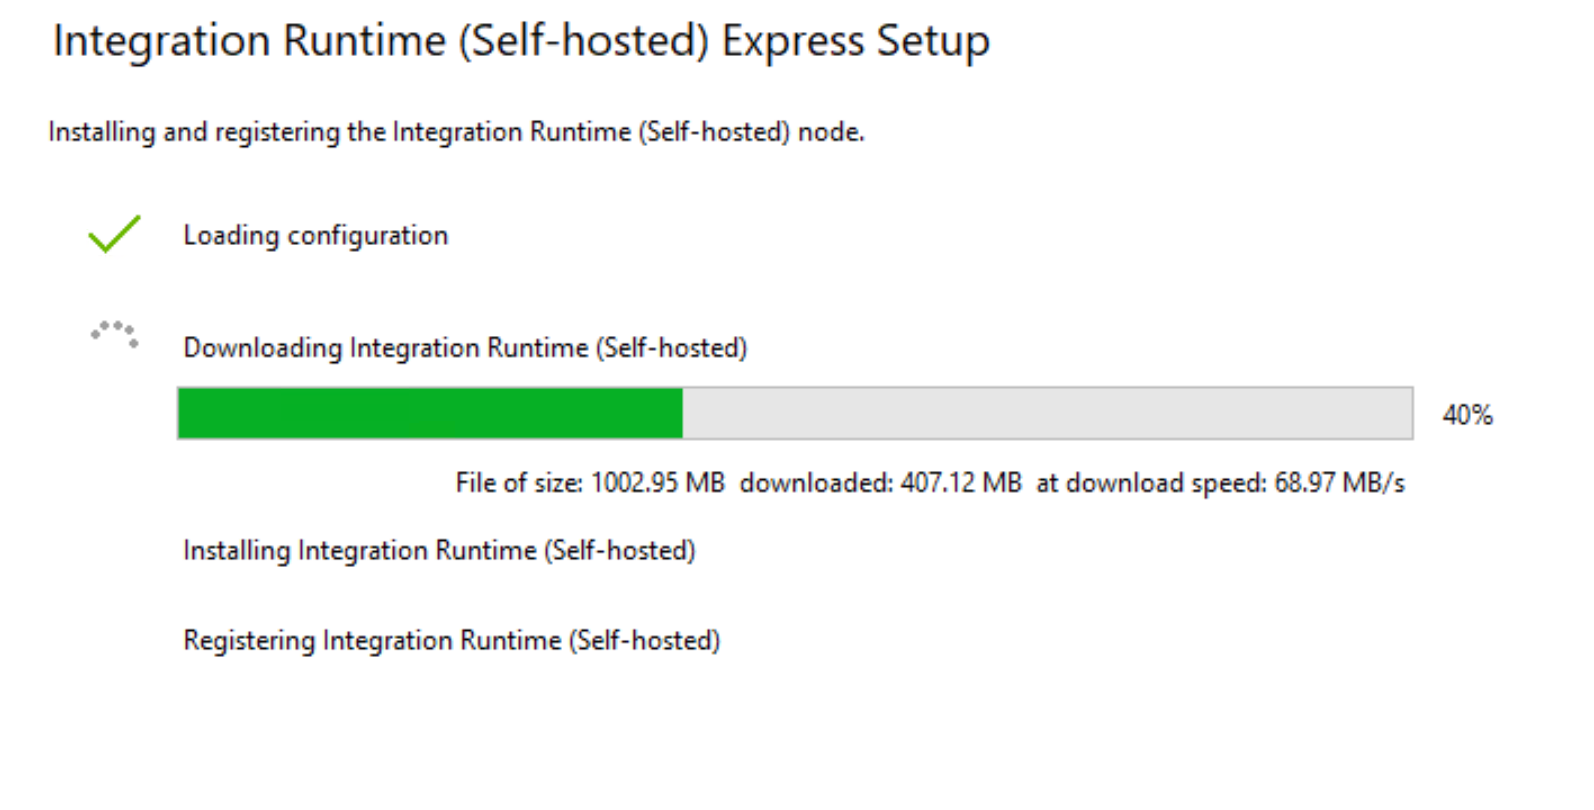
This will download a file which should be opened to install the integration runtime node. Simply click the downloaded executable and wait for the IR to install.
Before setting up the second VM, make sure remote intranet access is enabled by following Steps for enabling remote access for an integration runtime.
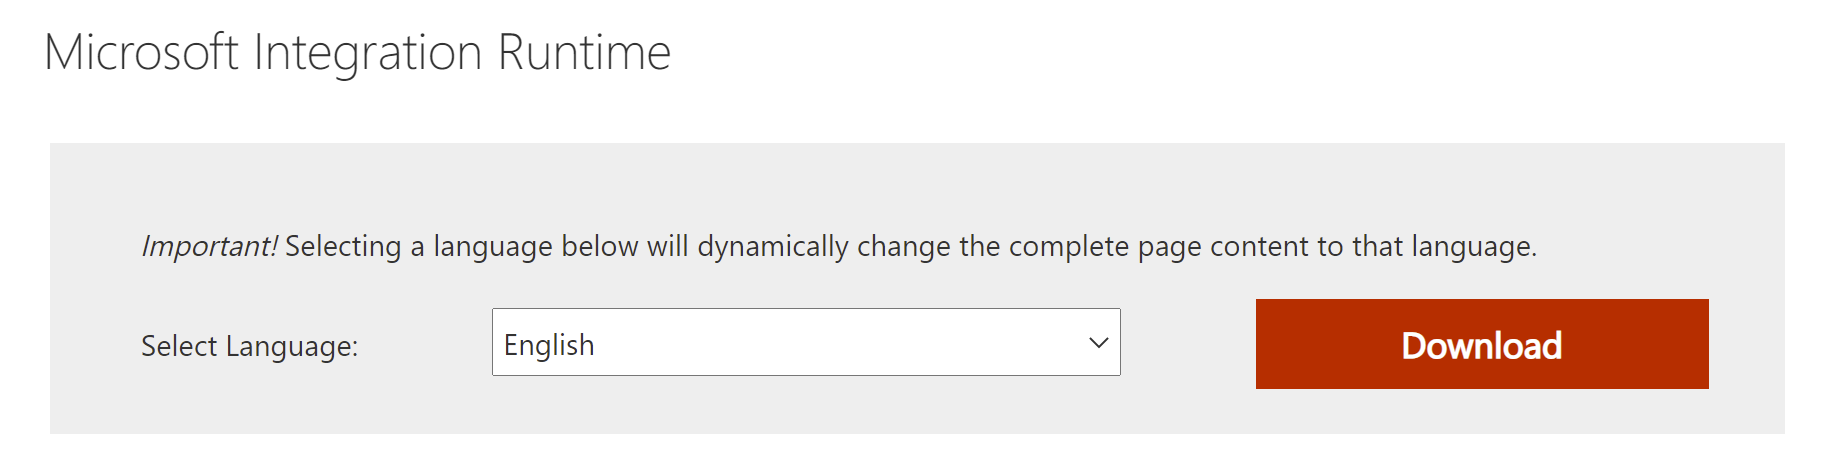
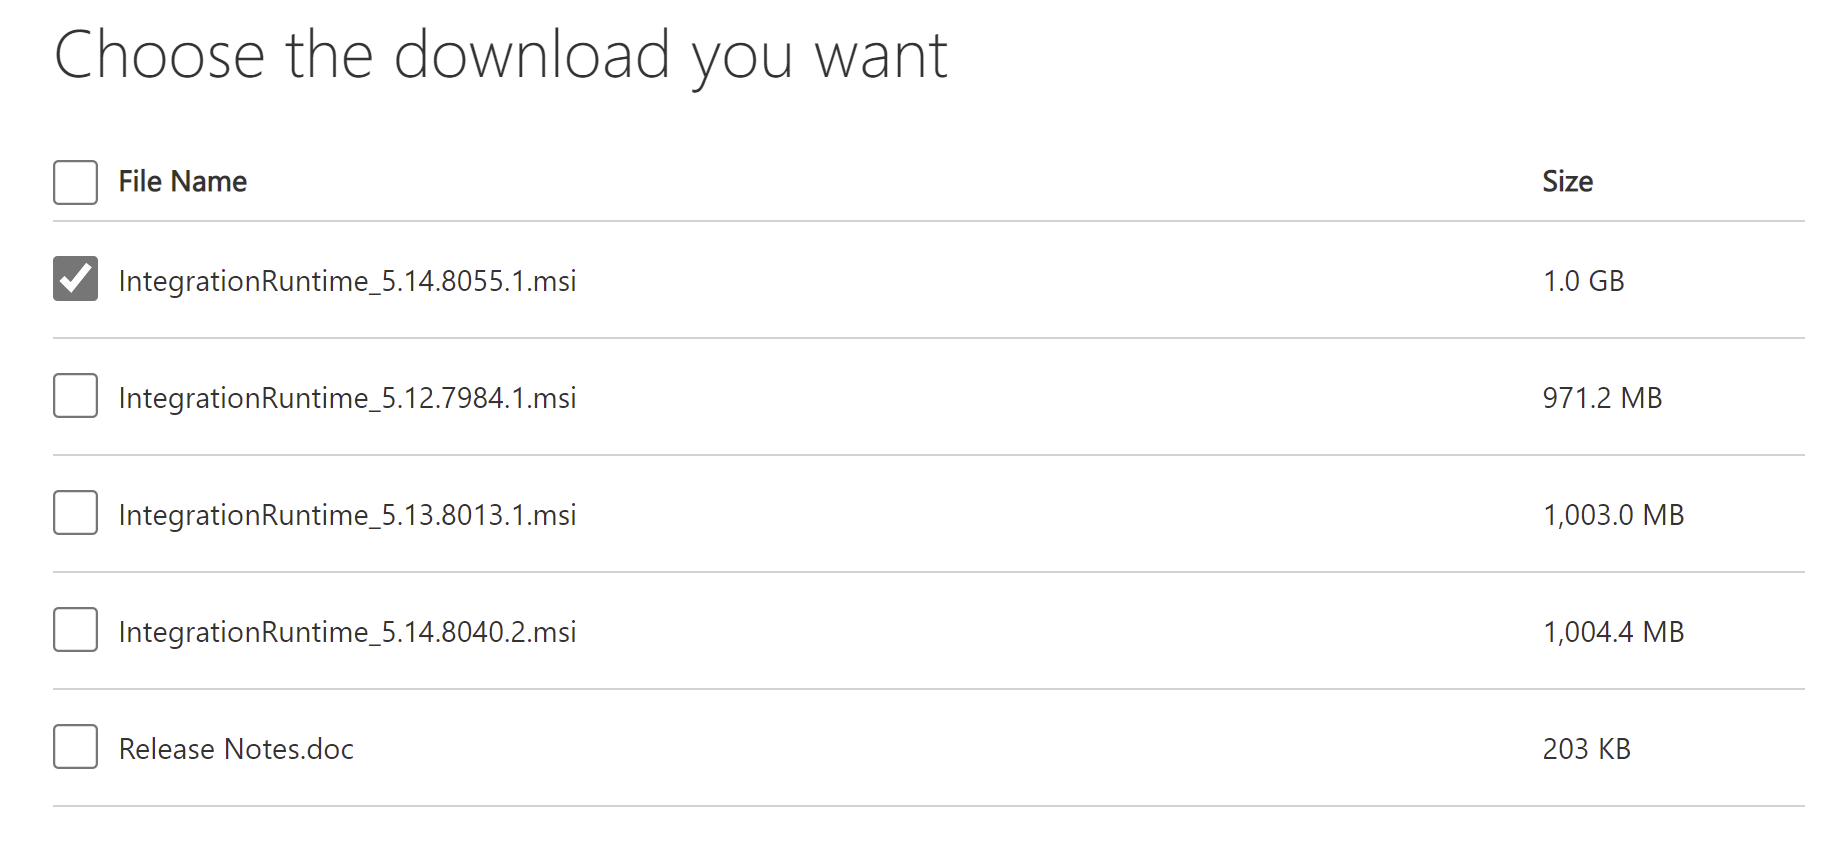
Navigate to the following link and install the integration runtime. Download Microsoft Integration Runtime from Official Microsoft Download Center and download the integration runtime.
Run the integration runtime program on the VM.
Navigate in the portal to the client’s prod resource group and enter their data factory.
Click on the manage tab and navigate to integration runtimes.
Click on the IR named Emp-OnPrem-IR.
Grab one of the keys in the panel.
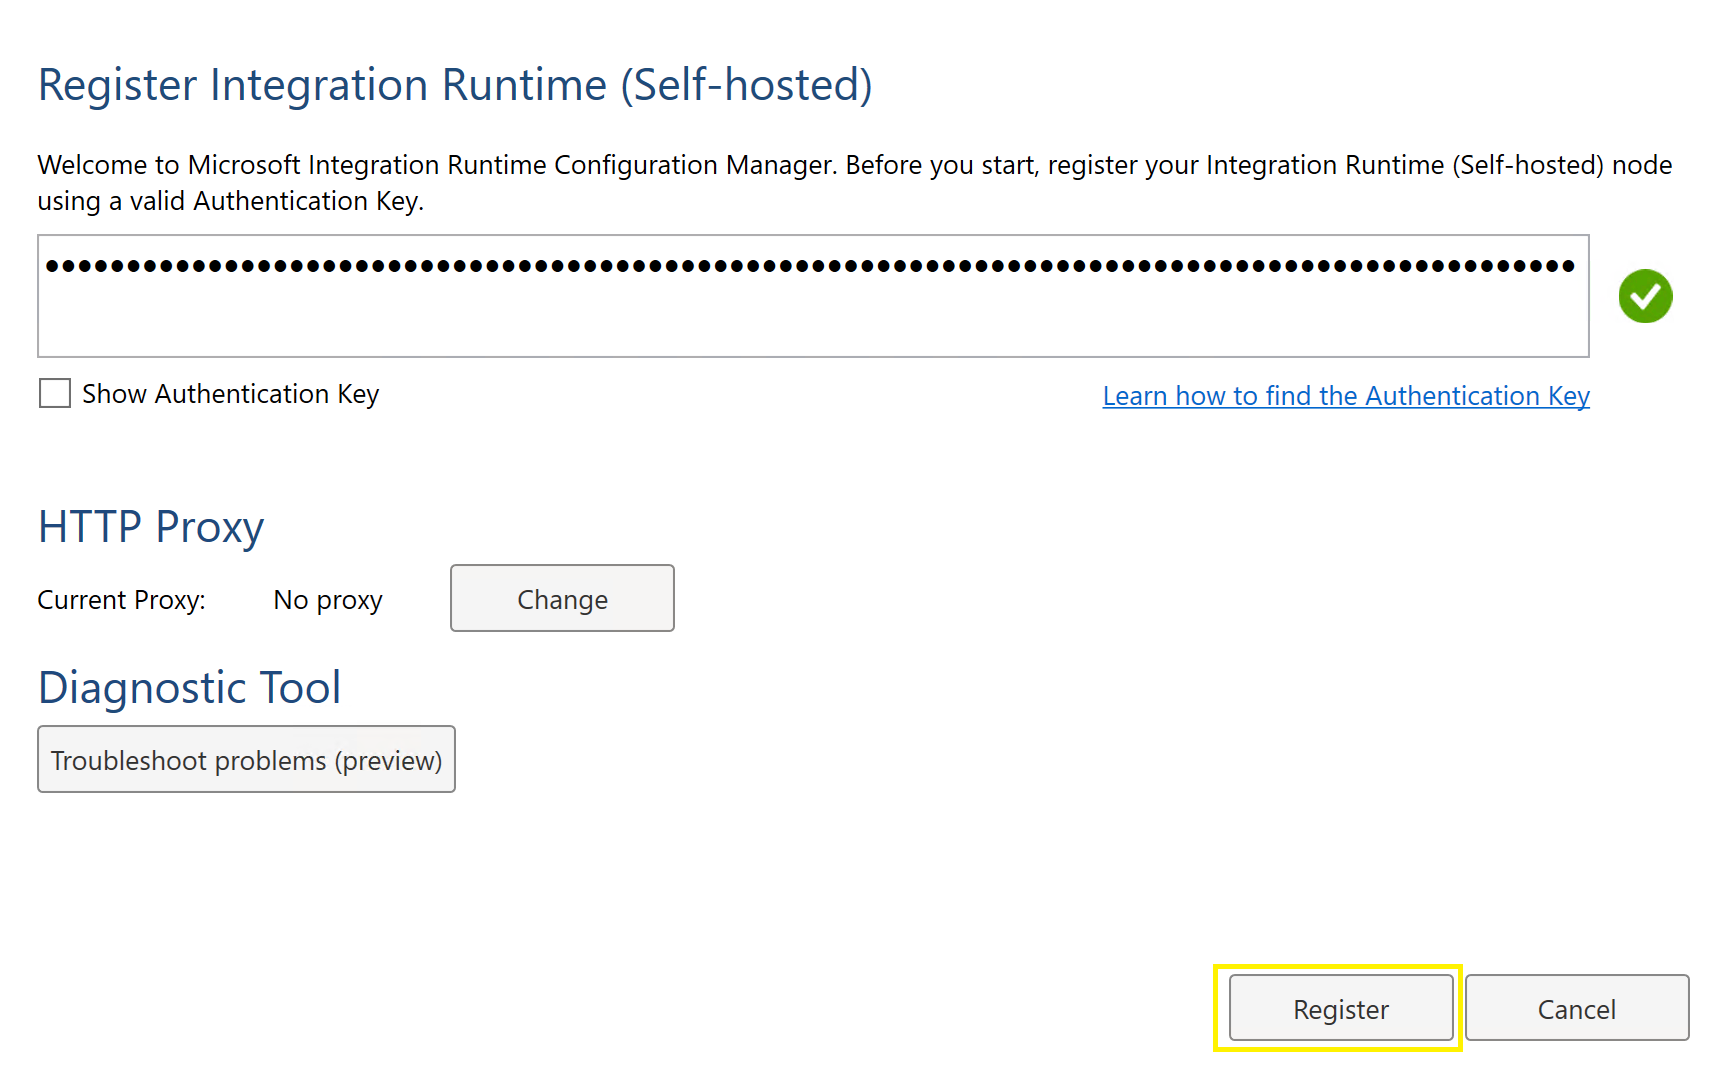
Paste it into the integration runtime inside the customer’s VM and hit register
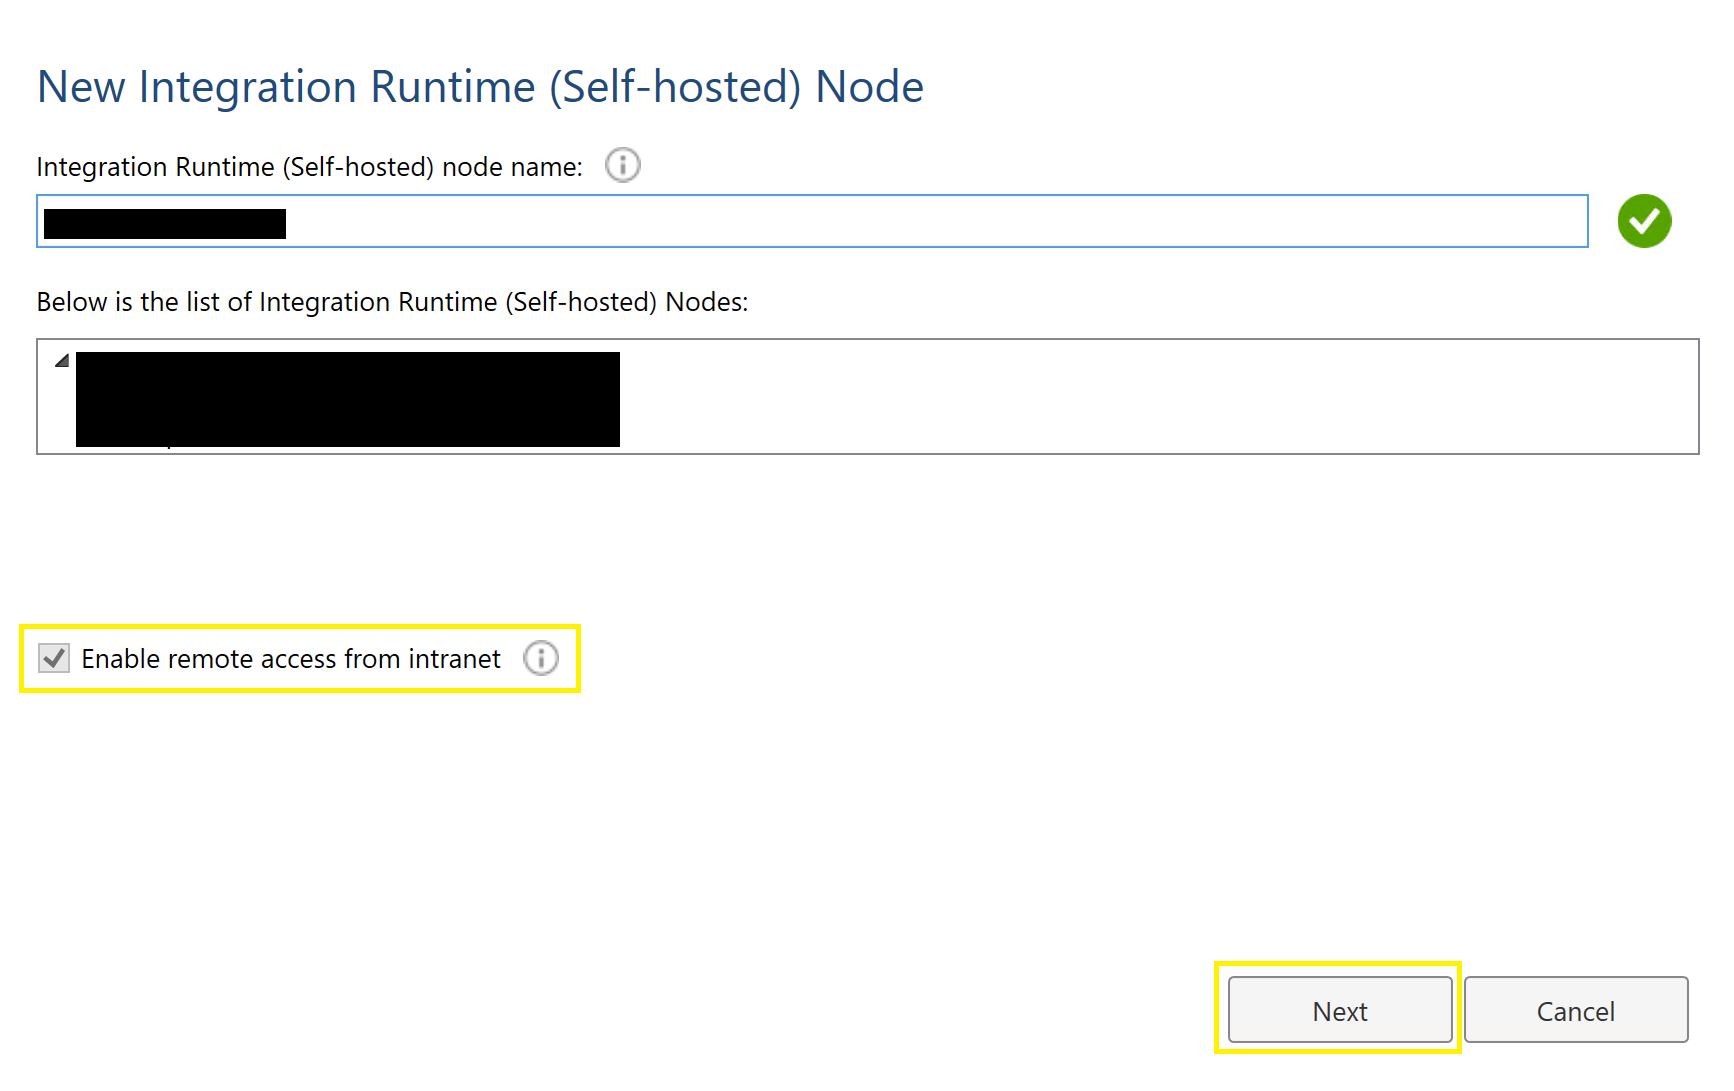
After the key is registered, check enable remote access from intranet and hit next
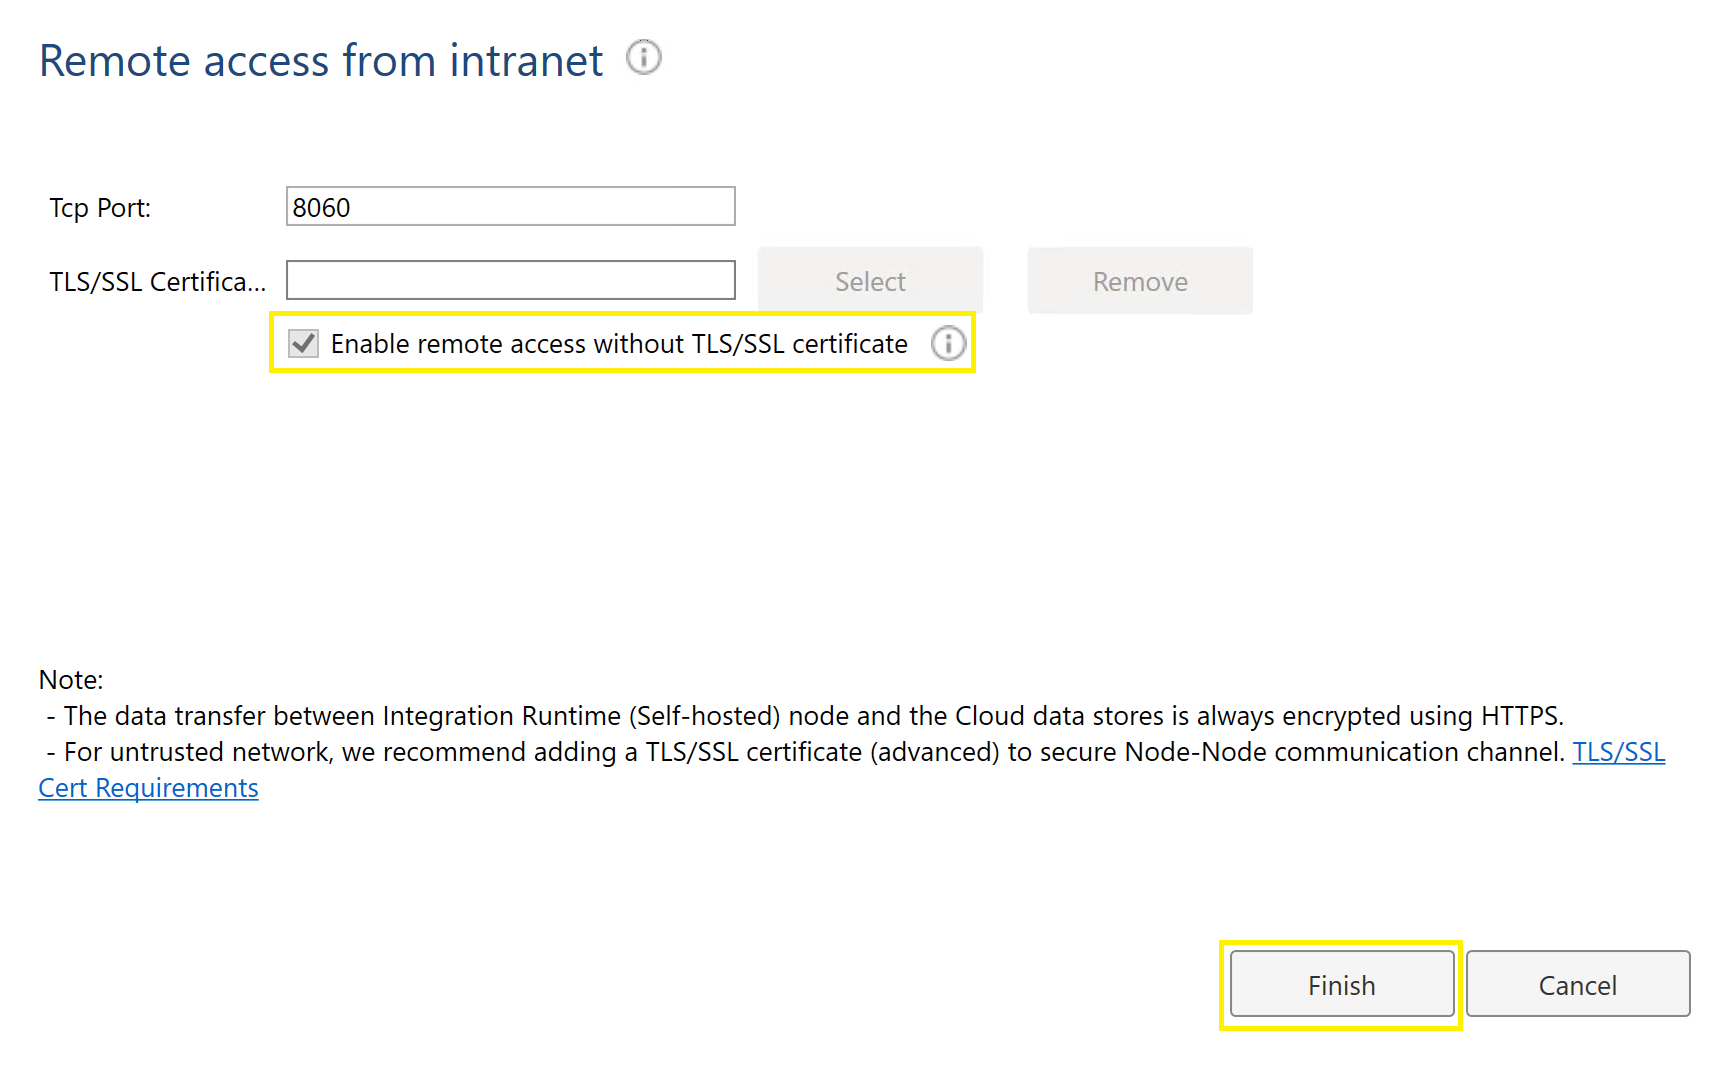
Ensure enable remote access without tls/ssl is checked and hit finish.
Repeat for the second VM
Steps for enabling remote access for an integration runtime
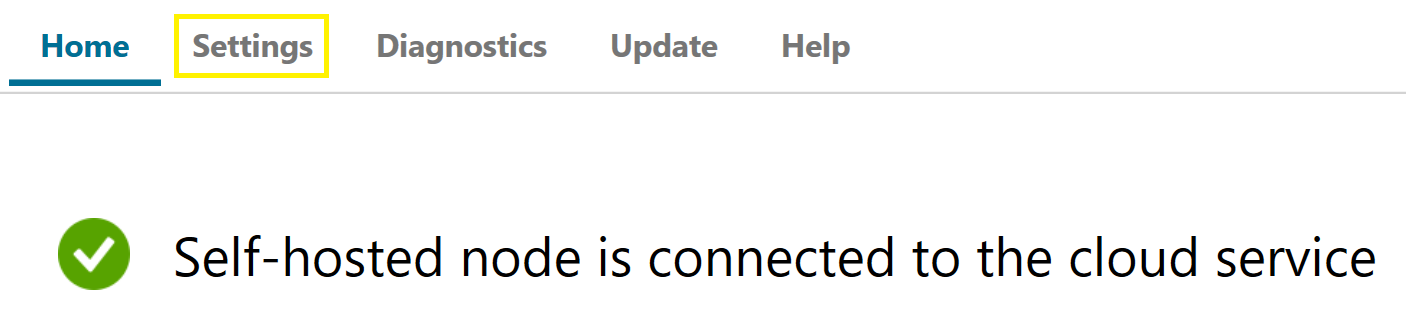
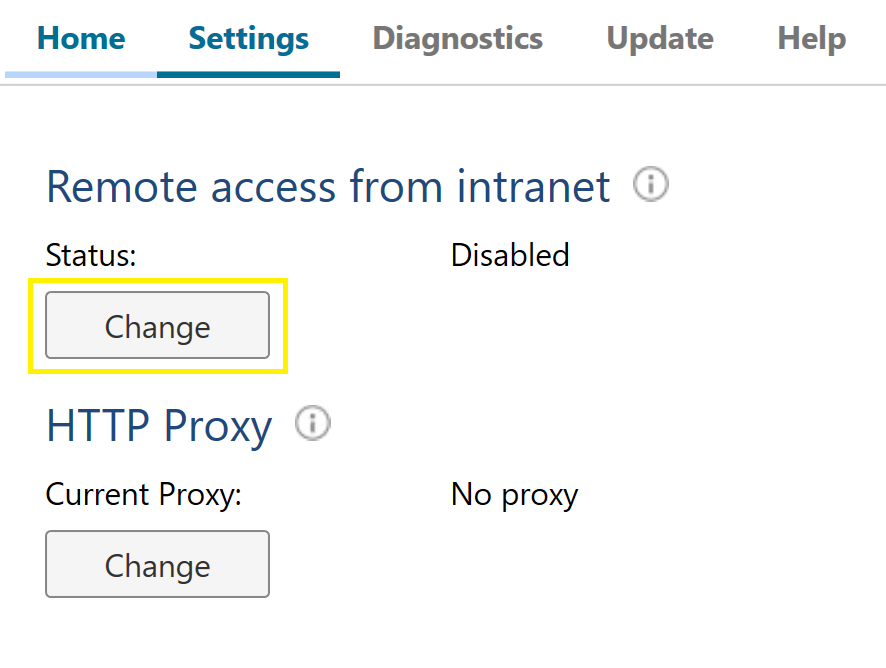
Navigate to the settings tab of your running integration runtime.
Open change remote access from intranet.
Make sure Enable without TLS/SSL is checked and hit ok.
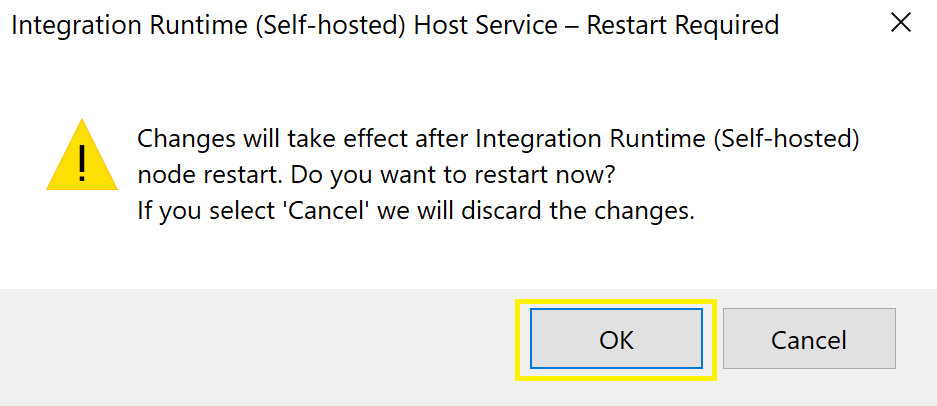
Make sure to then restart the IR when this notification pops up.